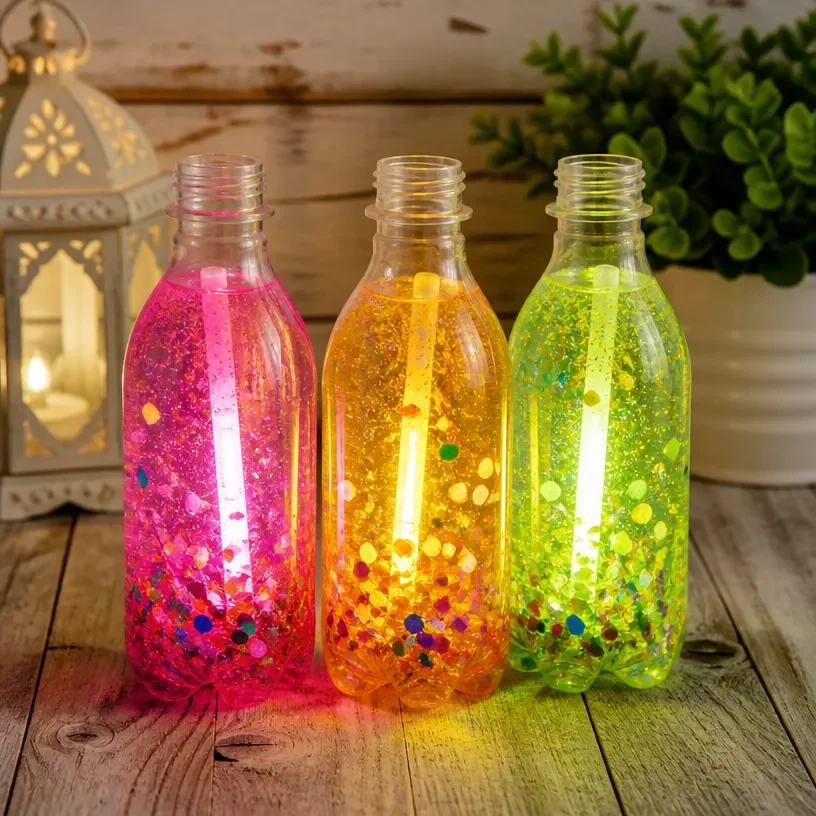
Creating Rainbow Potion Bottles That Glow in the Dark is a fun and colorful project. Your shelf or window will come alive with bright hues and a magical glow. This DIY decor item will catch everyone’s eye, making it a great addition to any room. Let’s dive into how to make these enchanting potion bottles, which not only look beautiful but are also easy to create. You may also find Glow In The Dark Rainbow Monster Lanterns Art useful.
What Makes This Work
The secret behind the glowing effect lies in the materials used. Glowing powder or phosphorescent paint absorbs light and then glows in darkness. This science makes the Rainbow Potion Bottles truly extraordinary, providing an engaging way to explore glowing crafts. You may also find Iridescent Rainbow Glow In The Dark Slime Guide useful.
Materials
To make your glowing potion bottles, you will need the following materials: You may also find Rainbow Monster Lanterns Glow In The Dark useful.
- Clear plastic or glass bottles
- Rainbow-colored craft paint
- Phosphorescent powder
- A paintbrush
- Water
- Clear glue (optional)
- A funnel
For a fun twist, you may also consider using items from projects like the Crystal Fairy Garden Jar that Glows in the Dark, which can help inspire additional ideas for your potion bottles.
Steps
1. Choose Your Bottles
Select your bottles based on size and shape. Glass bottles can give a more sophisticated look, while plastic bottles are safer, especially if kids are involved. Make sure the bottles are clean and dry before starting.
2. Prepare Your Paint
In a bowl, mix the craft paint with a small amount of phosphorescent powder. This combination will give the paint its glowing properties. Mix until well combined, ensuring you have the right consistency to coat the inside of the bottles without being too thick.
3. Paint the Bottles
Using a paintbrush, carefully apply the paint mixture to the inside of the bottles. Look for an even layer that covers all surfaces. It should flash bright, but you don’t want any drips, so check for excessive pooling of the paint. Let them dry thoroughly before moving to the next step.
4. Fill with Water
Once the paint is dry, fill each bottle with water. You can add a few drops of food coloring to the water to enhance the color if desired. This step is crucial for achieving that vibrant look when the glow-in-the-dark effect kicks in.
5. Finish and Display
After filling the bottles, secure lids or corks on top to finish them. Now, place your Rainbow Potion Bottles on a shelf or a windowsill to catch natural light during the day. They will truly shine at night with their magical glow!
What Goes Wrong and How to Fix It
If your potion bottles do not glow as expected, check if you’re using enough phosphorescent powder in the paint. Sometimes, insufficient exposure to light can also cause them to glow poorly. To fix this, simply place the bottles under light for a few hours before darkness falls.
Where to Display It
Display your completed Rainbow Potion Bottles on a sunny windowsill or a shelf that attracts light. At night, you’ll see them glow softly, creating a calming ambiance. They make stunning night lights for children’s rooms or decorative pieces for any household space.
Variations
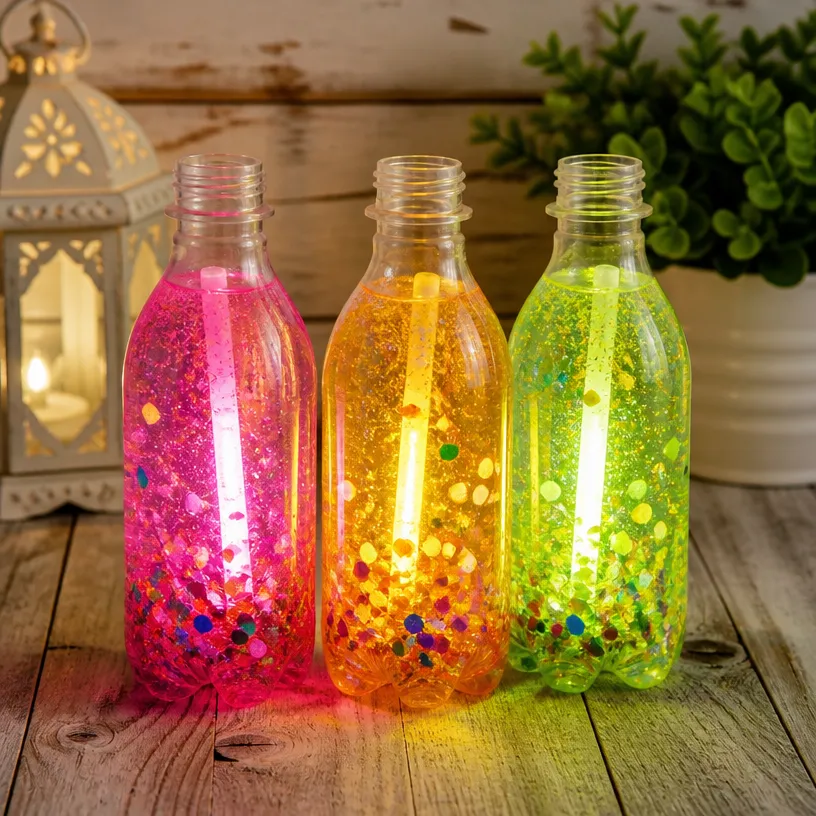
You can customize your potion bottles by creating different themes. For instance, use shades of blue and green for a sea-inspired look. Alternatively, for a spooky effect, try deep reds and purples. The variability is endless, so feel free to experiment with colors and shapes.
FAQs
What happens if my bottles do not glow well?
If your bottles do not glow, ensure enough phosphorescent powder is mixed in the paint. Also, check if they have had enough exposure to light during the day.
Can I use any paint?
You should use paint that is compatible with phosphorescent powder. Acrylic craft paint usually works best for this project.
How long does the glow last?
The glow intensity and duration can vary. Generally, it lasts a couple of hours in total darkness after being charged by light.
Can I make these with children?
Yes, but supervision is recommended, especially during painting and filling stages. Make sure to manage any small parts or glass gently.
How can I clean my bottles?
Simply wash them with warm soapy water. If using glass, handle with care to avoid breaking.
Are there other projects like this?
Yes! For additional fun, you might consider making Rainbow Glow Slime or other glowing crafts found on the DIY Glow blog.
Conclusion
Rainbow Potion Bottles That Glow in the Dark are an engaging way to combine creativity with science, bringing color and light into your home. For further inspiration, check out how to make DIY sensory bottles for a similar craft experience. You might also enjoy creating a spooky touch with the DIY Witches Cauldron Floating Potion Set to accompany your glowing creations. Happy crafting!
Follow us on social for more DIY ideas & inspiration!
Glowing Rainbow Potion Bottles
Would you like to save this project?
By submitting you agree to receive this project and occasional emails. Unsubscribe anytime.
Materials
Materials for Potion Bottles
- 1 bottle Clear plastic or glass bottles Choose based on size and shape
- 1 set Rainbow-colored craft paint Select vibrant colors
- 1 pack Phosphorescent powder For the glowing effect
- 1 each Paintbrush For applying paint
- 1 cup Water To fill the bottles
- 1 bottle Clear glue (optional) Can be used for additional effects
- 1 each Funnel Helpful for filling bottles
Directions
Preparation
- Choose your bottles based on size and shape, ensuring they are clean and dry.
- In a bowl, mix the craft paint with a small amount of phosphorescent powder until well combined.
Painting
- Using a paintbrush, apply the paint mixture to the inside of the bottles, ensuring an even layer without drips.
- Let the paint dry thoroughly before the next step.
Assembly
- Fill each bottle with water, optionally adding a few drops of food coloring.
- Secure lids or corks on top of the bottles.
- Display the bottles on a shelf or windowsill to catch natural light.
Last Step: Don’t forget to leave a rating and comment below! It helps other readers find the best DIY projects — and it helps us too!