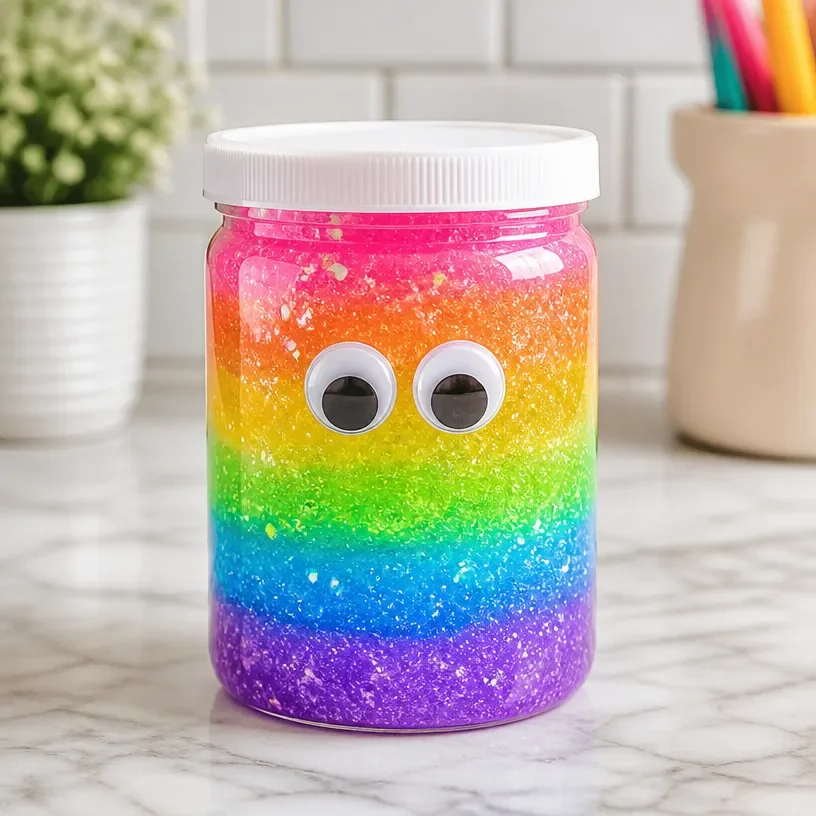
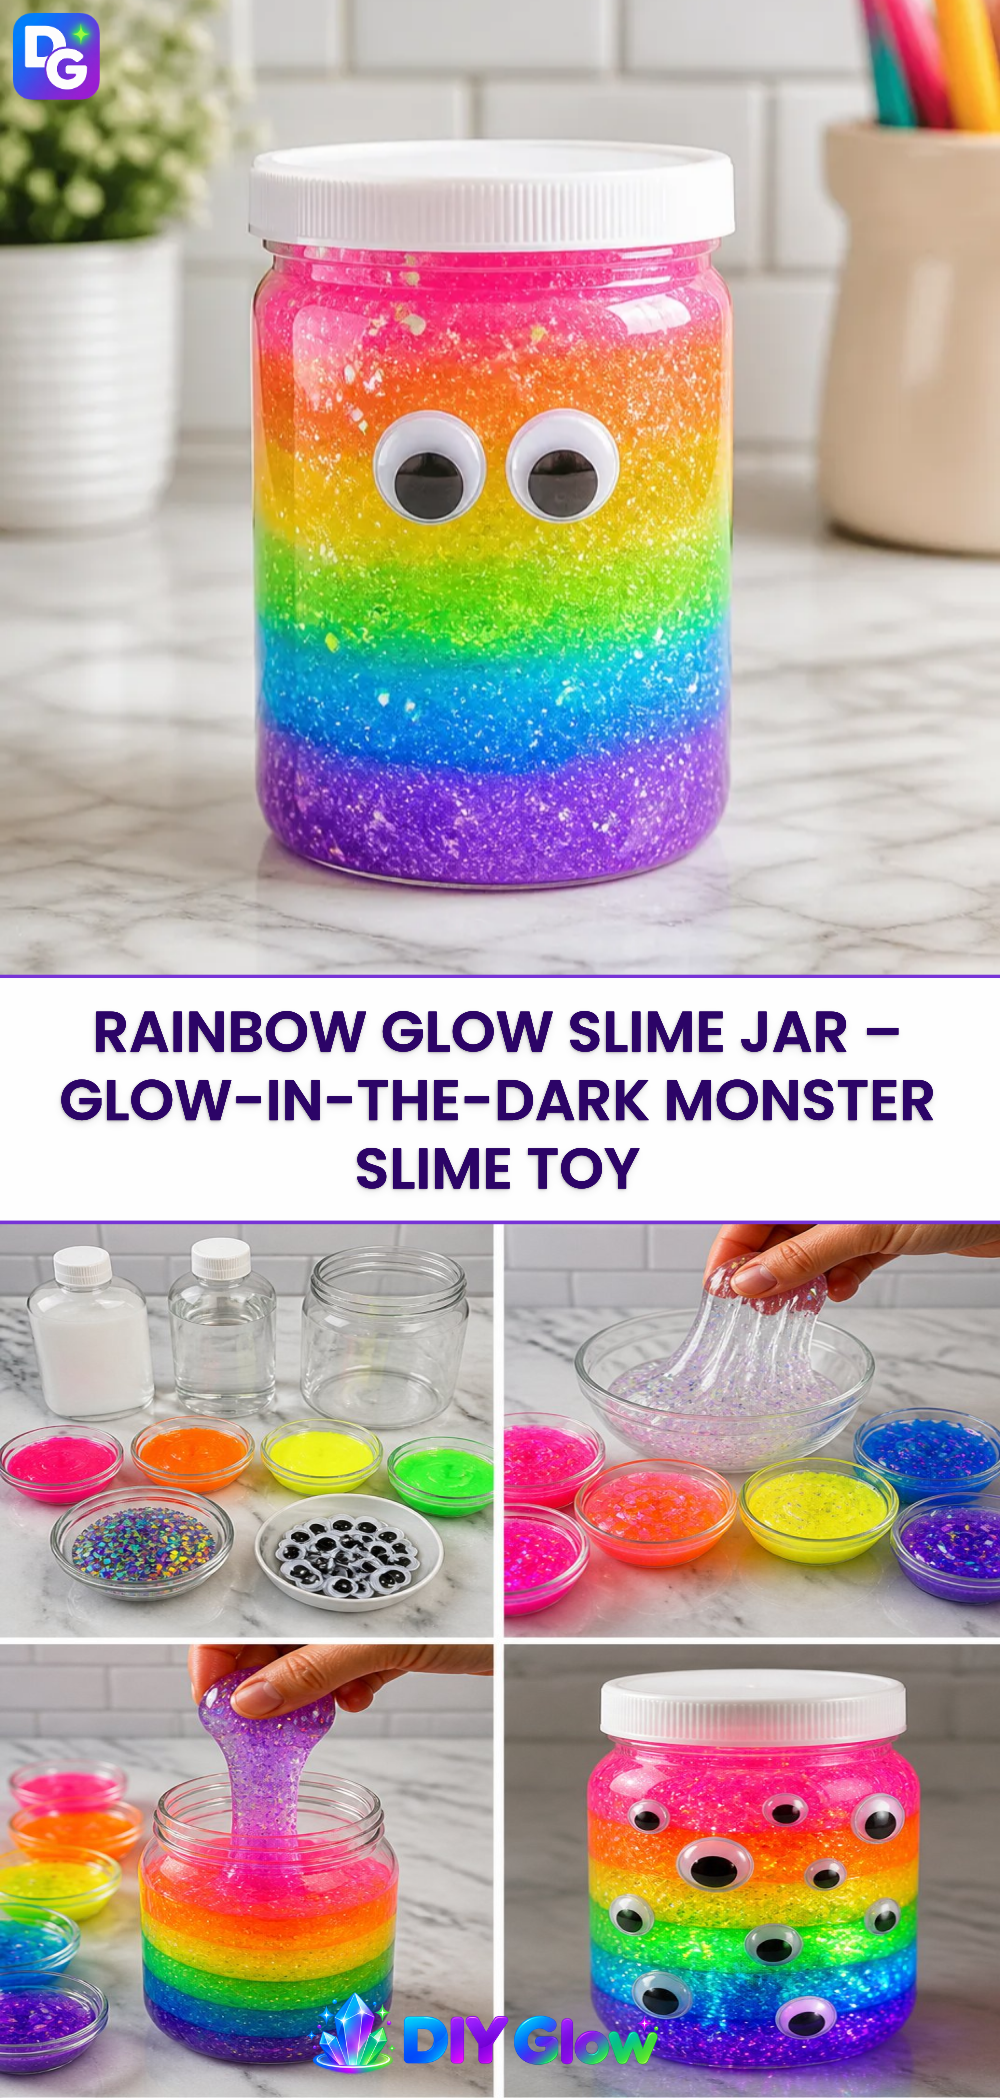
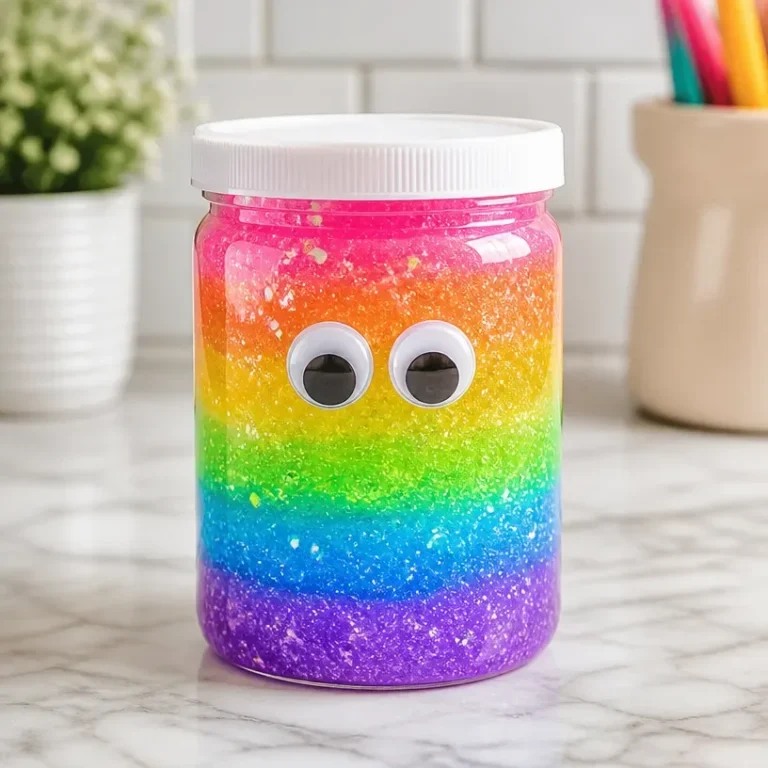
Creating the Rainbow Glow Slime Jar – Glow-in-the-Dark Monster Slime Toy offers an engaging experience. As you mix the ingredients, the combination transforms into a delightful, colorful slime that glows under the right conditions. This project easily captures attention and makes for a fun display in any room. You may also find Glowing Rainbow Potion Crystal Jar Enchanted Elixir useful.
What Makes This Work
The slime works due to the chemical reaction between the ingredients. When mixed, the slime becomes stretchy and versatile, leading to endless fun in both creations and play. This transformation is what makes the Rainbow Glow Slime special, inviting creativity and exploration. You may also find Glowing Rainbow Potion In Crystal Jar Enchanted Elixir useful.
Materials
Gather all the necessary materials before starting: You may also find Glowing Crystal Rainbow Unicorn Jar useful.
- White school glue
- Baking soda
- Glow-in-the-dark paint
- Contact lens solution (containing boric acid)
- Food coloring
- Bowls for mixing
- Spoon for stirring
- Airtight container for storage
You might also enjoy creating a glow-in-the-dark rain cloud in a jar as an additional colorful project.
Steps
Mix Glue and Baking Soda: Start by combining one cup of white school glue with a tablespoon of baking soda in a bowl. Stir thoroughly until it’s completely mixed. The baking soda helps to thicken the glue.
Add Glow Paint: Next, add about two tablespoons of glow-in-the-dark paint to the mixture. Mix until the color is uniform. The glow-in-the-dark paint is what will allow your slime to shine.
Incorporate Food Coloring: If you want a rainbow effect, split the mixture into smaller bowls and add different food coloring to each. Stir well, ensuring the color is bright and distinct.
Combine with Contact Lens Solution: Slowly add contact lens solution to the mixture, about a tablespoon at a time. Since this contains boric acid, make sure an adult handles this part. Stir continuously until the slime starts to clump together.
Knead the Slime: Once the slime begins to form, take it out of the bowl and knead it with your hands. This helps improve the texture, making it less sticky. If it still feels tacky, add a little more contact lens solution.
Store Your Slime: Place your finished slime in an airtight container to keep it fresh. It is crucial to store it properly to ensure longevity and prevent drying out.
When it comes to displaying your creation, you can place it in a variety of locations, including a shelf or window where it can be seen and appreciated.
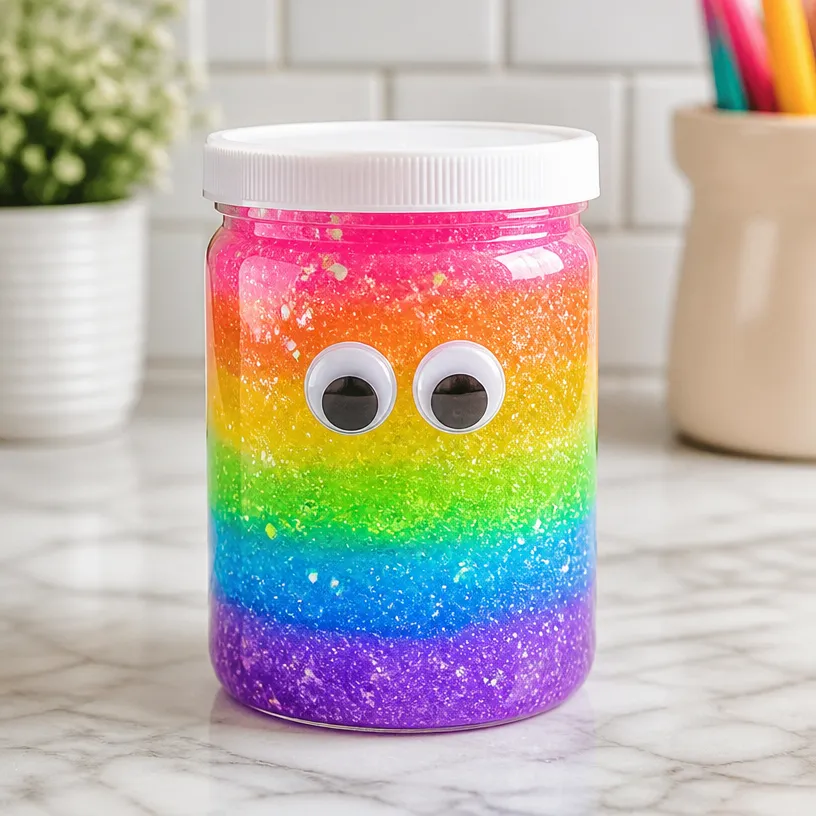
Getting a Cleaner Finish
For a neater appearance, ensure that your mixing containers are clear, so you can see the beautiful colors blend. A well-organized workspace also helps you maintain the clarity of the project. If you clean up spills immediately, it will keep the area tidy and manageable.
Variations
Feel free to experiment! You can make different glow colors with various food coloring combinations. For an added element of fun, consider creating a rainbow panda glow pencil jar as another craft project.
FAQs
How do I make my slime not sticky?
If your slime is sticky, it likely needs more contact lens solution. Make sure to add small amounts while kneading until it reaches your desired texture.
What happens if I use too much baking soda?
Using too much baking soda can make the slime too thick or rubbery. If this happens, try adding a little warm water to soften it.
Can I use other types of glue?
Yes, you can experiment with different glues, but white school glue is the most effective in creating the right slime texture.
How long will my slime last?
When stored properly in an airtight container, your slime can last for several weeks. Keep it out of direct sunlight to maintain its glow.
Can kids help with this project?
Absolutely! This project can be a fun hands-on activity for kids, but ensure that an adult supervises when using the contact lens solution.
What should I do if my slime doesn’t glow?
If your slime doesn’t glow, check if the glow-in-the-dark paint was mixed well. Ensure it has been exposed to light for a period to charge before testing its glow.
Conclusion
Making the Rainbow Glow Slime Jar – Glow-in-the-Dark Monster Slime Toy is a joyful activity that inspires creativity. The glowing end result is impressive and fun for all ages. For other glowing crafts, you might enjoy exploring the Ocean Glow in The Dark Slime Kit or learning how to make glitter slime, which can add even more fun to your glowing craft collection.
Follow us on social for more DIY ideas & inspiration!
Rainbow Glow Slime
Would you like to save this project?
By submitting you agree to receive this project and occasional emails. Unsubscribe anytime.
Materials
Slime Base
- 1 cup White school glue
- 1 tbsp Baking soda Helps thicken the glue.
- 2 tbsp Glow-in-the-dark paint Allows your slime to glow.
- 1 tbsp Contact lens solution Contains boric acid; supervision recommended.
Coloring
- as needed tbsp Food coloring Use different colors for a rainbow effect.
Tools
- Bowls for mixing
- Spoon for stirring
- Airtight container for storage Keeps slime fresh.
Directions
Preparation
- Start by combining one cup of white school glue with a tablespoon of baking soda in a bowl. Stir thoroughly until it’s completely mixed.
- Add about two tablespoons of glow-in-the-dark paint to the mixture. Mix until the color is uniform.
- If you want a rainbow effect, split the mixture into smaller bowls and add different food coloring to each. Stir well, ensuring the color is bright and distinct.
Formation
- Slowly add contact lens solution to the mixture, about a tablespoon at a time, stirring continuously until the slime starts to clump together.
- Once the slime begins to form, take it out of the bowl and knead it with your hands to improve the texture. If it still feels tacky, add a little more contact lens solution.
- Place your finished slime in an airtight container to keep it fresh.
Display
- You can place it in a variety of locations, including a shelf or window where it can be seen and appreciated.
Last Step: Don’t forget to leave a rating and comment below! It helps other readers find the best DIY projects — and it helps us too!