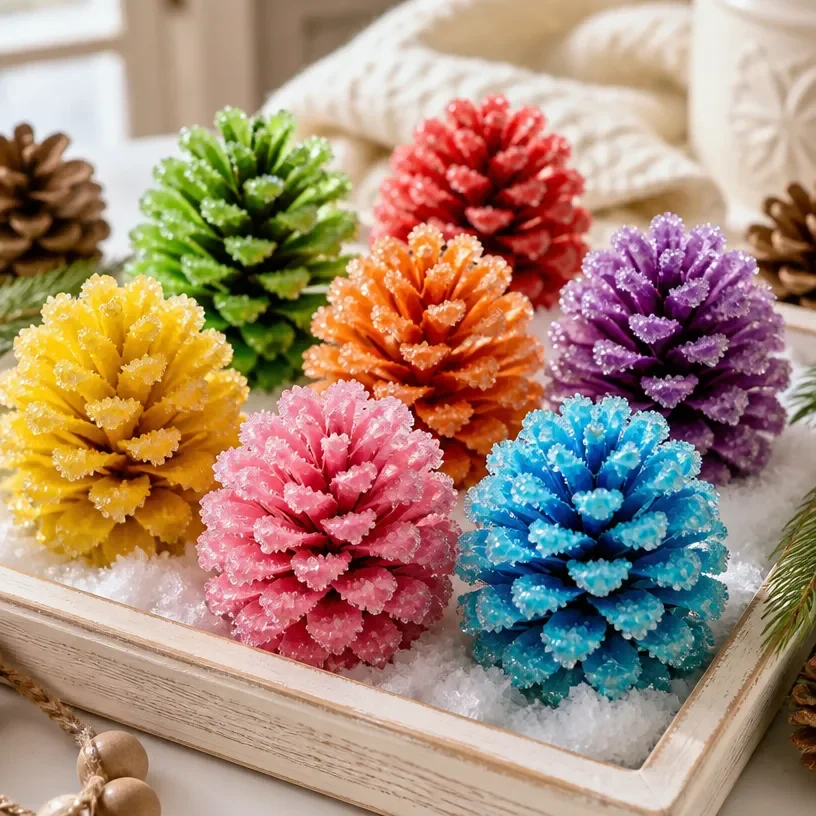
Creating colorful crystal pinecones adds a unique charm to your home decor. As you mix your materials, you will notice striking color changes, making it an enjoyable project. This guide will walk you through the process of making Crystal Pinecones: Frozen Rainbow-Inspired Home Decor. You may also find Radiant Crystal Bloom Tree Colorful Home Decor useful.
What Makes This Work
The appeal of these crystal pinecones lies in their vibrant colors and the way they shimmer in light. The combination of borax and water creates a crystalline structure that forms beautifully around your chosen base, resulting in this captivating project. Whether you want to display them on a shelf or use them to decorate your windows, their sparkling finish will catch everyone’s eye. You may also find Colorful Crystal Mason Jar Lantern For Home Decor useful.
Materials
- Pinecones
- Borax
- Hot water
- Food coloring
- A heat-safe container for mixing
- A stirring stick
- String or fishing line for hanging
- Adult supervision for using hot water
After gathering all your materials, you’re set to start creating! You might also want to look into other projects, like colorful crystal mason jar lanterns for more decor ideas.
Steps
Prepare the Borax Mixture: Boil equal parts hot water and borax in your heat-safe container. Stir until the borax dissolves. Check for a clear solution to ensure it is fully mixed. Remember to handle hot water carefully, as it can cause burns.
Add Colors: Now, introduce food coloring into your solution. The amount depends on how vibrant you want your pinecones to be. More color means a richer hue.
Submerge the Pinecones: Place your pinecones upright in the solution. Ensure they are fully submerged.
Allow Crystals to Form: Let the pinecones sit for about 6 to 12 hours. During this time, you’ll see crystals begin to grow around them. Watch for that detailed texture that will make your pinecones shine.
Remove and Dry: After the time has passed, take the pinecones out of the solution and let them dry on a paper towel. Look for a glossy finish, which indicates successful crystal growth.
Add Hanging String: Once dry, tie a string or fishing line around the top of each pinecone for easy hanging.

What Goes Wrong and How to Fix It
If your crystals do not develop at all, it might be due to not using enough borax or not letting them sit long enough. Ensure the solution is saturated and wait a bit longer next time. If they seem too dull, you may not have used enough food coloring. Don’t hesitate to experiment with the colors; trying vibrant shades will enhance their appearance.
Where to Display It
These crystal pinecones look stunning in various settings. Hang them in a sunny window to let the light reflect through them. You can also cluster them together in a bowl on a table. They complement other colorful decor, like the holographic jellyfish ornaments, making them even more visually appealing.
Variations
You can introduce different shapes by using other base structures like miniature cones or even twigs. Experiment with layering colors for a more dynamic look. For those who seek an even bolder design, consider trying out variations inspired by the geode rainbow crystals.
FAQs
How long does this project take?
Creating the crystals itself may take 6 to 12 hours, but planning may require a bit more time depending on your setup.
Can kids help with this project?
Yes, children can assist, especially with adding colors or tying the strings after the pinecones dry. However, an adult should handle the boiling water.
What if my crystals are not forming properly?
If you’re not seeing much crystal growth, check the saturation of your borax solution. You might need more borax to achieve better results.
How long do these crystal pinecones last?
Once made, if stored properly, they can last for a long time. Just keep them away from moisture as it can dissolve the crystals.
Can I use other items instead of pinecones?
Absolutely! Other natural materials can also work well. Experiment with branches or even made-up shapes.
Is there any way to enhance the brightness of the crystals?
You can try mixing different types of colors or layering them while they sit in the solution for a more colorful effect.
Conclusion
Making Crystal Pinecones: Frozen Rainbow-Inspired Home Decor is a fun activity that results in stunning decor pieces. Through simple techniques, you can create colorful ornaments that sparkle in natural light. For those looking to expand their decor options, check out the selection of hanging window crystals for home decor or browse unique items like the rainbow crystal sun catcher hanging pendant. Happy crafting!
Follow us on social for more DIY ideas & inspiration!
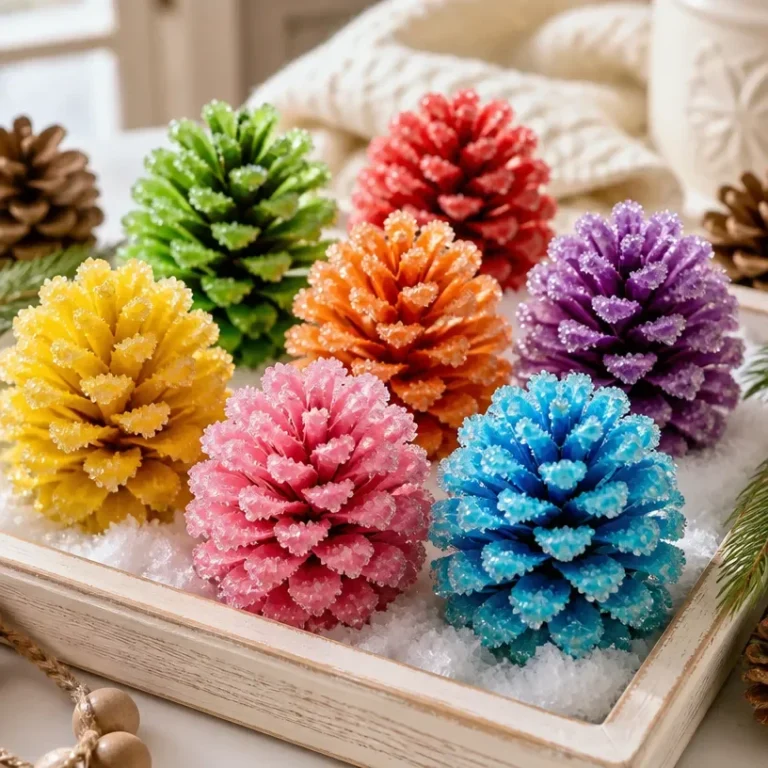
Crystal Pinecones
Would you like to save this project?
By submitting you agree to receive this project and occasional emails. Unsubscribe anytime.
Materials
Main Materials
- 4 pieces Pinecones Choose pinecones of medium to large size.
- 1 cup Borax Make sure to use enough borax to saturate the solution.
- 1 cup Hot water Boiled water to dissolve the borax.
- to taste drops Food coloring Adjust the amount based on desired vibrancy.
- 1 container Heat-safe container for mixing Ensure it can hold the hot solution.
- 1 stick Stirring stick For mixing the borax and water.
- 1 string String or fishing line for hanging For easy hanging of the completed pinecones.
- 1 person Adult supervision Essential for handling boiling water.
Directions
Preparation
- Boil equal parts hot water and borax in your heat-safe container. Stir until borax dissolves completely.
- Introduce food coloring into your solution to achieve the desired vibrancy.
Crystal Formation
- Place the pinecones upright in the borax solution, ensuring they are fully submerged.
- Allow the pinecones to sit in the solution for about 6 to 12 hours to allow crystals to grow.
Finishing Touches
- After the time has passed, remove the pinecones from the solution and let them dry on a paper towel.
- Once dry, tie a string or fishing line around the top of each pinecone for easy hanging.
Last Step: Don’t forget to leave a rating and comment below! It helps other readers find the best DIY projects — and it helps us too!