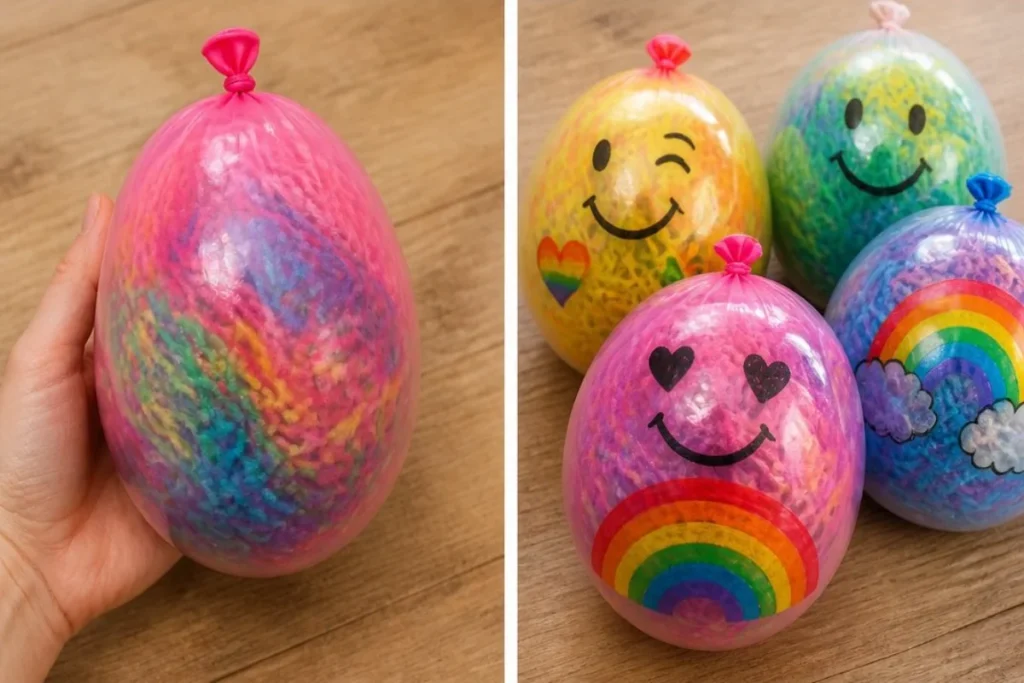
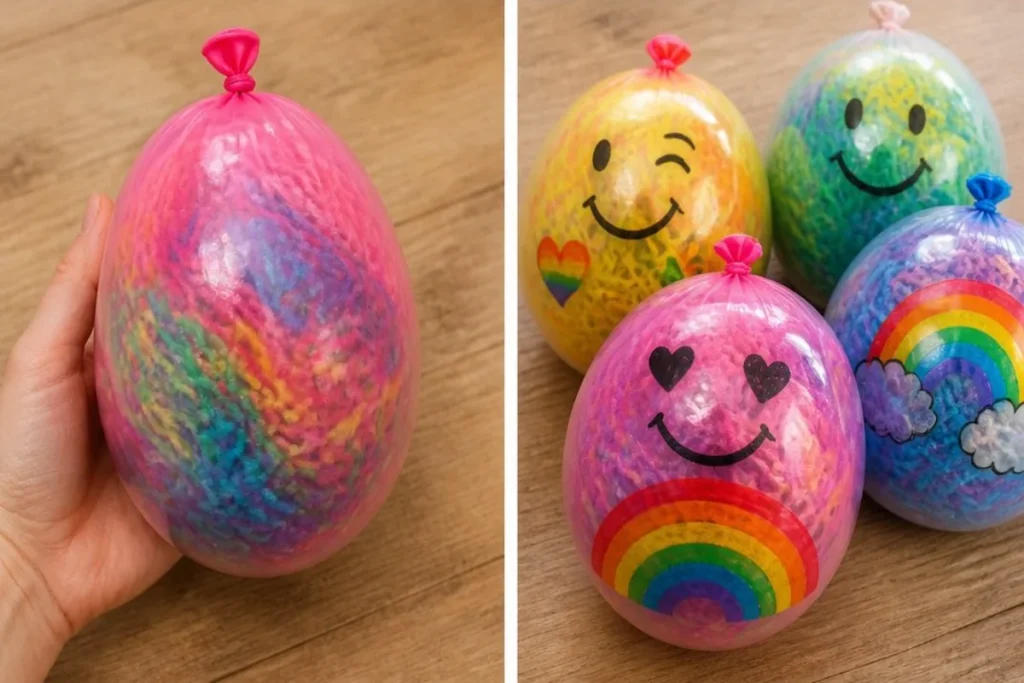
Rainbow Yarn Balloon Squishies are a vibrant and fun craft project that transforms soft yarn into colorful, squishy delights. The moment you finish, you’ll notice how these creations pop with color and add a whimsical touch to any space. They are not only enjoyable to make but are also perfect for decoration.
To get started with your Rainbow Yarn Balloon Squishies, gather the following materials:
- Latex balloons
- Soft yarn scraps
- Funnel or bottle top
- Permanent markers
Make sure to clear your workspace to keep everything tidy. When you have all your materials in one place, you will have an easier time achieving a stunning result. Once prepared, cut the yarn into short pieces. The shorter pieces will allow for easier stuffing into the balloon and create a more manageable texture.
Next, stretch the balloon over a funnel. This step is crucial as it gives you better control over filling the balloon. Gently stuff in the yarn pieces until the balloon feels soft and squeezable. Look for a smooth texture and try to avoid any lumps. Once your balloon is filled to your liking, tie it securely to prevent any mishaps. At this stage, get creative! Let your kids decorate the balloon with a rainbow face or colorful patterns, adding their personal touch to the craft.
Now, let’s explore some reasons why Rainbow Yarn Balloon Squishies work so well. The combination of yarn’s softness and the balloon’s stretchiness creates a delightful sensory experience. When the yarn is tightly packed, it provides a squishy feel that is fun to squeeze. You might consider also trying another project, such as the rainbow yarn kitten pom pom garland, for more colorful crafts.
Getting a Cleaner Finish
When making your Rainbow Yarn Balloon Squishies, ensuring a clean finish is important. One tip is to secure the balloon tightly without any air pockets. This helps form an even and smooth surface on the outside. You may also trim any excess yarn sticking out from the end of the balloon. This will give your project a neater appearance.
Adding permanent markers allows for more creativity. Use them to create unique designs or faces on your squishies. Look for bold colors that contrast with the yarn for a striking effect. Remember that the look of your squishies will change as you manipulate the balloon, so keep an eye out for the transformation as you decorate.
For those seeking a different kind of craft experience, you can also explore the fun science behind baking soda and vinegar or create magical crystals using safe materials with this baking soda rainbow crystal forest project.
Where to Display It
Once your Rainbow Yarn Balloon Squishies are complete, they can be displayed in various locations. They make great decorations for kids’ rooms, or you can place them in a sunny window to catch the light. The bright colors create an inviting ambiance, and they can also serve as a unique centerpiece for parties or gatherings.
Consider arranging them alongside other crafts, such as the back-to-school rainbow pencil bouquet, which would complement the bright theme perfectly. The layered textures and colors of these projects will surely brighten up any space.
FAQs
How can I make my Rainbow Yarn Balloon Squishies last longer?
To increase their longevity, avoid exposing them to sharp objects or direct sunlight for extended periods. Store them in a cool, dry place when not on display.
What if my squishies don’t hold air once inflated?
If the balloon seems deflated after tying, check for any small holes or tears. A new balloon or ensuring a tighter knot may solve the problem.
Can kids help with this project?
Absolutely! Kids can assist with yarn cutting and decorating. However, ensure they don’t handle any scissors without adult supervision.
How long does it take to make these squishies?
The total time to make Rainbow Yarn Balloon Squishies is about 30 to 45 minutes, depending on how elaborate the decorations are.
What should I do if the yarn is too hard to stuff into the balloon?
If you’re having trouble, cut the yarn into even smaller pieces or try wetting the yarn slightly to make it easier to manipulate.
Are there other similar projects I can try?
Definitely! You might enjoy creating a balloon baking soda experiment. It’s another engaging way to explore texture and color.
Conclusion
Rainbow Yarn Balloon Squishies provide a delightful, hands-on crafting experience that results in colorful decorations for any space. If you’re interested in the art of yarn, you might want to look into this resource on rainbow yarn. Additionally, consider exploring the benefits of sensory toys for children, found in this link for 16 PCS Sensory Fidget Stringy Balls. Enjoy crafting with your family!
Follow us on social for more DIY ideas & inspiration!
Rainbow Yarn Balloon Squishies
Would you like to save this project?
By submitting you agree to receive this project and occasional emails. Unsubscribe anytime.
Materials
Craft Materials
- 1 unit Latex balloon Choose a size suitable for your squishie.
- scraps unit Soft yarn scraps Variety of colors preferred for a rainbow effect.
- 1 unit Funnel or bottle top For easy stuffing of yarn into balloon.
- 1 pack Permanent markers For decorating the balloon.
Directions
Preparation
- Clear your workspace and gather all materials.
- Cut the yarn into short pieces for easier stuffing into the balloon.
Stuffing the Balloon
- Stretch the balloon over a funnel to facilitate stuffing.
- Gently stuff yarn pieces into the balloon until it feels soft and squeezable, avoiding lumps.
- Once filled, tie the balloon securely to prevent any mishaps.
Decorating
- Decorate the balloon using permanent markers, adding faces or colorful patterns.
Last Step: Don’t forget to leave a rating and comment below! It helps other readers find the best DIY projects — and it helps us too!