How to Grow a Baking Soda Crystal Tree
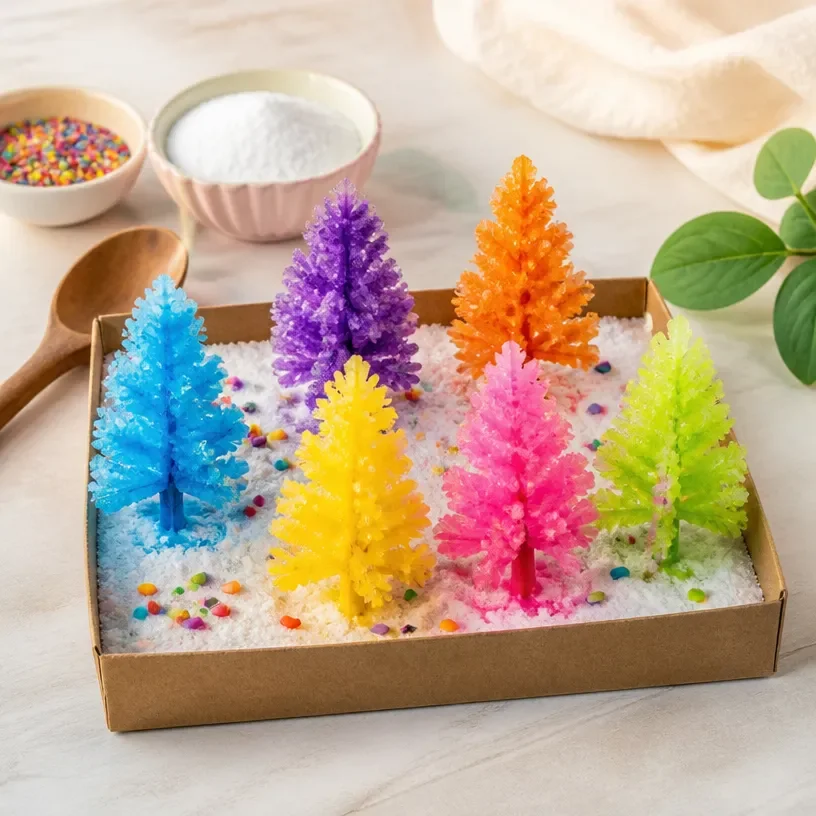
A baking soda crystal tree offers a stunning display as it grows. Over time, the process transforms ordinary baking soda and water into shimmering, sparkling crystals. This DIY project is engaging and visually captivating, making it perfect for families looking to explore science in a creative way. You may also find How To Make Baking Soda Growing Tree Diy useful.
To understand how this works, we need to look at the science behind crystal growth. When the solution of baking soda and water evaporates, the baking soda molecules form solid crystals. This process leads to the beautiful structures that you’ll enjoy. Before you get started, it’s important to gather the right materials for this project. You may also find How To Make Baking Soda Crystal Heart Growth useful.
Materials Needed
To grow your baking soda crystal tree, you will need the following materials:
- Baking soda
- Water
- A shallow dish or plate
- A small piece of string
- A stick or toothpick
- Food coloring (optional)
After collecting these materials, you’ll be ready to start creating your own crystalline masterpiece. You might find that you want to try making a baking soda crystal heart as well by checking out this guide.
Steps to Grow Your Crystal Tree
Prepare the solution: Mix three tablespoons of baking soda with a cup of hot water in your shallow dish. Stir until the baking soda dissolves completely. Look for the clear liquid that forms; this indicates successful mixing.
Set the base: Place a small stick or toothpick upright in the center of the dish. This will serve as the base of your crystal tree. Ensure it stands upright and stable.
Add string: Tie a length of string to the stick or toothpick. This will be the structure that your crystals grow upon. You should see the string hanging down into the solution.
Color your crystals: If you want colored crystals, add a few drops of food coloring to the solution and stir gently. Watch as the color spreads throughout the solution.
Let it grow: Leave the dish in a spot where it won’t be disturbed. As the water begins to evaporate, crystals will start forming on the string and stick. This process can take several hours to days. Keep an eye on your project for any exciting changes.
Observe the results: After a few days, your crystal tree will begin to take shape. Check the string and stick to see how the crystals have developed.
At this stage, you might find it interesting to compare your results with a baking soda growing tree that follows a different recipe from this resource.
What Goes Wrong and How to Fix It
Sometimes projects don’t go as planned. If your crystals are not forming, a few things could be the issue. Make sure you used enough baking soda and that your water was hot enough for better solubility. If the solution is cloudy, it might mean you added too much baking soda initially. Diluting it with more hot water can help clarify the solution.
If your crystals appear too small or nonexistent, consider leaving the project for a longer time. Sometimes it takes patience to see the magical growth.
Where to Display It
Once your crystal tree is complete, think about where to showcase it. It makes a stunning addition to a window sill as the sunlight can enhance its sparkle. You can also place it on a clean table or bookshelf for everyone to admire. The tree’s crystalline nature catches the eye, bringing a touch of magic to your home decor.
Variations
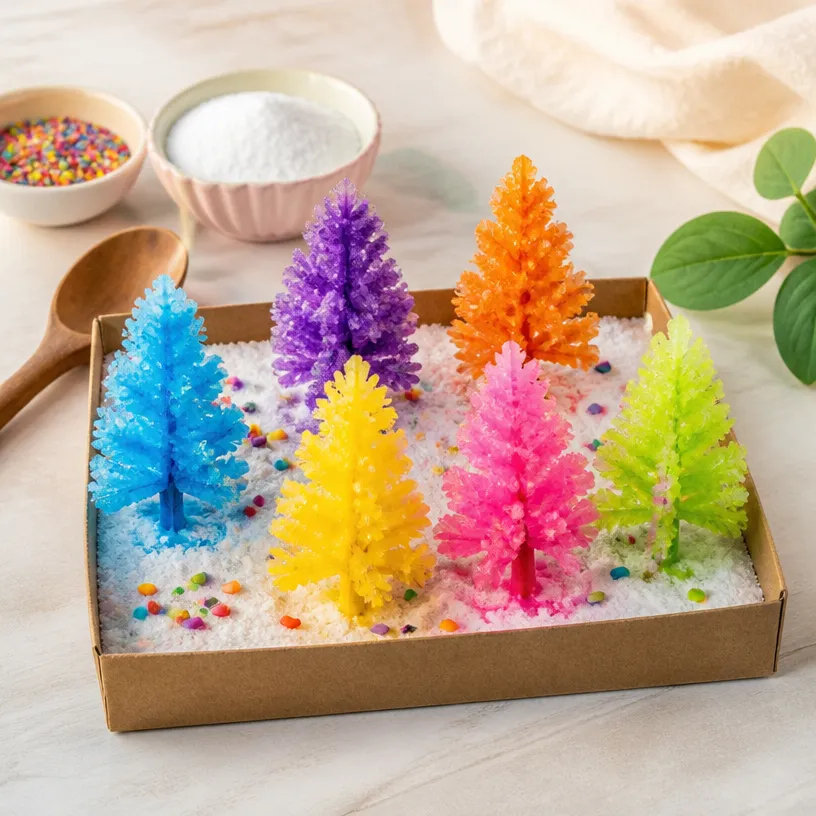
If you’re interested in experimenting, try changing the shape of your tree. You could create multiple sticks and turn them into a full forest of crystalline trees. Another fun idea is to mix in different colors for a vibrant display. You can find more variations of baking soda crystal experiments by exploring options like this site.
Try your hand at growing different structures made from baking soda. Each unique design can yield fascinating results that spark curiosity and creativity.
FAQs
How long does it take for the crystals to grow?
The time it takes for your crystals to grow can vary, but typically expect to see significant changes within 24 to 72 hours.
Why did my crystals not form well?
If your crystals didn’t form, it could be due to not using enough baking soda or not allowing the solution to evaporate properly. Make sure to follow the measurements carefully.
Can I use other substances instead of baking soda?
While baking soda is ideal for this project, you can also experiment with salt or sugar for different types of crystals. Each will create unique effects.
Is this project safe for children?
Yes, growing baking soda crystals is generally safe for children. However, adult supervision is necessary, especially when handling hot water.
How can I store my crystal tree?
Keep your crystal tree in a dry area to minimize moisture. Displaying it with a cover can help preserve it longer.
Can I reuse the materials for another project?
Once the project is complete, the materials can be reused for other experiments. Just ensure you rinse everything thoroughly to avoid contamination.
Conclusion
Creating a baking soda crystal tree is a fantastic way to explore science while crafting something beautiful. For more fun projects that involve crystals, consider checking out the Crystal Pine Tree DIY or explore options with the three Christmas tree experiments that can add festive cheer to your home. Enjoy your crafting adventure!
Follow us on social for more DIY ideas & inspiration!
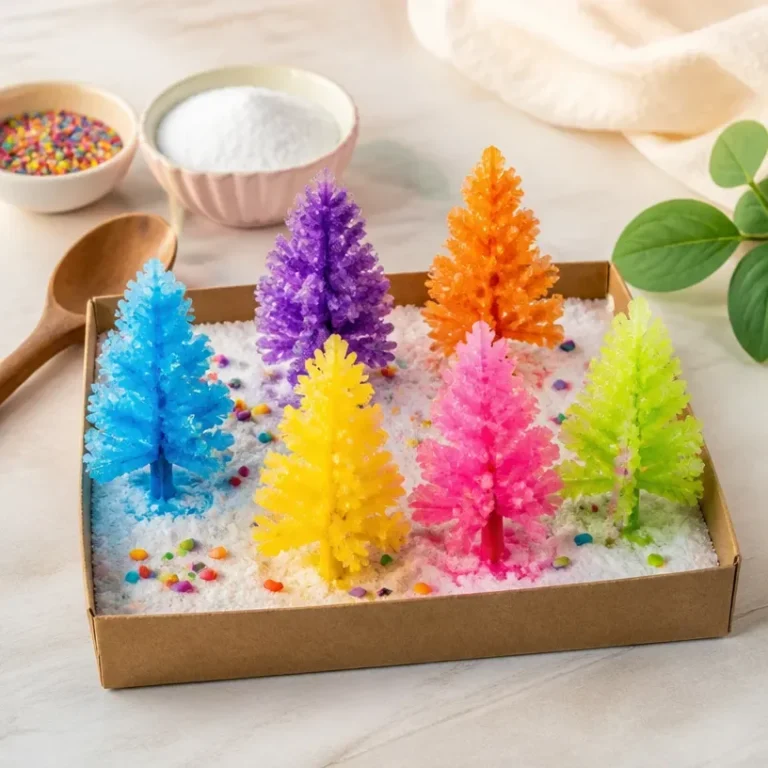
Baking Soda Crystal Tree
Would you like to save this project?
By submitting you agree to receive this project and occasional emails. Unsubscribe anytime.
Materials
Materials Needed
- 3 tablespoons Baking soda Key ingredient for crystal formation.
- 1 cup Water Use hot water for better solubility.
- 1 piece A shallow dish or plate To hold the solution.
- 1 piece A small piece of string For crystals to grow on.
- 1 piece A stick or toothpick Serves as the base for the crystal tree.
- optional Food coloring To add color to the crystals.
Directions
Preparation
- Mix three tablespoons of baking soda with one cup of hot water in your shallow dish. Stir until the baking soda dissolves completely.
- Place a small stick or toothpick upright in the center of the dish to serve as the base of your crystal tree.
- Tie a length of string to the stick or toothpick so it hangs down into the solution.
- If desired, add a few drops of food coloring to the solution and stir gently.
- Leave the dish in a spot where it won’t be disturbed for the crystals to form as the water evaporates.
- After a few days, check the string and stick to see how the crystals have developed.
Last Step: Don’t forget to leave a rating and comment below! It helps other readers find the best DIY projects — and it helps us too!