Creating your own Crystal Growing Art can transform a simple pipe cleaner shape into a sparkling decoration. The moment you pull it from the solution, you’ll see the beautiful crystals shimmering with a variety of colors. This project is not only fun but also a fascinating insight into how crystals form. You may also find How To Make Growing Crystal Ornaments Heart useful.
What Makes This Work
The magic behind growing crystals lies in the process of crystallization. When borax dissolves in hot water, the solution becomes saturated. As the water cools and evaporates, the borax begins to crystallize, forming unique shapes on your pipe cleaner structures.
Materials
To create your art, you’ll need:
- Pipe cleaners
- Borax
- Hot water
- Jars
- Food coloring
- Pencils
- String
Steps
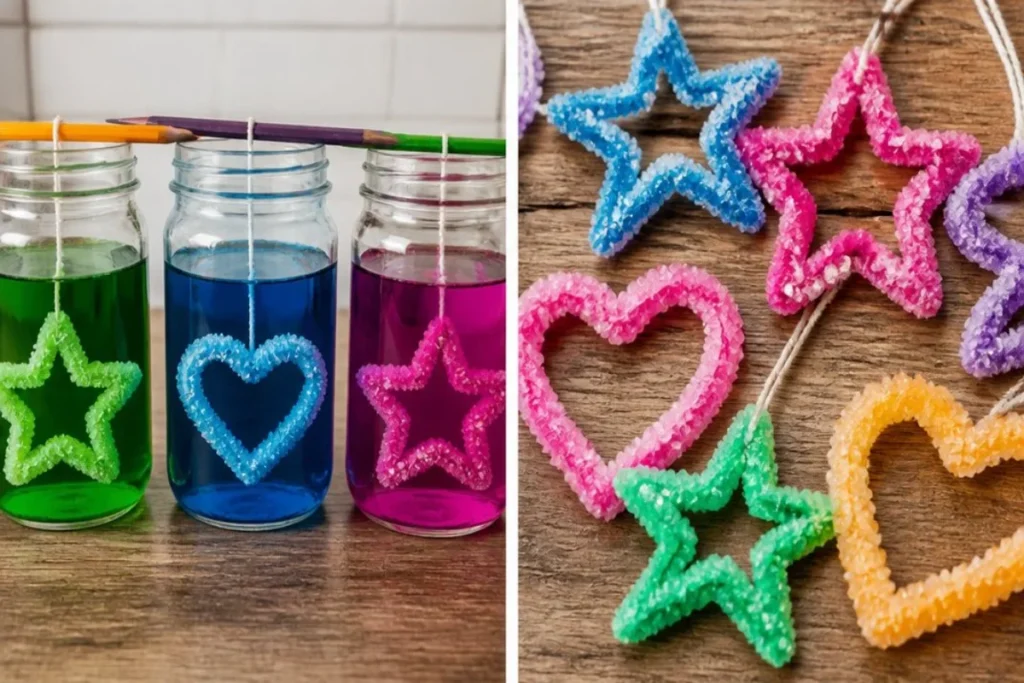
Bend the pipe cleaners into fun shapes like stars or hearts. Use your creativity to make different designs, as these shapes will influence how the crystals grow.
In a jar, dissolve borax in very hot water. A good rule of thumb is to use about three tablespoons of borax for each cup of hot water. If you’d like, you can add food coloring at this stage to tint your crystals. The color might change as the crystals form, adding a lovely visual appeal.
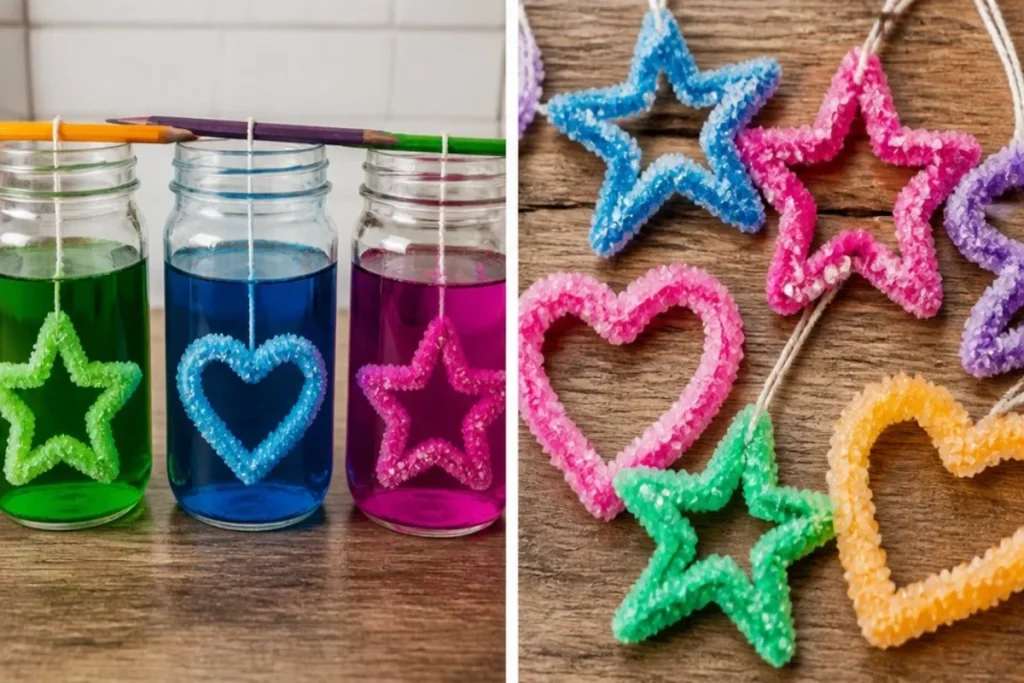
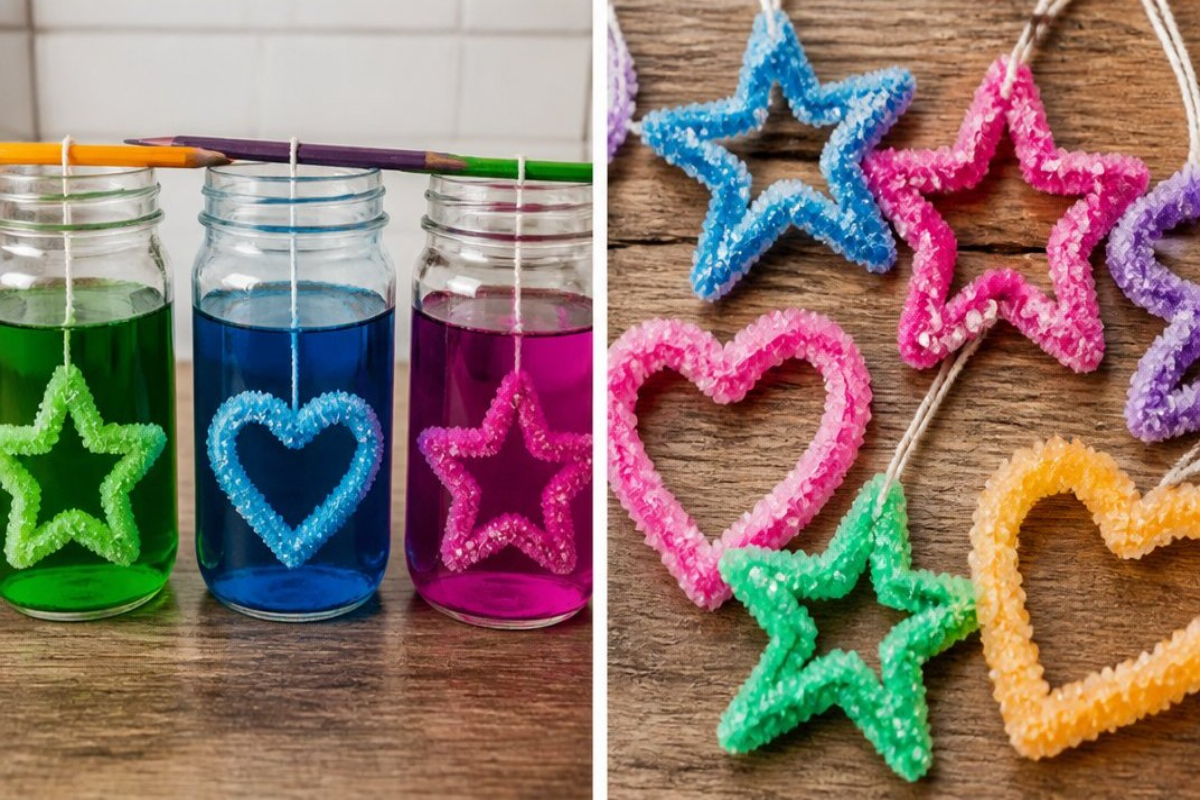
Suspend your shapes in the solution using string tied to a pencil placed across the jar. Ensure that the pipe cleaner does not touch the bottom or sides of the jar, as this can interfere with crystal growth.
Leave it overnight. As the solution cools, you’ll notice changes in the liquid. Tiny crystals begin to form around your shapes. After a good night’s rest, remove your creations, let them dry, and prepare to display them.
What Goes Wrong and How to Fix It
Sometimes, the crystals might not appear as expected. If they seem too small or sparse, consider these tips. Make sure the water is truly hot when dissolving the borax, as cooler water can lead to fewer crystals. Additionally, ensure your pipe cleaners are fully submerged to maximize crystal growth. For more complex designs, try experimenting with different shapes as seen in this example.
Where to Display It
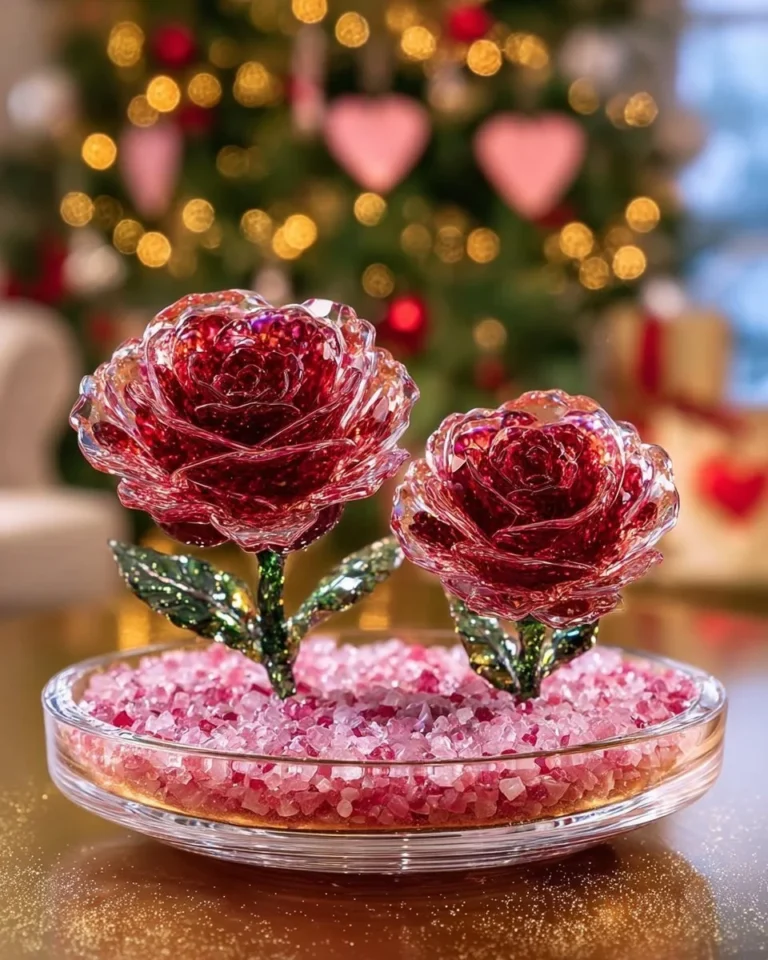
Once dried, your crystal decorations can bring a sparkly touch to any space. They look beautiful on a shelf or hanging in a window where sunlight can catch the crystals. Consider using a clear jar for a lovely display that shows off the crystals inside. Placing them adjacent to a growing crystal pink heart can enhance the vibrant colors in your space.

Variations
To keep things exciting, you can create different variations of this project. Use different colors of food coloring or even mix them to see what unique shades you can achieve. Trying out various shapes will also impact how the crystals form, allowing you to create an entirely new display. If you’re interested in other types of crystal-growing projects, check out these amazing baking soda crystal-growing trees for even more creativity.
FAQs
How long does it take to grow crystals?
Crystals typically start forming within a few hours but will become more pronounced overnight.
Can children help with this project?
Yes! This project is suitable for kids, but supervision is important when handling hot water and borax.
What materials can I use instead of borax?
While borax is effective, you can also use sugar or salt, but the results may vary.
Why didn’t my crystals turn out well?
Crystals may not form if the borax didn’t dissolve fully or if the water cooled too fast. Ensure that your setup is optimal for crystal growth.
How should I care for my crystal art?
Keep your crystal decorations in a dry spot. Avoid direct moisture to prevent dissolving.
How do I get a cleaner finish on my designs?
If you want a smoother look, consider letting the crystals dry completely before touching them, ensuring they retain their formed shapes.
Conclusion
Making crystal-growing art is not just a fun craft; it can also offer insight into science and creativity. If you want to learn more about growing crystals at home, check out this detailed guide on growing crystals. Additionally, the College of Chemistry provides great resources for perfecting your technique in crystal growth. Enjoy your crafting adventure!
Follow us on social for more DIY ideas & inspiration!
Crystal Growing Art
Would you like to save this project?
By submitting you agree to receive this project and occasional emails. Unsubscribe anytime.
Materials
Materials for Crystal Art
- 1 bunch Pipe cleaners Use different colors and shapes.
- 3 tablespoons Borax Dissolve in hot water.
- 1 cup Hot water Water should be very hot for effective dissolution.
- 1 jar Jar For suspending your shapes.
- 1 few drops Food coloring Optional, for tinting crystals.
- 1 pencil Pencil To suspend the pipe cleaners.
- 1 length String To tie the pipe cleaners for suspension.
Directions
Preparation
- Bend the pipe cleaners into fun shapes like stars or hearts.
- In a jar, dissolve borax in very hot water, about three tablespoons for each cup.
- Add food coloring if desired to tint the crystals.
- Suspend the shapes in the solution using string tied to a pencil across the jar.
- Ensure the pipe cleaner does not touch the bottom or sides of the jar.
- Leave the setup overnight.
Finishing
- After a night, remove your creations and let them dry.
- Display them in a lovely jar or in sunlight for the best visual effect.
Last Step: Don’t forget to leave a rating and comment below! It helps other readers find the best DIY projects — and it helps us too!