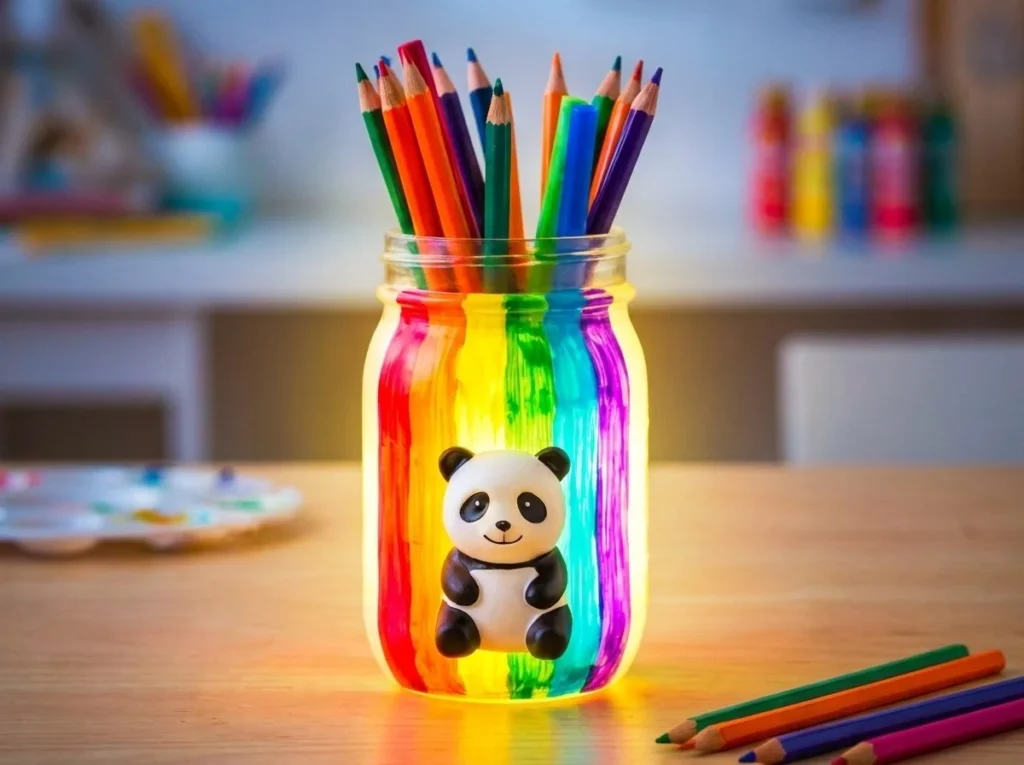
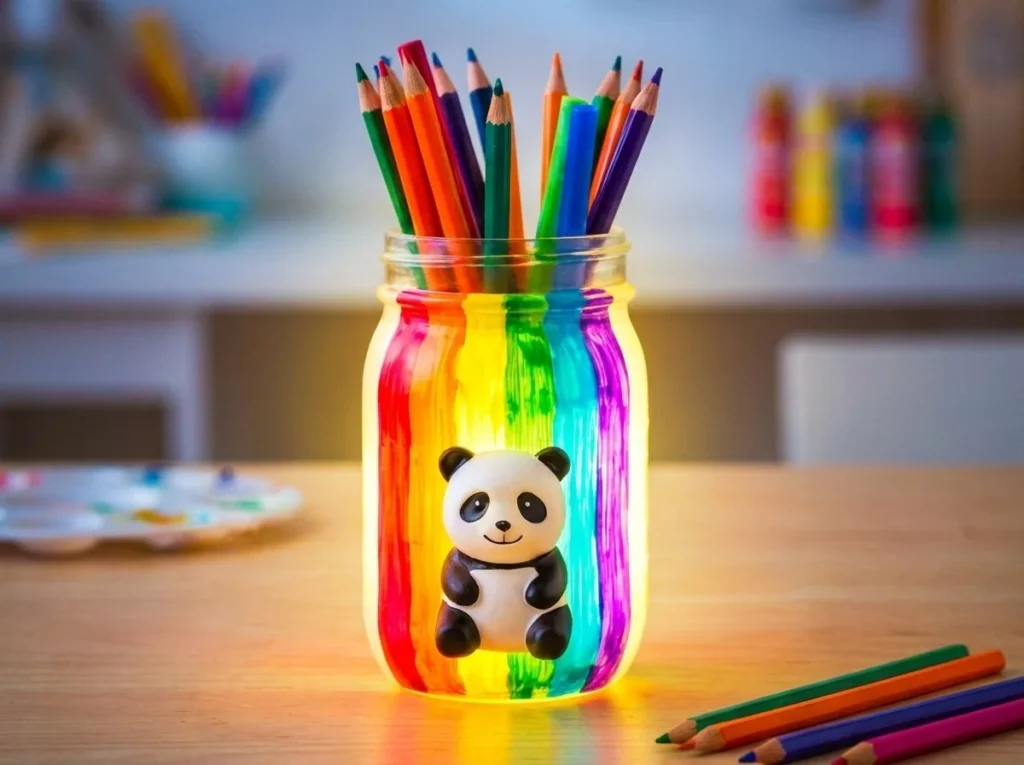
The Rainbow Panda Glow Pencil Jar is a vibrant project that adds a warm glow to any space. As you craft this jar, you’ll observe a lovely transformation, enhancing the overall aesthetic wherever it is displayed. This simple guide will walk you through making your very own version of this eye-catching decor piece, perfect for holding pencils, pens, or just as a decorative item. You may also find Glowing Rainbow Potion In Crystal Jar Enchanted Elixir useful.
What Makes This Work
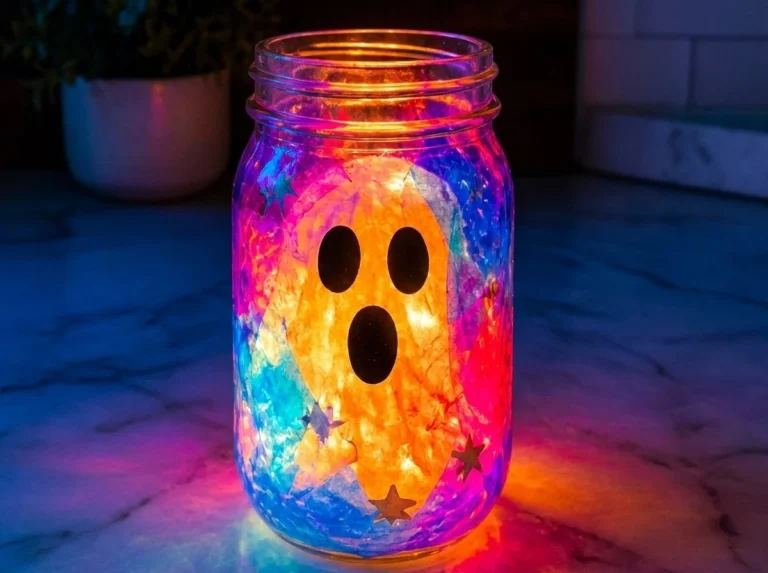
The mixture of colors and materials creates an enchanting effect, especially when the micro fairy lights are inside. The translucent tissue and colorful cellophane let light pass through, producing a soft and inviting glow. This luminous quality not only beautifies a shelf or desk but also brings a touch of whimsy to any setting, making it a captivating addition to your craft collection.
Materials
To create your Rainbow Panda Glow Pencil Jar, gather the following materials:
- Clear plastic jar
- Black vinyl
- White translucent tissue
- Clear pink cellophane
- Clear blue cellophane
- Rainbow tissue
- Clear glue
- Micro fairy lights
Steps
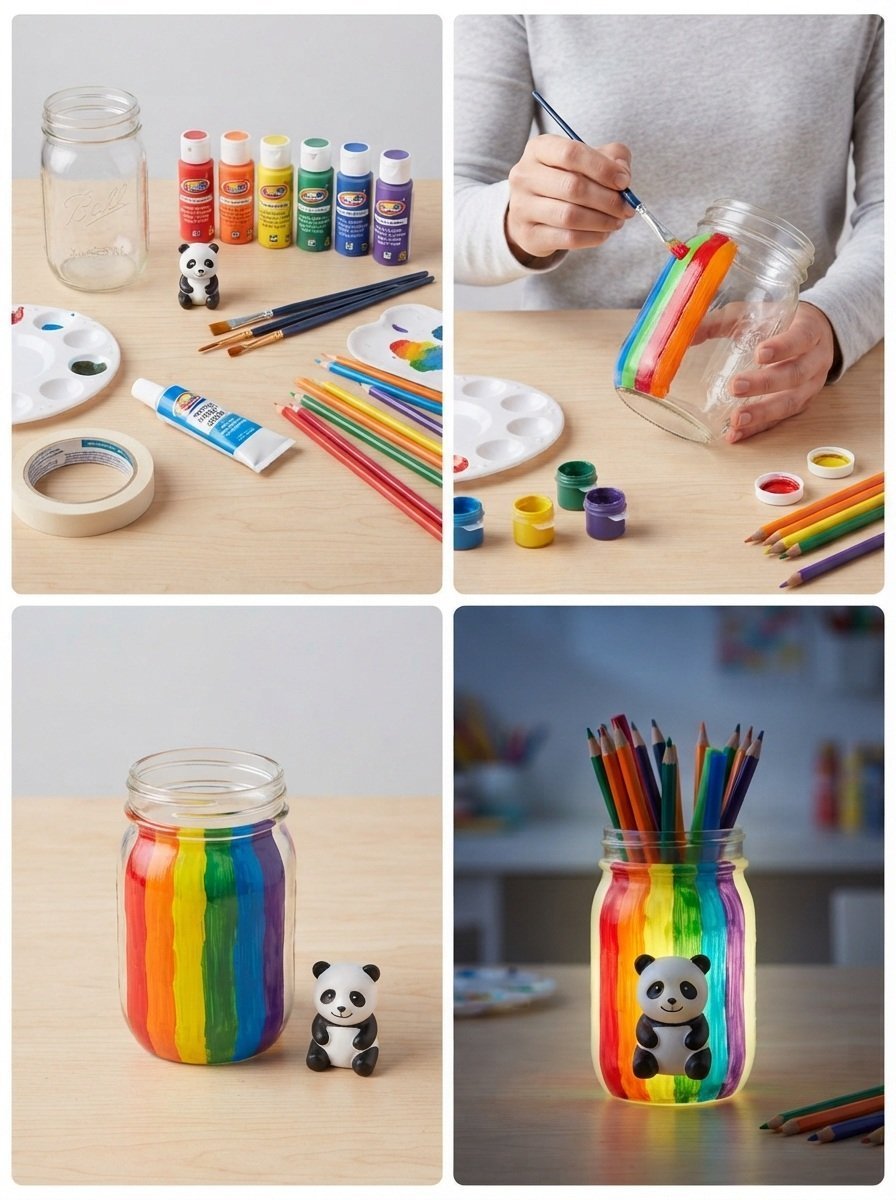
- Cover Sections of the Clear Jar with White Translucent Tissue
- Start by taking the white translucent tissue and tearing it into strips. Apply clear glue to the sections of the clear jar, then carefully place the tissue over the glue. This step will create a frosted appearance. Look for a smooth, non-tacky surface once dry.
- Cut Out Black Panda Ears and Eye Patches from Vinyl and Attach Them
- Use the black vinyl to cut out two panda ears and two eye patches. The contrasting black against the white tissue brings out the panda’s features. Attach these pieces to the jar using clear glue, ensuring they adhere well.
- Create Clear-Pink Cheeks and a Clear-Blue Bow Using the Cellophane
- From the clear pink cellophane, cut out two rounds for cheeks, and from the clear blue cellophane, cut a bow shape. Use clear glue to attach the cheeks and bow to their respective areas on the jar. This colorful addition enhances the panda’s charm.
- Add a Narrow Rainbow Band Around the Bottom of the Jar
- Take the rainbow tissue and cut a strip that fits around the base of the jar. Secure it with clear glue, ensuring it aligns properly. This vibrant band will complete the panda’s playful look while creating a lovely border.
- Coil the Micro LEDs Inside the Jar Around a Smaller Pencil Cup to Create a Soft Glow
- Place a smaller pencil cup inside the jar to help organize your fairy lights. Coil the micro LEDs around this cup, making sure they’re evenly dispersed. Once the lights are plugged in, observe how the glow enhances the colors you’ve used and brings the jar to life.
What Goes Wrong and How to Fix It
Be mindful of glue application; too much can cause uneven surfaces. If your findings result in a tacky finish, let it dry completely and consider a light reapplication of clear glue for added smoothness. If parts fall off, re-glue them and provide sufficient drying time. For the LED lights, ensure they are securely placed to prevent them from shifting.
Where to Display It
The Rainbow Panda Glow Pencil Jar is versatile in its display options. It works wonderfully on a child’s desk, brightening up study sessions. Consider placing it on a windowsill or a shelf to truly show off the glowing effect. For a creative touch, you can even group it with other DIY projects, such as the Rainbow Panda Pencil Cup for an inspiring craft area.
Variations
Don’t hesitate to explore your creativity! Customizing colors or patterns can give each jar its unique twist. You could also experiment with different shapes of jars or add additional embellishments like glitter or stickers for a more personal touch. For more inspiration, check out the Glowing Rainbow Potion Crystal Jar.
FAQs
How long will this project take?
Typically, the Rainbow Panda Glow Pencil Jar may take about an hour to complete, especially if you take your time to ensure every layer is applied neatly.
Can children help with this project?
Absolutely! This project is a great way for children to express their creativity. However, adult supervision is recommended when using sharp tools for cutting and handling glue.
Why didn’t my lights work?
If your lights aren’t working, check the batteries and connections. Ensure that the LED strands are properly coiled around the inner cup and plugged in correctly.
Can I use different colors of tape or tissue?
Yes, you can use any colors that you have at hand! Just make sure the colors work together harmoniously to keep the vibrant theme alive.
How can I make it last longer?
To prolong the lifespan of your jar, avoid placing it in direct sunlight for long durations. The adhesives may weaken over time, and direct sunlight can affect color vibrancy.
Can I change the size of the jar?
Sure! This project can be adjusted to any jar size you like, just remember that larger jars might require more materials and lights to achieve the same aesthetic.
Conclusion
Making a Rainbow Panda Glow Pencil Jar brings an engaging DIY experience into your home. Not only does it serve a practical purpose, but it also adds a touch of fun to any room. For more interesting craft ideas, visit All Crafts | DIY Glow. If you’re looking for unique items to complement your creations, check out the Etsy items gallery and links – Rob Droessler for inspiration!
Follow us on social for more DIY ideas & inspiration!
Rainbow Panda Glow Pencil Jar
Would you like to save this project?
By submitting you agree to receive this project and occasional emails. Unsubscribe anytime.
Materials
Materials
- 1 piece Clear plastic jar Choose a size that suits your needs.
- 1 sheet Black vinyl For panda ears and eye patches.
- 1 sheet White translucent tissue Used to create a frosted appearance.
- 1 sheet Clear pink cellophane To make the panda's cheeks.
- 1 sheet Clear blue cellophane To create the panda's bow.
- 1 sheet Rainbow tissue For the band around the jar.
- 1 bottle Clear glue For assembling all parts.
- 1 string Micro fairy lights To create the glowing effect.
Directions
Preparation
- Cover sections of the clear jar with white translucent tissue by tearing it into strips and applying clear glue to the jar.
- Cut out two panda ears and two eye patches from the black vinyl, then attach them to the jar using clear glue.
- Cut out two rounds for cheeks from the clear pink cellophane and a bow shape from the clear blue cellophane, then attach them to their respective areas on the jar.
- Cut a strip of rainbow tissue to fit around the base of the jar and secure it with clear glue.
- Place a smaller pencil cup inside the jar and coil the micro LEDs around it, ensuring they are evenly dispersed.
Last Step: Don’t forget to leave a rating and comment below! It helps other readers find the best DIY projects — and it helps us too!