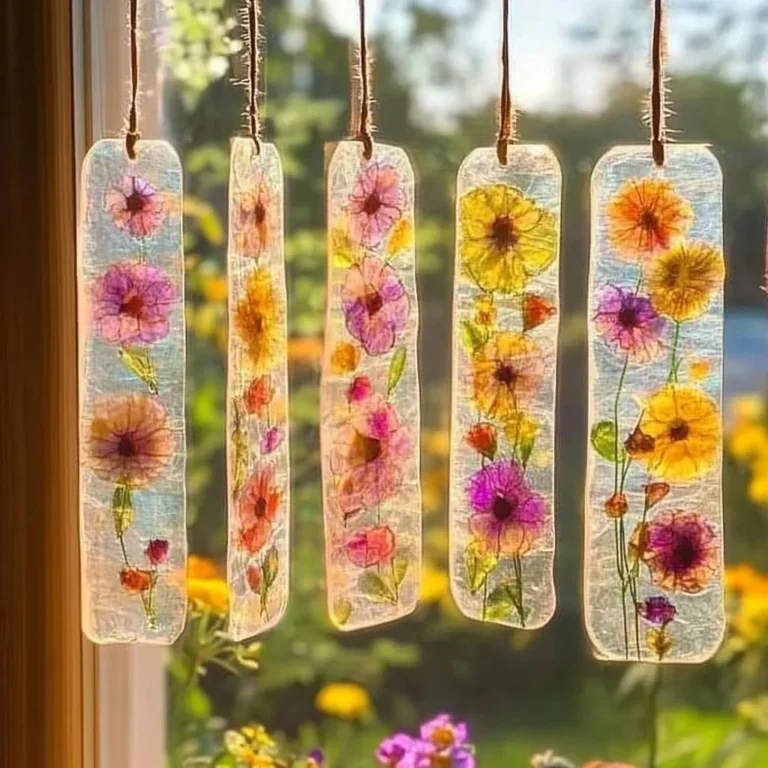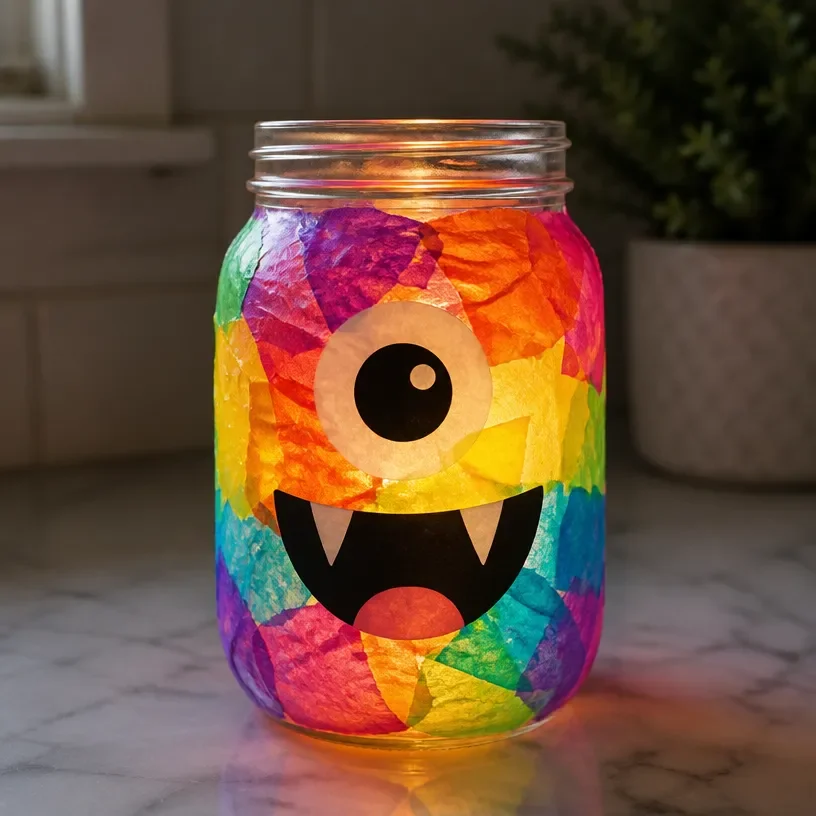
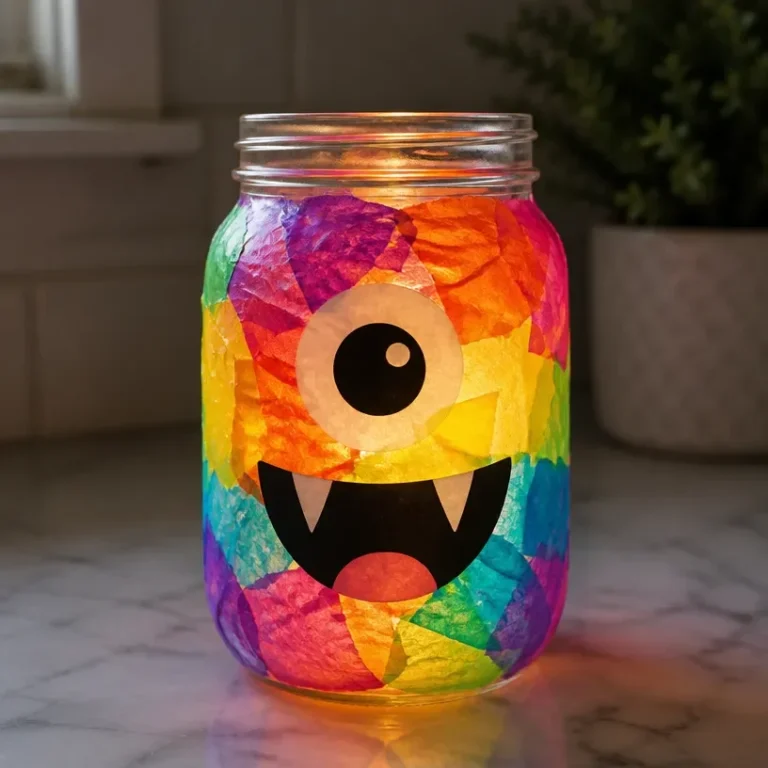
Glow-in-the-Dark Rainbow Monster Lanterns Turns Into Art is an engaging project that transforms a simple craft into a glowing piece of décor. As you start making this lantern, you’ll notice the colors come to life in unexpected ways, especially under black light. This project provides a perfect blend of creativity and science, making it a fun activity for families. You may also find Diy Colorful Foam Turns Into Calm useful.
What Makes This Work
This project combines everyday craft materials with the exciting element of light. The glowing effect comes from phosphorescent paints and materials that store light energy and release it slowly, creating a soft glow once the light source is removed. Understanding how light interacts with these materials can enhance your project and make it even more enjoyable. You may also find Melted Crayon Borax Pipe Cleaner Rainbow Heart Suncatcher useful.
Materials
To begin crafting your Glow-in-the-Dark Rainbow Monster Lanterns, gather the following materials: You may also find Prismatic Rainbow Crystal Wall Art useful.
- Clear plastic bottle or jar
- Glow-in-the-dark paint (various colors)
- Paintbrushes or sponges
- Black light (optional)
- Newspaper or drop cloth
- Craft knife or scissors
- Battery-operated tea light candles
Utilizing these materials will help create a stunning lantern. You can also look into recycling art supplies for additional inspiration, such as glowing rainbow flowers made from broken crayons.
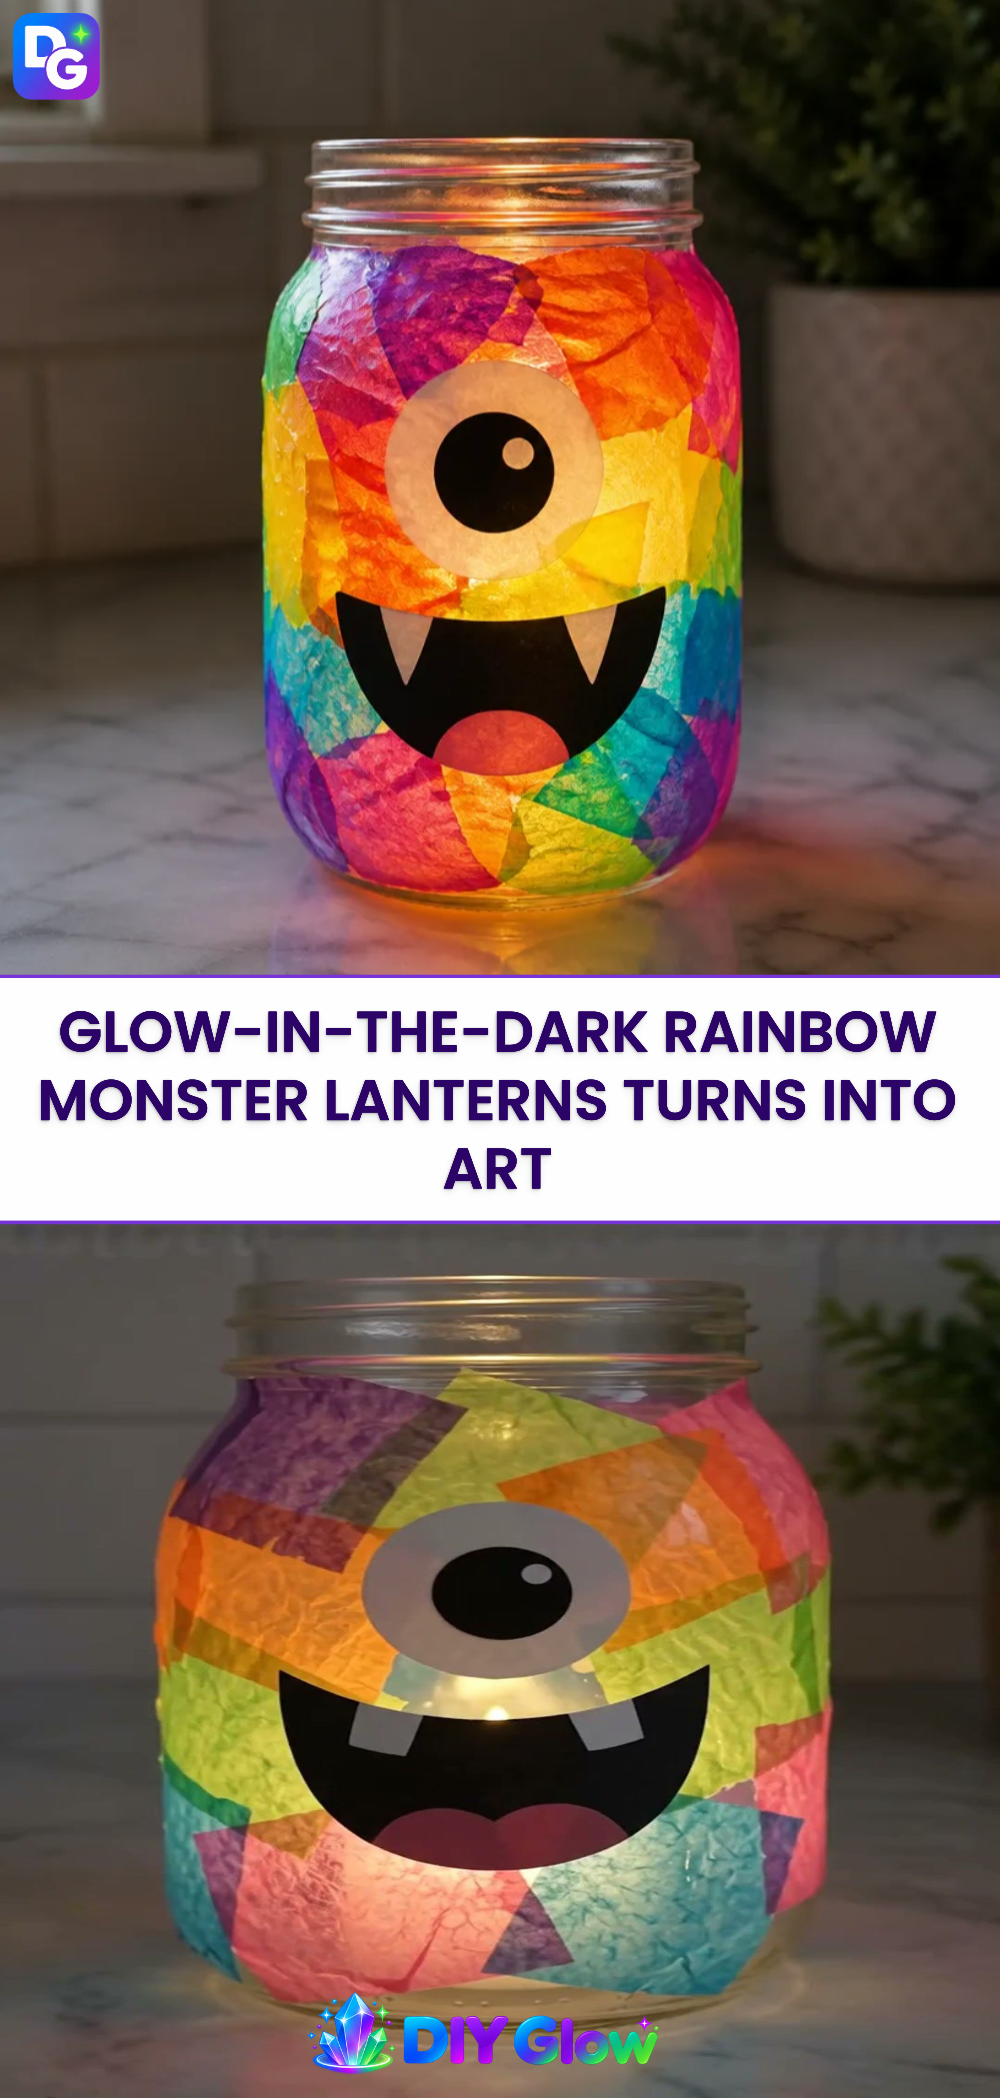
Steps
Prepare Your Workspace
Lay down newspaper or a drop cloth to protect your working area. This will make clean-up easier and keep your project on the right track.Design Your Lantern
Using a craft knife or scissors, carefully cut out shapes or designs on the plastic bottle or jar. These openings will allow light to shine through and create a unique glow. Take care with sharp tools; it’s best for an adult to handle this step.Apply Glow-in-the-Dark Paint
Using a paintbrush or sponge, apply glow-in-the-dark paint to the inner walls of the jar or bottle. Make sure to cover it evenly. Once the first coat is dry, apply a second coat for a brighter effect. Look for a smooth texture that indicates your paint is well applied.Drying Time
Allow the lantern to dry completely. This may take a few hours depending on the paint used. The final color should be vibrant and should not appear tacky to the touch.Add a Light Source
Place a battery-operated tea light inside the lantern. Ensure this light is secure and will not fall during use. When the lantern is lit, check how the light shines through your cut-out designs.Final Touches
If desired, you can decorate the outside of the jar with additional paint or stickers. This will personalize your lantern and add to its visual appeal.Testing the Glow
After the lantern is complete, take it into a dark room or under a black light. You should see a lovely glow. The effect is strongest when the lantern has charged in bright light prior to dimming the surroundings.
What Goes Wrong and How to Fix It
Sometimes the glow might not be as strong as expected. Ensure that the paint used is indeed glow-in-the-dark and has charged adequately under light. If the paint appears uneven or patchy, you may need to apply another coat.
Where to Display It
These lanterns are perfect for any room in your home. Consider placing them in windows, on shelves, or even in a child’s room for a soothing night light. They could also enhance a cozy reading corner or set a festive mood during celebrations. You may also want to explore creating a colorful foam display using techniques found in rainbow foam projects to accompany your lantern.
Variations
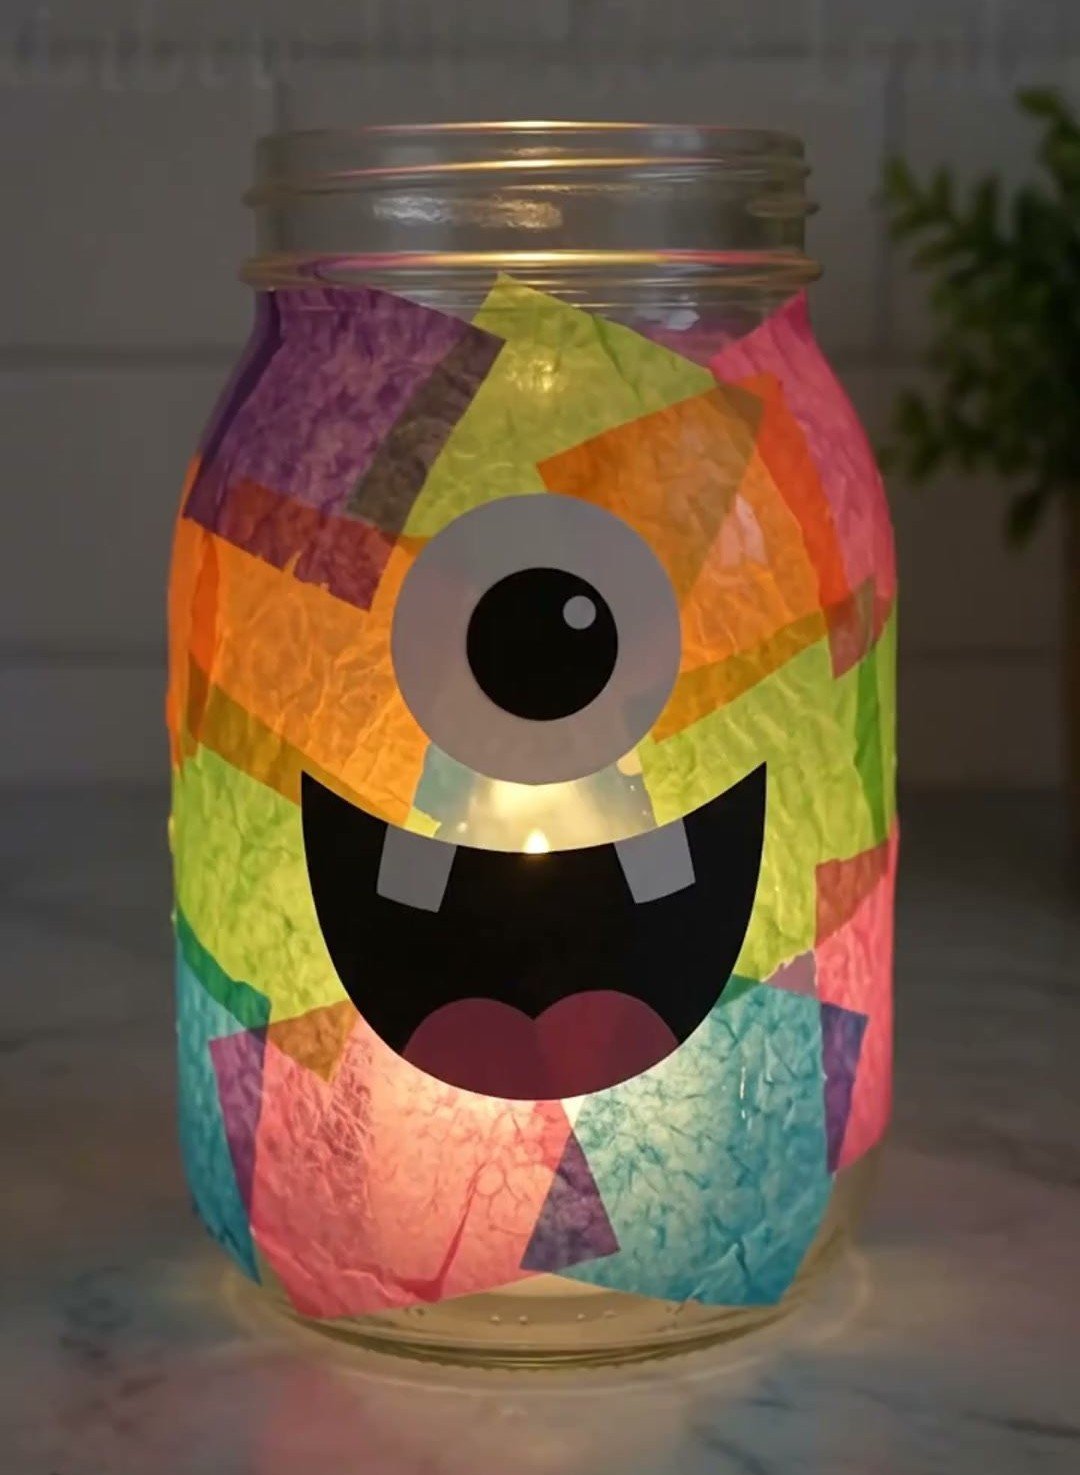
The Glow-in-the-Dark Rainbow Monster Lanterns can be customized in numerous ways. Try incorporating different shapes or colors of cut-outs. You could also experiment with adding textures using materials such as glitter for added sparkle. Each alteration can change the character of the lantern entirely.
FAQs
How long does the glow last?
The glow typically lasts for a few hours after charging in light. For a stronger glow, expose the lantern to bright light for a longer duration.
What type of paint is best for this project?
Glow-in-the-dark acrylic paint works well for this project as it is durable and adheres well to plastic surfaces.
Can I use a regular candle instead of a battery-operated one?
Using a regular candle is not recommended as it poses a fire hazard. Stick to battery-operated lights for safety.
What if my lantern is not glowing brightly?
Check if the glow-in-the-dark paint is charged adequately. Expose it to direct light before testing its glow in the dark.
Is this project suitable for children?
Yes, it’s a great project for children, especially with adult supervision. Just make sure to handle sharp tools and heat sources carefully.
How can I enhance the appearance of the lantern?
Consider decorating with additional craft supplies, such as rhinestones or ribbons, to enhance its visual appeal.
Conclusion
Creating a Glow-in-the-Dark Rainbow Monster Lanterns Turns Into Art is a delightful craft that combines creativity with a touch of science. For further inspiration, you may find resources on glow-in-the-dark activities for kids and the Tutorial: Object Source Lighting beneficial as you explore more glowing projects. Happy crafting!
Follow us on social for more DIY ideas & inspiration!
Glow-in-the-Dark Rainbow Monster Lanterns
Would you like to save this project?
By submitting you agree to receive this project and occasional emails. Unsubscribe anytime.
Materials
Materials
- 1 piece Clear plastic bottle or jar This will serve as the base for the lantern.
- 1 Glow-in-the-dark paint (various colors) Choose vibrant colors for the best effect.
- 1 set Paintbrushes or sponges Used for applying paint.
- 1 optional Black light Enhances the glow effect; optional but recommended.
- 1 piece Newspaper or drop cloth Protects your workspace.
- 1 piece Craft knife or scissors For cutting out shapes; adult supervision required.
- 1 piece Battery-operated tea light candles Safe light source for the lantern.
Directions
Preparation
- Lay down newspaper or a drop cloth to protect your working area.
Design
- Using a craft knife or scissors, carefully cut out shapes or designs on the plastic bottle or jar.
Painting
- Using a paintbrush or sponge, apply glow-in-the-dark paint to the inner walls of the jar or bottle, ensuring even coverage.
- Allow the first coat to dry, then apply a second coat for a brighter effect.
Drying
- Allow the lantern to dry completely for a few hours.
Adding Light
- Place a battery-operated tea light inside the lantern and ensure it is secure.
Final Touches
- Decorate the outside of the jar with additional paint or stickers if desired.
Testing
- Take the lantern into a dark room or under a black light to see the glow effect.
Last Step: Don’t forget to leave a rating and comment below! It helps other readers find the best DIY projects — and it helps us too!