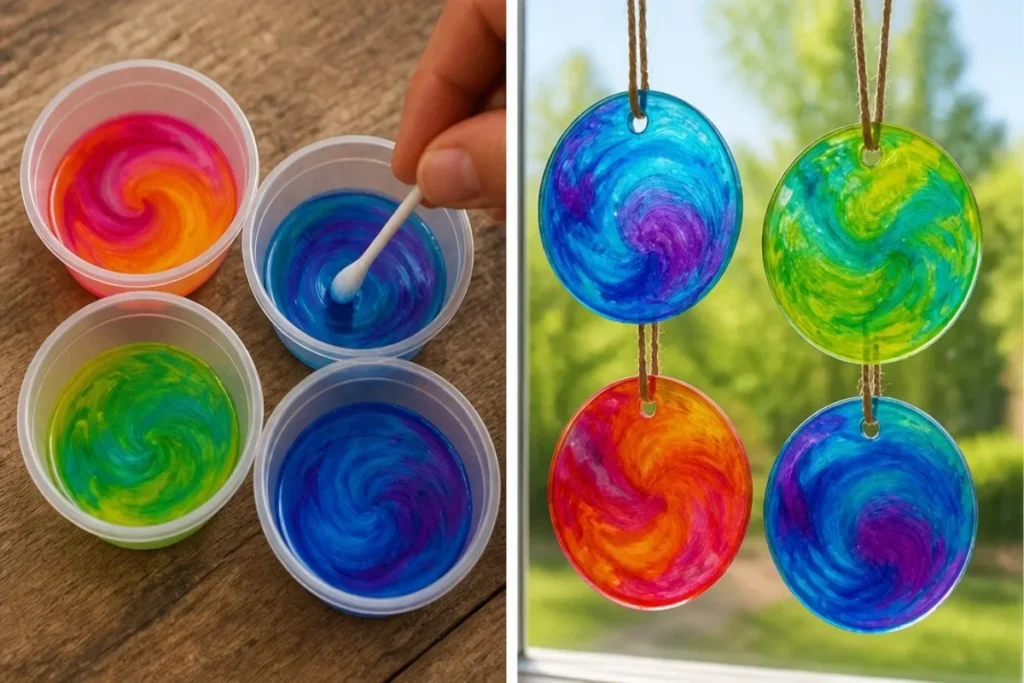
Swirl Glue Suncatchers are a beautiful addition to any space, transforming light into vibrant colors as they hang in windows. This project is simple and visually stunning, making it perfect for children and adults alike. Once these suncatchers are dry, their glossy surface will catch the light and create fascinating patterns that brighten up any room. You may also find Swirled Glue Suncatchers 2 useful.
To create your Swirl Glue Suncatchers, you’ll need the following materials: clear glue, liquid watercolor, plastic lids, cotton swabs or toothpicks, a hole punch, and string. The clear glue serves as the base for your design, and the liquid watercolor adds brilliant splashes of color. Each step in the process will yield noticeable changes, ensuring a rewarding crafting experience. You may also find Clear Glue Suncatchers Cozy useful.
What Makes This Work
Here’s how this craft turns ordinary materials into colorful decorations. Clear glue becomes transparent when dry, setting the context for vibrant liquid watercolor to swirl and blend. This project is not only visually appealing but also uses simple materials you likely have at home, which makes it accessible and enjoyable for everyone. If you’re looking for different techniques, explore variations on suncatcher techniques to add even more creativity to your projects.
Materials
Gather these materials to start making your Swirl Glue Suncatchers:
- Clear glue
- Liquid watercolor
- Plastic lids
- Cotton swab or toothpick
- Hole punch
- String
These supplies are the key to creating your colorful designs. Make sure to prepare a clean working area to fully enjoy the creative process.
Steps
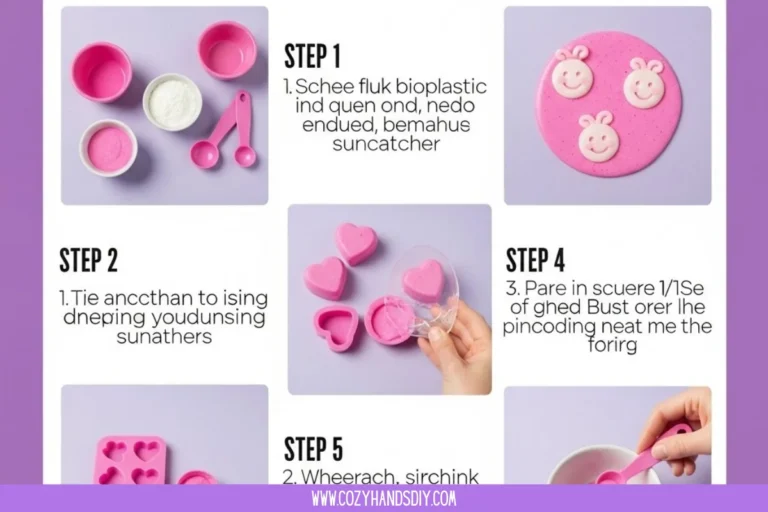
Pour clear glue into the plastic lids. Aim for a thickness that will allow room for swirling colors but not so much that it takes a long time to dry.
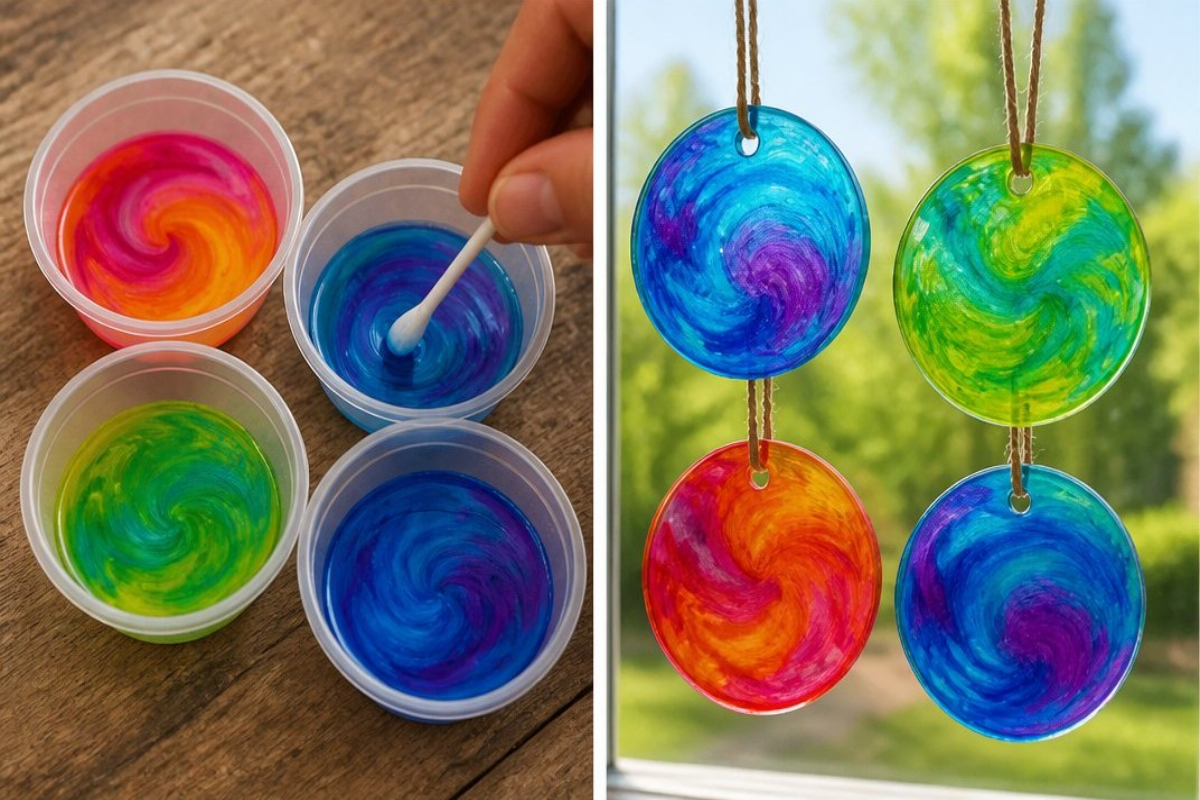
Add several drops of liquid watercolor. Use different colors to create vibrant swirls and contrasts that will show beautifully when the sun shines through.
Gently swirl the colors together using a cotton swab or a toothpick. Look for the way that colors blend, and take care not to mix them completely. You want to see distinct swirls rather than a solid color.
Leave the lids flat until the glue is fully transparent and dry. Depending on the humidity, it can take a few hours. Check regularly for signs of transparency; this is essential for the suncatcher’s final appearance.
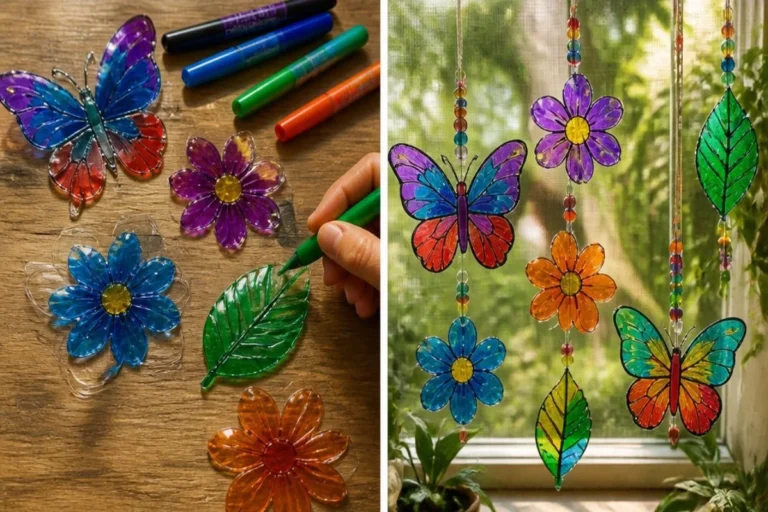
Once dry, peel the suncatchers from the lid, punch a hole, and hang them up. The vibrant colors will stand out against your windows, especially in natural light. To ensure the best results, refer to additional suncatcher ideas at DIY Glue Suncatchers page.
What Goes Wrong and How to Fix It
Sometimes mistakes can happen while crafting your suncatchers. If the glue does not dry clear, it may be too thick or humid. Simply peel off the glue, allow it to dry further, and retry. If the colors blend too much, consider using less liquid watercolor. This keeps colors distinct when swirling.
Where to Display It
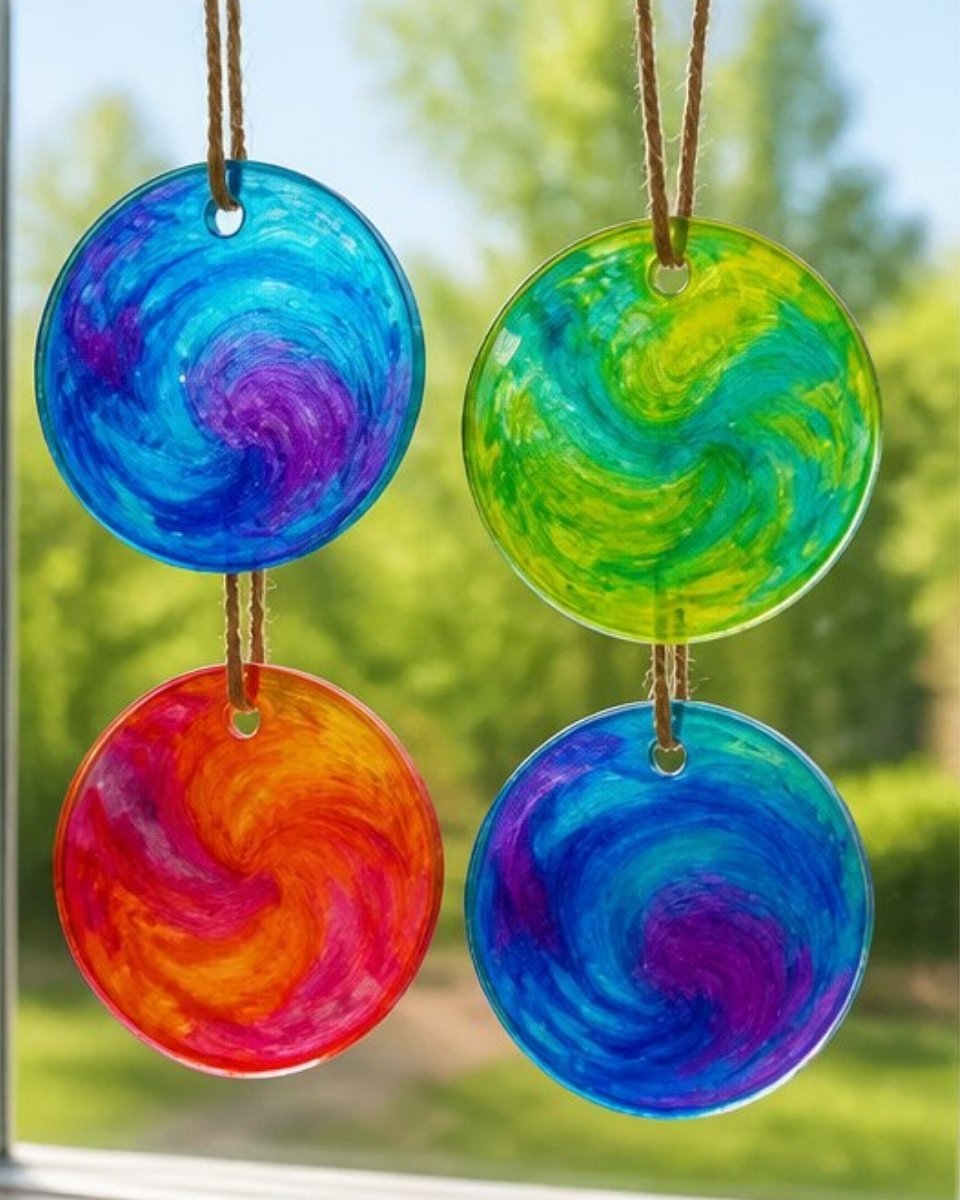
Swirl Glue Suncatchers look stunning in various locations. Display them in windows where they will catch sunlight for the best effect. You might also consider hanging them near lamps for a soft, glowing appearance when it’s dark outside. Displaying them among plants can also add a colorful touch to your home decor.
Variations
There are numerous ways to customize your Swirl Glue Suncatchers. You can try using different types of glue, such as adding glitter or using colored glue instead of clear. Additionally, changing the shapes of the lids can enhance the final look. Take inspiration from different swirling techniques that can spark your creativity further.
FAQs
Can you use other types of glue?
While clear glue is recommended for its smooth finish, you can experiment with different types as long as they dry clear.
How long do they last?
Once dry, these suncatchers can last several months, but their vibrant colors may fade over time if exposed to direct sunlight frequently.
Can children help with this project?
Yes! This is a family-friendly project. Just supervise younger children, especially when using the hole punch.
What if my colors mix too much?
To avoid this, use a less amount of liquid watercolor and swirl gently to keep the colors distinct.
How should I clean my suncatchers?
To maintain their appearance, you can gently wipe the surface with a damp cloth to remove dust or fingerprints.
Can I use normal food coloring?
While food coloring can work, it may not provide the same intensity of color as liquid watercolor. Experiment to see what you like best!
Conclusion
Making Swirl Glue Suncatchers is a fun and engaging craft. For more inspiration on colorful DIY projects, visit Colorful DIY Glue Suncatcher Craft – Mombrite or check out the idea of creating differently designed suncatchers at Painted Glue Suncatchers – Capturing Parenthood. Enjoy your crafting experience!
Follow us on social for more DIY ideas & inspiration!
Swirl Glue Suncatchers
Would you like to save this project?
By submitting you agree to receive this project and occasional emails. Unsubscribe anytime.
Materials
Materials
- 1 bottle clear glue Base for the design
- several drops liquid watercolor Use different colors for vibrant effects
- 2 pieces plastic lids For holding the glue and colors
- 1 piece cotton swab or toothpick For swirling the colors
- 1 piece hole punch To create a hole for hanging
- 1 string string For hanging the suncatcher
Directions
Preparation
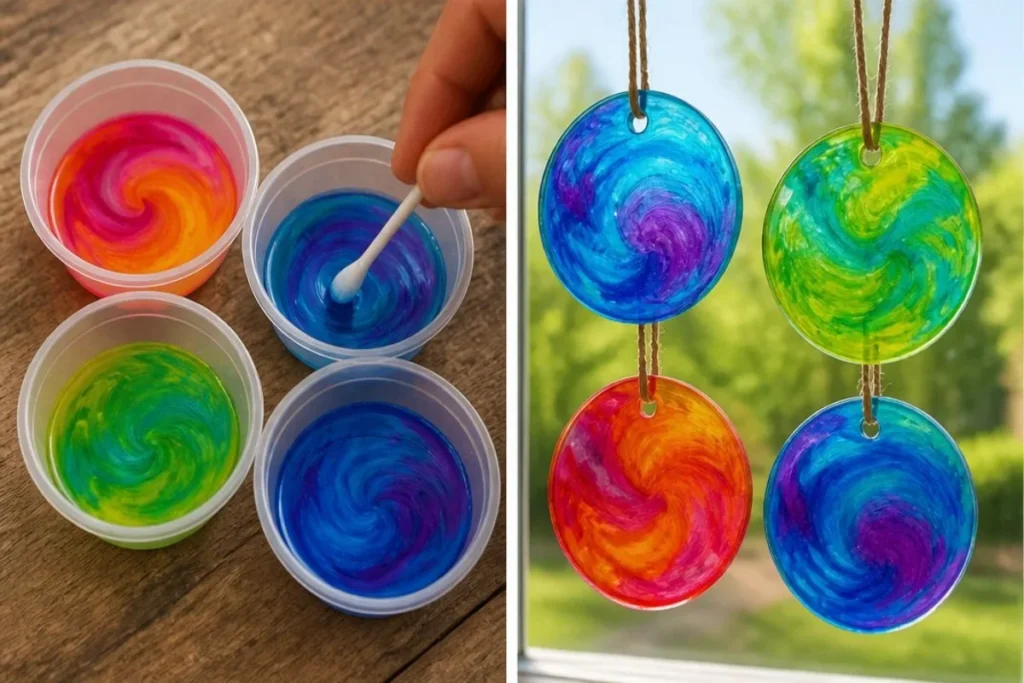
- Pour clear glue into the plastic lids, ensuring the thickness allows for swirling without taking too long to dry.
- Add several drops of liquid watercolor in different colors to create vibrant swirls.
- Gently swirl the colors together with a cotton swab or toothpick, creating distinct swirls.
- Leave the lids flat until the glue is fully dry and transparent, checking regularly.
- Once dry, peel the suncatchers from the lid, punch a hole, and hang them up to showcase the colors.
Last Step: Don’t forget to leave a rating and comment below! It helps other readers find the best DIY projects — and it helps us too!