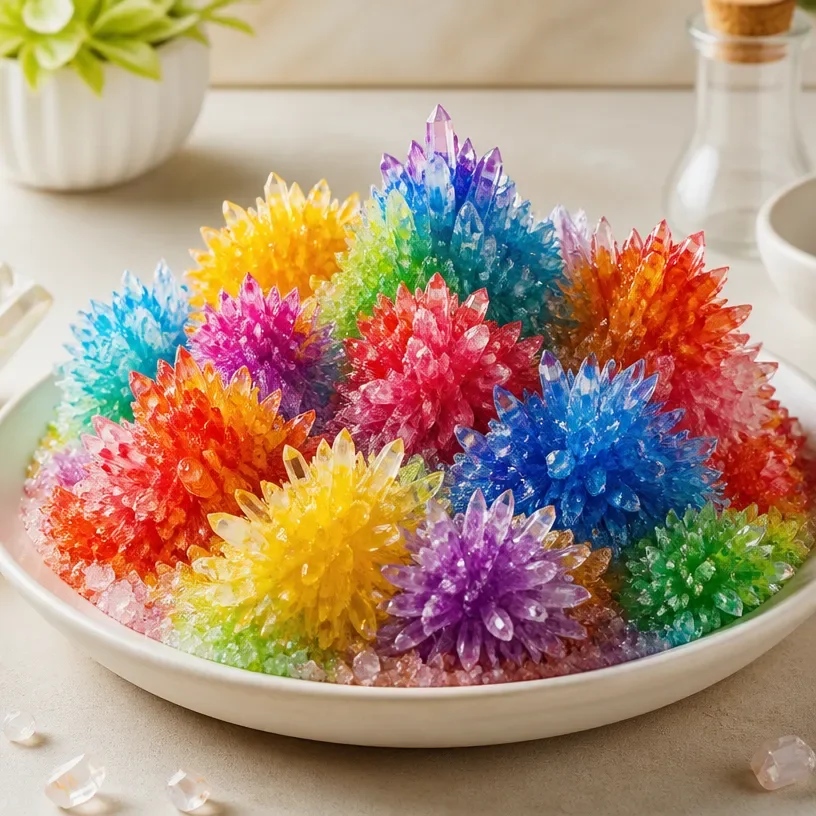
Prismatic Sea Urchins: Colorful Crystal Decor
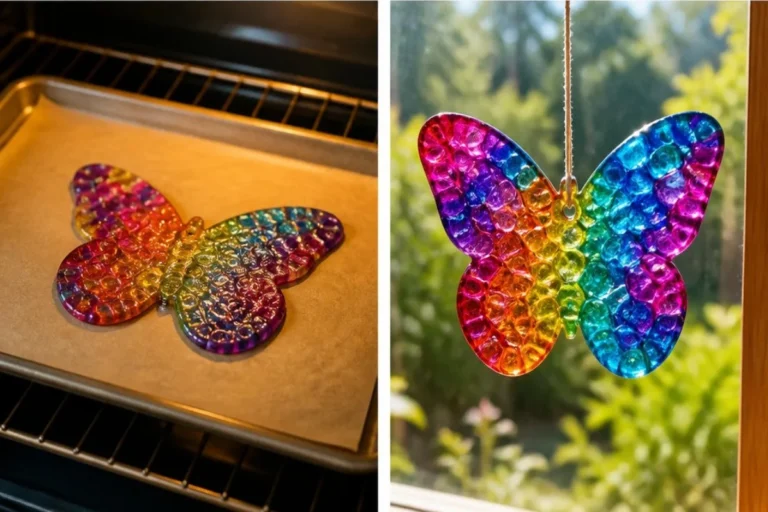
When you craft Prismatic Sea Urchins, you will see a beautiful transformation happen as the item takes shape. This unique colorful crystal decor is perfect for brightening up any room. The iridescent surfaces catch light in a way that brings joy and energy into your space. You may also find Prismatic Rainbow Crystal Waterfall Sun Catcher For Window Decor useful.
Creating this project involves a few simple materials and techniques. You will enjoy the sparkle that each step adds to your design. With just the right colors and textures, the finished piece becomes a stunning centerpiece whether placed on a shelf or in a window. Before diving into your creation, ensure you have all necessary items ready. If you need inspiration for additional decor projects, you can check out colorful crystal lanterns that could complement your sea urchins perfectly.
What Makes This Work
The unique arrangement of materials used in the Prismatic Sea Urchins allows the colors to blend and create stunning textures. The light refracts through the surfaces, producing the prismatic effect that you will appreciate in the final product. The key to success in crafting these decor items lies in your attention to detail during each step of the process. You may also find Colorful Crystal Mason Jar Lantern For Home Decor useful.
Materials
To get started on your Prismatic Sea Urchins, gather the following materials:
- Clear plastic resin
- Color pigments
- Silicone mold
- Mixing sticks
- Gloves
- A well-ventilated workspace
Make sure to work in a safe area because the resin can be messy, and gloves will protect your hands from sticking to the material. For a vibrant touch, the color pigments will make your decor stand out.
Steps
Step 1: Prepare Your Workspace
Set up your materials on a flat surface. Lay down newspaper or a plastic sheet to easily clean up any spills. This setup creates a safe environment for you to work on your Prismatic Sea Urchins.
Step 2: Mix the Resin
Following the instructions on the package, mix equal parts of the clear plastic resin in a cup. Stir slowly to minimize bubbles, which can affect the end product’s appearance. Look for a uniform texture with no lumps after mixing.
Step 3: Add Color Pigments
Pour a measured amount of color pigments into the mixed resin. Stir well until the pigments dissolve completely. Depending on the pigment, you may notice a distinct change in color saturation this is the moment to ensure you achieve the desired vibrance.
Step 4: Fill the Mold
Carefully pour the colored resin mixture into the silicone mold, filling each section about halfway. Pay attention to the overflow, as the resin can expand while curing. A flat edge will help create a clean finish.
Step 5: Allow to Cure
Set your filled mold in a safe place where it can cure undisturbed. Curing times may vary depending on the resin used. Look for a solidified appearance this typically indicates it is ready for the next step.
Step 6: Demold the Sea Urchins
After the resin has fully cured, gently remove the sea urchins from the mold. If you notice sticky spots, it means the resin hasn’t cured properly. They should have a smooth finish and should not feel tacky to the touch.
Step 7: Final Touches
If needed, sand any rough edges using fine-grit sandpaper. This step enhances the texture and appeal of your sea urchins. Look for a soft, polished surface that glitters under light.
What Goes Wrong and How to Fix It
In crafting your Prismatic Sea Urchins, some common mistakes may arise:
- Sticky Finish: If the resin remains tacky, it likely needs more time to cure. Leave it longer until the surface feels firm.
- Bubbles in the Surface: Bubbles can occur during mixing. Be sure to stir slowly next time to minimize the introduction of air.
- Misaligned Colors: If pigments don’t blend well, ensure you mix them thoroughly before pouring the resin into the mold.
Navigating these common errors can make or break your project, but they can often be easily resolved.
Where to Display It
Your Prismatic Sea Urchins can be a stunning addition to various spaces. Consider placing them in sunny areas where they can catch the light. A window sill or a shelf is ideal for showcasing their hues. Their shimmering surfaces make them perfect conversation starters. Additionally, they can beautifully complement rainbow sun catchers that enhance the overall decor.
Variations
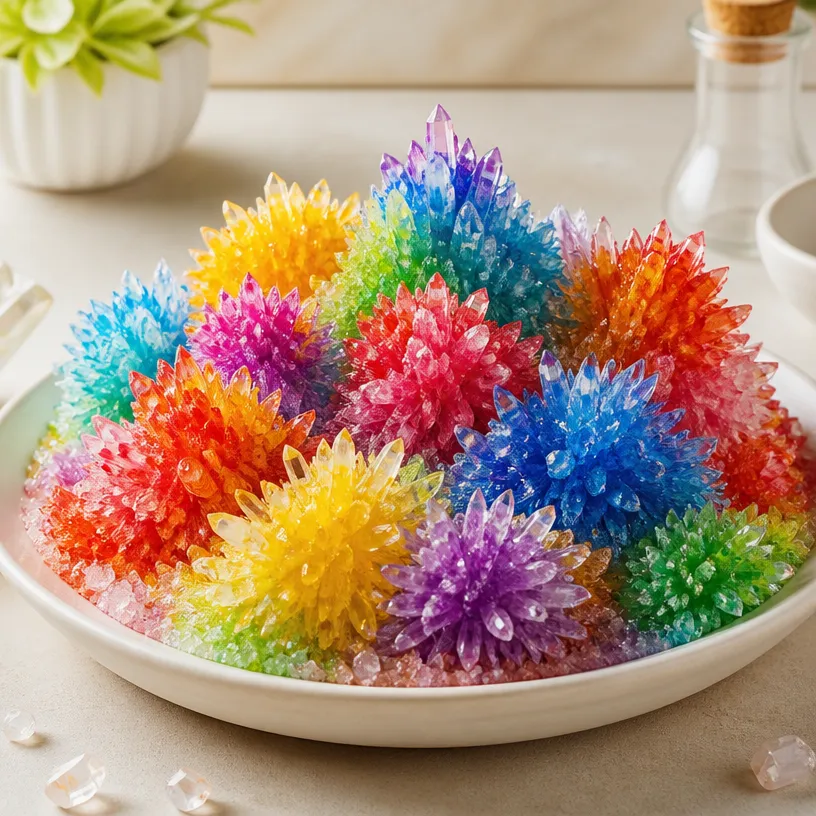
Feel free to get creative with your Prismatic Sea Urchins. Experiment with different color combinations or even layering techniques. For a twist, you can add small decorations or embellishments inside the resin before it sets this creates a unique, personalized touch. If you’re looking for more ideas, try combining these sea urchins with crystal bloom trees for an eye-catching display.
FAQs
How long does it take for resin to cure?
Curing time depends on the type of resin used. Typically, it can take anywhere from a few hours to a full day. It’s essential to check the product instructions for accurate timing.
Can kids help with this project?
Yes, children can assist with stirring the pigments or choosing colors. However, adults should handle mixing the resin and pouring it into molds due to safety considerations.
What if I don’t have the right mold?
If you don’t have a silicone mold, consider using plastic containers or other items to shape the resin. Just ensure that they can be released without sticking.
Can I use different pigments?
Absolutely! Experiment with different pigments to create a wide range of colors. Just make sure they are compatible with the type of resin you use.
What should I do if my decoration doesn’t shine?
Sometimes, the surface may dull over time. You can use a fine polish to enhance its shine and restore the decorative quality.
How can I store leftover resin?
Leftover resin should be stored in a cool, dry place in an airtight container. Ensure it’s away from sunlight and heat sources.
Conclusion
Creating Prismatic Sea Urchins: Colorful Crystal Decor can be an enjoyable and rewarding craft project. The vibrant results brighten your living space and showcase your creative skills. If you’re interested in enhancing your crafting techniques, you might want to explore Cromartie Crystal Glazes for a sparkling effect in your pottery works. For ornamental touches, explore the various hanging air plant sea urchins available online to complement your creations.
Follow me on social for more recipe ideas & inspiration!
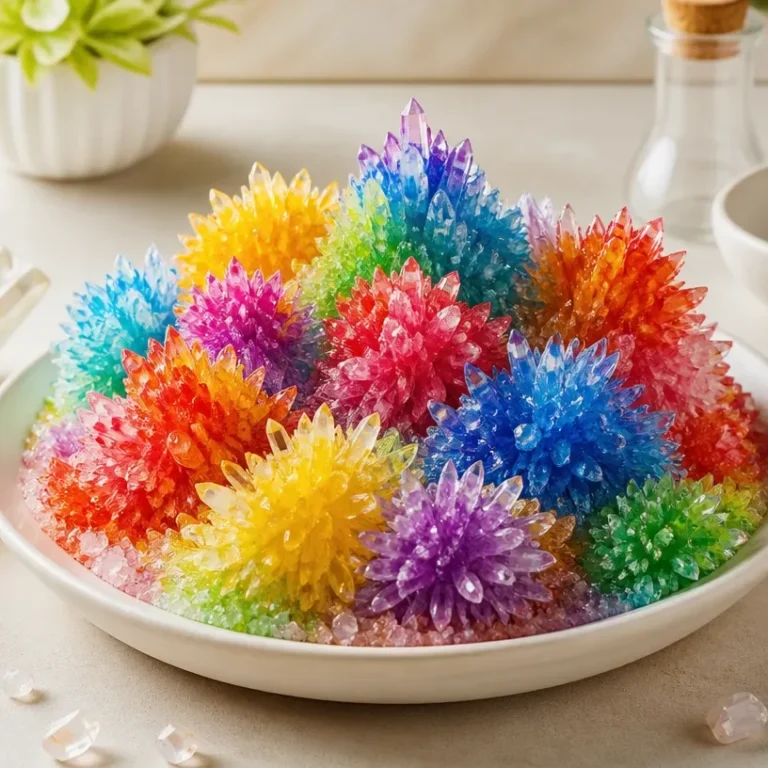
Prismatic Sea Urchins
Would you like to save this recipe?
By submitting you agree to receive this recipe and occasional emails. Unsubscribe anytime.
Materials
Materials
- 1 pack Clear plastic resin Follow specific product instructions for mixing.
- Varies pack Color pigments Choose vibrant colors for a brighter effect.
- 1 unit Silicone mold Ensure the mold is compatible with resin.
- 2 pieces Mixing sticks Use to stir the resin and pigments.
- 1 pair Gloves Protect your hands from sticky materials.
- 1 space Well-ventilated workspace Ensure proper airflow while working with resin.
Instructions
Preparation
- Set up your materials on a flat surface. Lay down newspaper or a plastic sheet for easy clean-up.
- Mix equal parts of the clear plastic resin following the package instructions, stirring slowly to minimize bubbles.
- Add color pigments into the mixed resin and stir well until completely dissolved.
- Carefully pour the colored resin mixture into the silicone mold, filling each section about halfway.
- Place the filled mold in a safe area to cure undisturbed until solidified.
- Gently remove the sea urchins from the mold once fully cured, ensuring they have a smooth finish.
- If necessary, sand any rough edges to enhance texture and appeal.
Last Step: Don’t forget to leave a rating and comment below! It helps other readers find the best recipes — and it helps us too!
Tips & Notes:
Nutrition Information: Serving: 1 | Calories: | Carbohydrates: | Protein: | Fat: | Sodium: | Fiber: | Sugar:
Nutritional information is provided as a courtesy and calculated automatically. Values can vary depending on the brands and ingredients you use, so if you’re tracking closely, I recommend calculating with your own preferred tool.