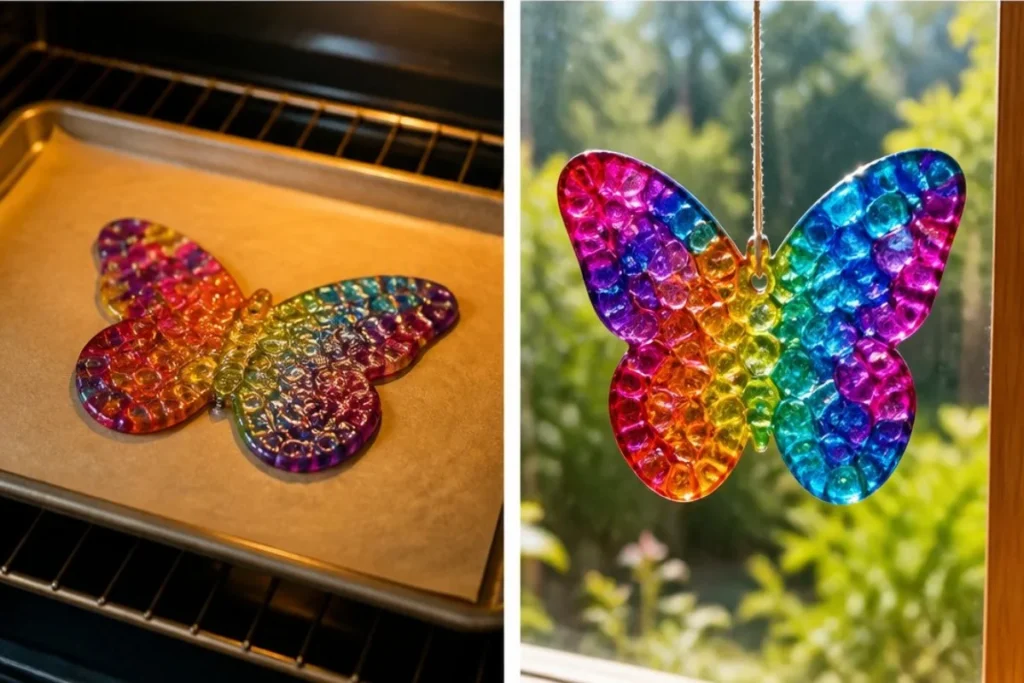
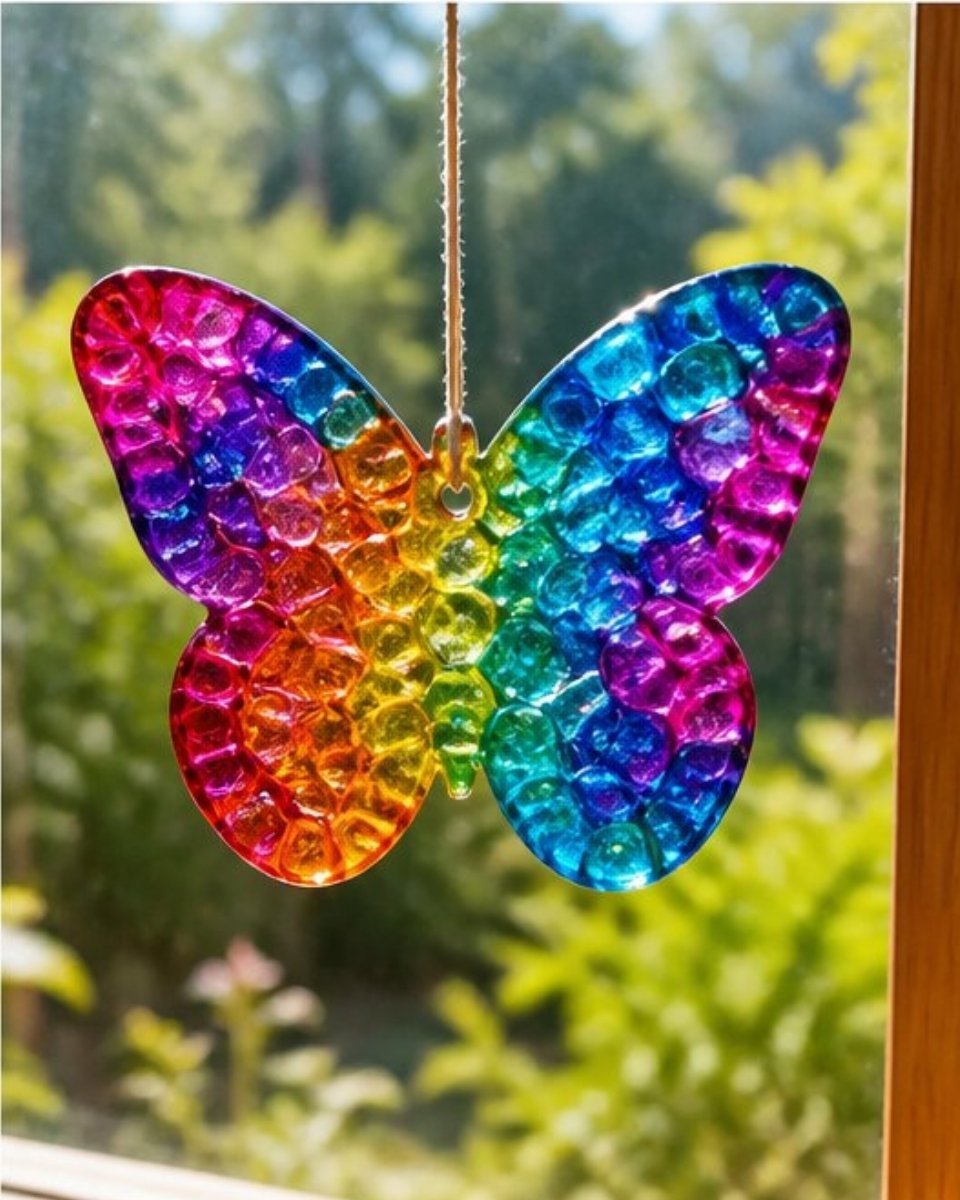
Melted Bead Butterfly Suncatchers turn ordinary light into a beautiful display of colors when placed in a sunny window. This project not only decorates your space but also teaches some interesting concepts about melting and hardening. It’s a simple craft that invites creativity and scientific exploration, and it can be a delightful activity to share with family. You may also find Melted Crayon Rainbow Butterfly Suncatcher useful.
What Makes This Work
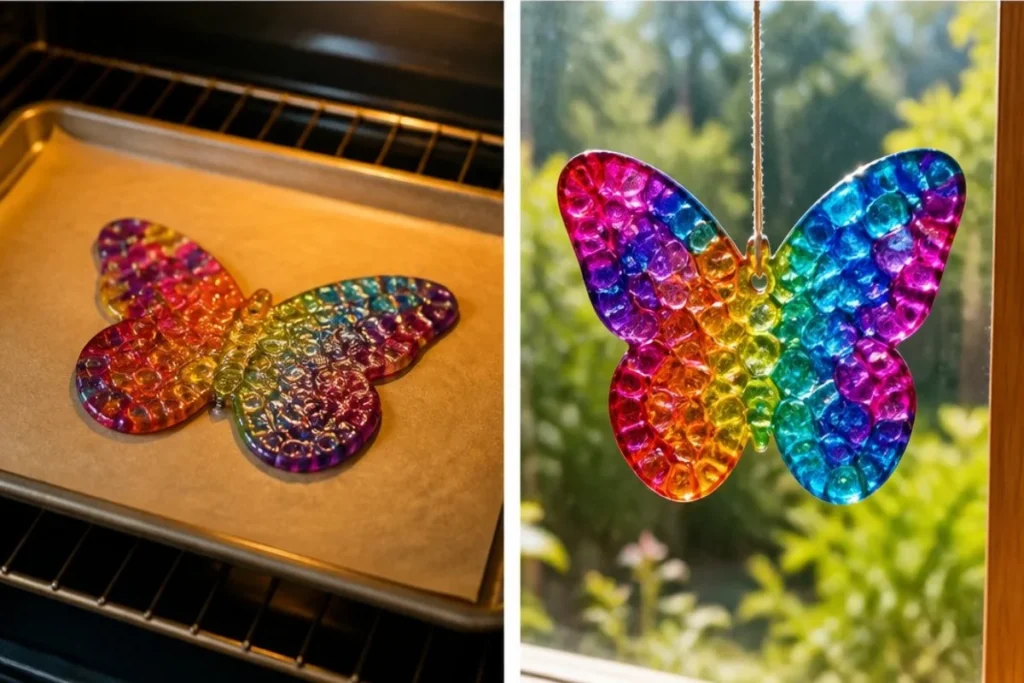
The process of melting beads allows them to fuse together. As the beads heat up in the oven, they soften. When they cool down, they harden again but in a new form. This transformation is what creates our stunning butterfly suncatcher. You may also find Colorful Rainbow Crystal Butterfly Window Suncatcher useful.
Materials
To get started, gather the following materials: You may also find First Day Rainbow Pencil Butterfly Suncatcher useful.
- Translucent pony beads
- Metal butterfly cookie cutter
- Parchment-lined baking sheet
- Oven
- String
Once you have everything ready, it’s time to create your beautiful suncatcher!
Steps
Gather all your materials and clear a workspace. Start by making sure you have everything in one place to avoid interruptions.
Arrange the beads in a single layer inside the butterfly cutter. Choose a selection of colors that you find visually appealing. Ensure the beads are closely packed but not overlapping.
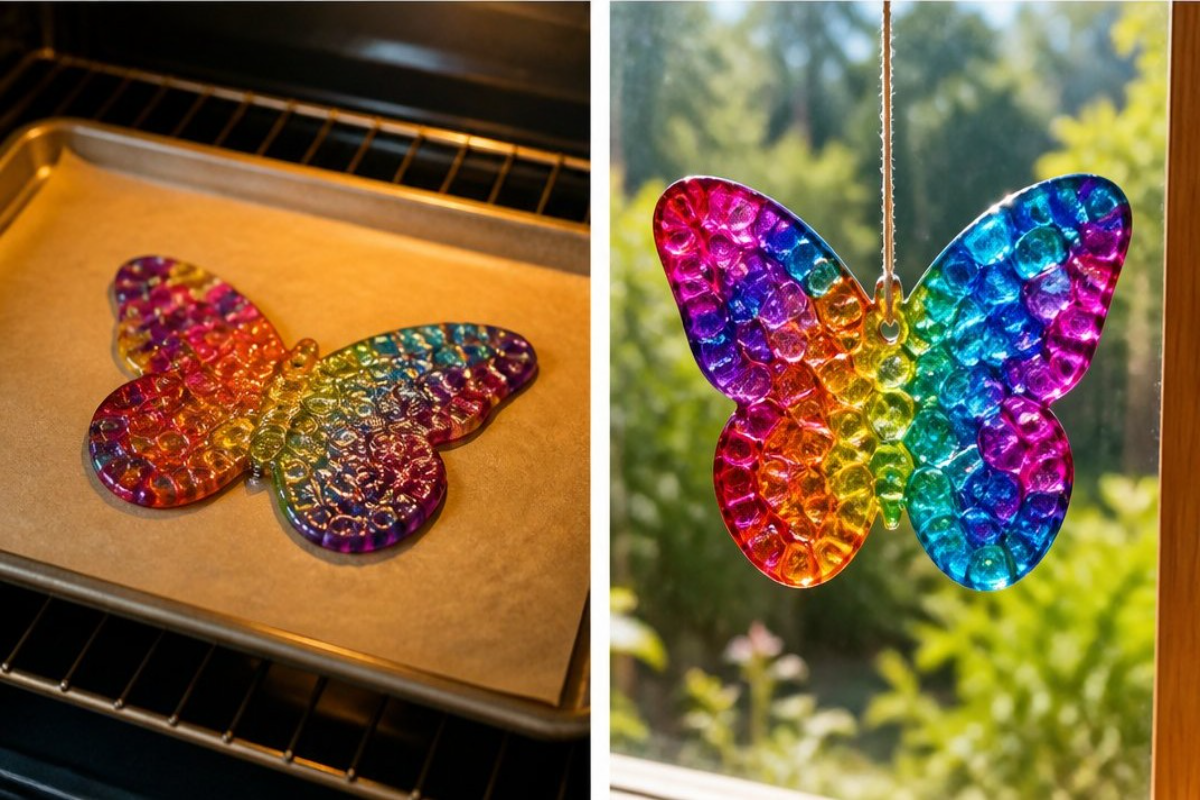
Melt in a well-ventilated oven according to bead safety guidance until they are fused. Keep an eye on the beads as they change shape to ensure they melt evenly. You will notice the vibrant colors blending beautifully.
Allow your creation to cool completely, then remove it. This cooling process is essential as it solidifies the melted beads. Once it’s cool, you can carefully take out your butterfly shape.
Make a hole for hanging and add string. This final touch will allow you to display your artwork. The string should be lightweight to keep the suncatcher hanging gracefully.
What Goes Wrong and How to Fix It
Sometimes the beads may not melt properly. If this happens, consider increasing the temperature slightly and returning it to the oven for more time. Also, be careful not to overcrowd the cutter. If they melt too thin, they might break when taken out.
Where to Display It
This dazzling butterfly suncatcher shines beautifully when hung in a window that receives direct sunlight. You might also consider placing it in a garden or on a front porch, where it can catch the light and create a kaleidoscope of colors for anyone passing by. For variations, explore different shapes using our flower suncatchers or other themed designs.
Variations
Creating different versions of the suncatcher can add variety to your decor. Consider using different colors of beads or larger shapes such as hearts or stars. Each variation will bring a unique character to your space. For inspiration, check out the heart suncatchers.
FAQs
Why did my beads not melt?
If your beads didn’t melt, it could be due to a temperature issue. Make sure your oven is properly heated according to the instructions for the specific brand of beads you’re using.
Can kids help with this project?
Absolutely! This project is safe for kids, but adult supervision is recommended when using the oven. They can help with arranging the beads creatively.
How long does it take to cool?
Cooling usually takes about 30 to 60 minutes, but it’s best to wait until they are completely cool to avoid any mishaps.
Can I use other types of beads?
While translucent pony beads are designed for this purpose, using other plastic beads may not yield the same results. Always check if they are oven-safe.
How do I clean my suncatcher?
A gentle wipe with a damp cloth is usually enough to clean your suncatcher. Avoid abrasive materials that could scratch the surface.
What if I want to make a larger suncatcher?
You can certainly create a larger suncatcher by using a bigger cookie cutter or multiple smaller shapes combined. Just ensure you adjust the melting time accordingly.
Conclusion
Creating a Melted Bead Butterfly Suncatcher is a fun and educational activity that can brighten up any space. You can further explore the world of suncatchers through other designs like the Melted Bead Suncatcher Mobiles or enhance your crafting skills with a simple butterfly suncatcher project. Enjoy your crafting adventure!
Follow us on social for more DIY ideas & inspiration!
Melted Bead Butterfly Suncatcher
Would you like to save this project?
By submitting you agree to receive this project and occasional emails. Unsubscribe anytime.
Materials
Materials
- 1 pack Translucent pony beads Choose various colors for a vibrant design.
- 1 piece Metal butterfly cookie cutter Select a shape that appeals to you.
- 1 sheet Parchment-lined baking sheet To prevent sticking while melting.
- 1 unit Oven Ensure it's well-ventilated during use.
- 1 piece String For hanging the finished suncatcher.
Directions
Preparation
- Gather all your materials and clear a workspace.
- Arrange the beads in a single layer inside the butterfly cutter, ensuring they are closely packed but not overlapping.
Melting
- Melt the beads in a well-ventilated oven according to bead safety guidance until they fuse together, keeping an eye on them to ensure they melt evenly.
- Allow your creation to cool completely; this is essential as it solidifies the melted beads.
Finishing Touch
- Once cool, carefully remove the butterfly shape from the cutter.
- Make a hole for hanging and add string to display your artwork.
Last Step: Don’t forget to leave a rating and comment below! It helps other readers find the best DIY projects — and it helps us too!