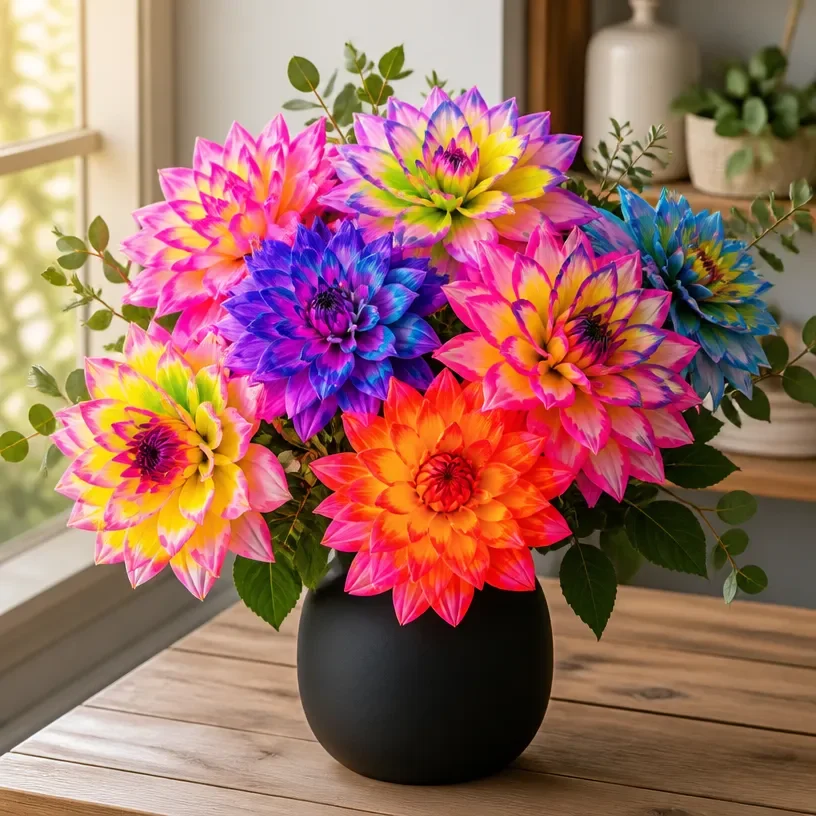
Create colorful, glowing arrangements with DIY Neon Glow Dahlias. As these flowers transform under your hands, you’ll see vibrant colors come to life. This project is perfect for adding a burst of light to any space, making it a great choice for beginners and experienced crafters alike. You may also find Diy Cornstarch Glass Floral Hearts Flowers 2 useful.
What Makes This Work
The DIY Neon Glow Dahlias project stands out because it combines artistic expression with a touch of science. The bright colors you see come from specific pigments that reflect light in fascinating ways. When arranged properly, these flowers bring a warm and lively glow, perfect for decorating or gifting. By using specific techniques and materials, you can create a stunning bouquet that captures attention. You may also find Diy Flowers Salt Painting For Kids Cozy useful.
Materials
To make DIY Neon Glow Dahlias, gather the following materials: You may also find Diy Flowers Salt Painting For Kids useful.
- Neon-colored craft foam sheets
- Scissors
- Hot glue gun (using hot glue should be done by an adult)
- Floral wire
- Floral tape
- Optional: glow-in-the-dark paint for an extra effect
Once these materials are prepared, you can move on to the steps of creating your glowing dahlias.
Steps
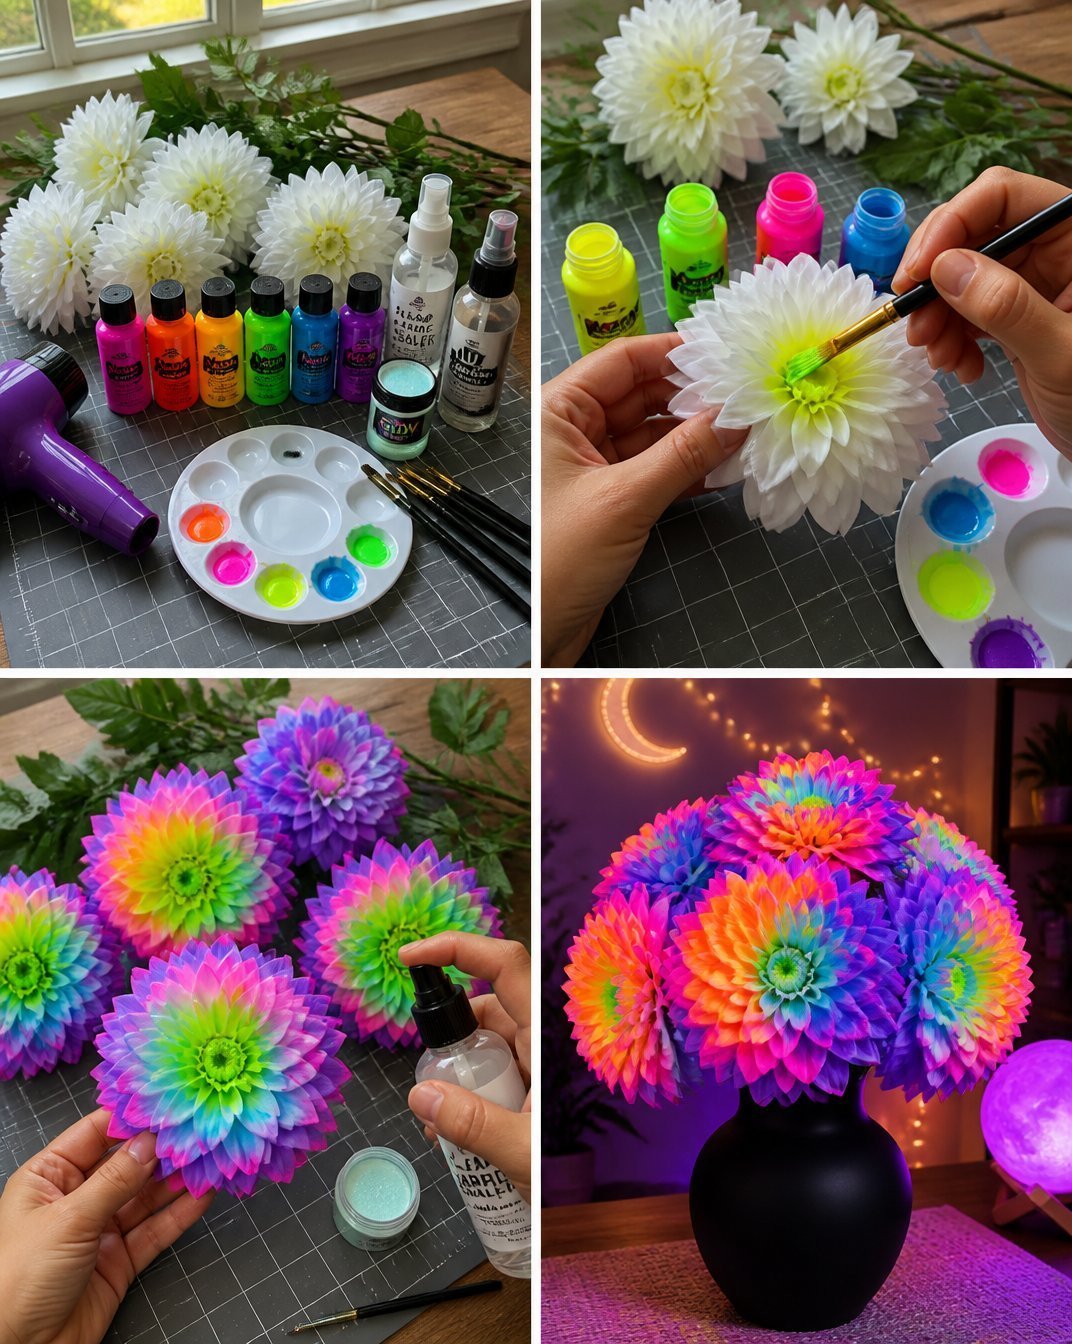
Cut Petals: Start by cutting out petal shapes from your foam sheets. Aim for a mix of sizes to create depth in your flowers. A good trick is to make the larger petals at the bottom and gradually decrease the size for each layer.
Form the Flower Layers: Stack the petal layers together according to size, using the smallest ones for the top. Make sure to alternate between colors for a more vibrant effect. Secure them with hot glue. Watch for the glue’s temperature to avoid burns.
Attach Floral Wire: Cut a piece of floral wire about two feet long. Poke it through the center of the flower layers. Bend it to create a stem and secure the flower by wrapping with floral tape.
Paint for Glow Effect: If desired, lightly brush the edges of the petals with glow-in-the-dark paint. This adds an enchanting touch when displayed in low light.
Final Assembly: Once the flowers are assembled, arrange them in a vase or hang them. They will make stunning decorative pieces in any room. For inspiration on other glowing designs, explore these creative projects.
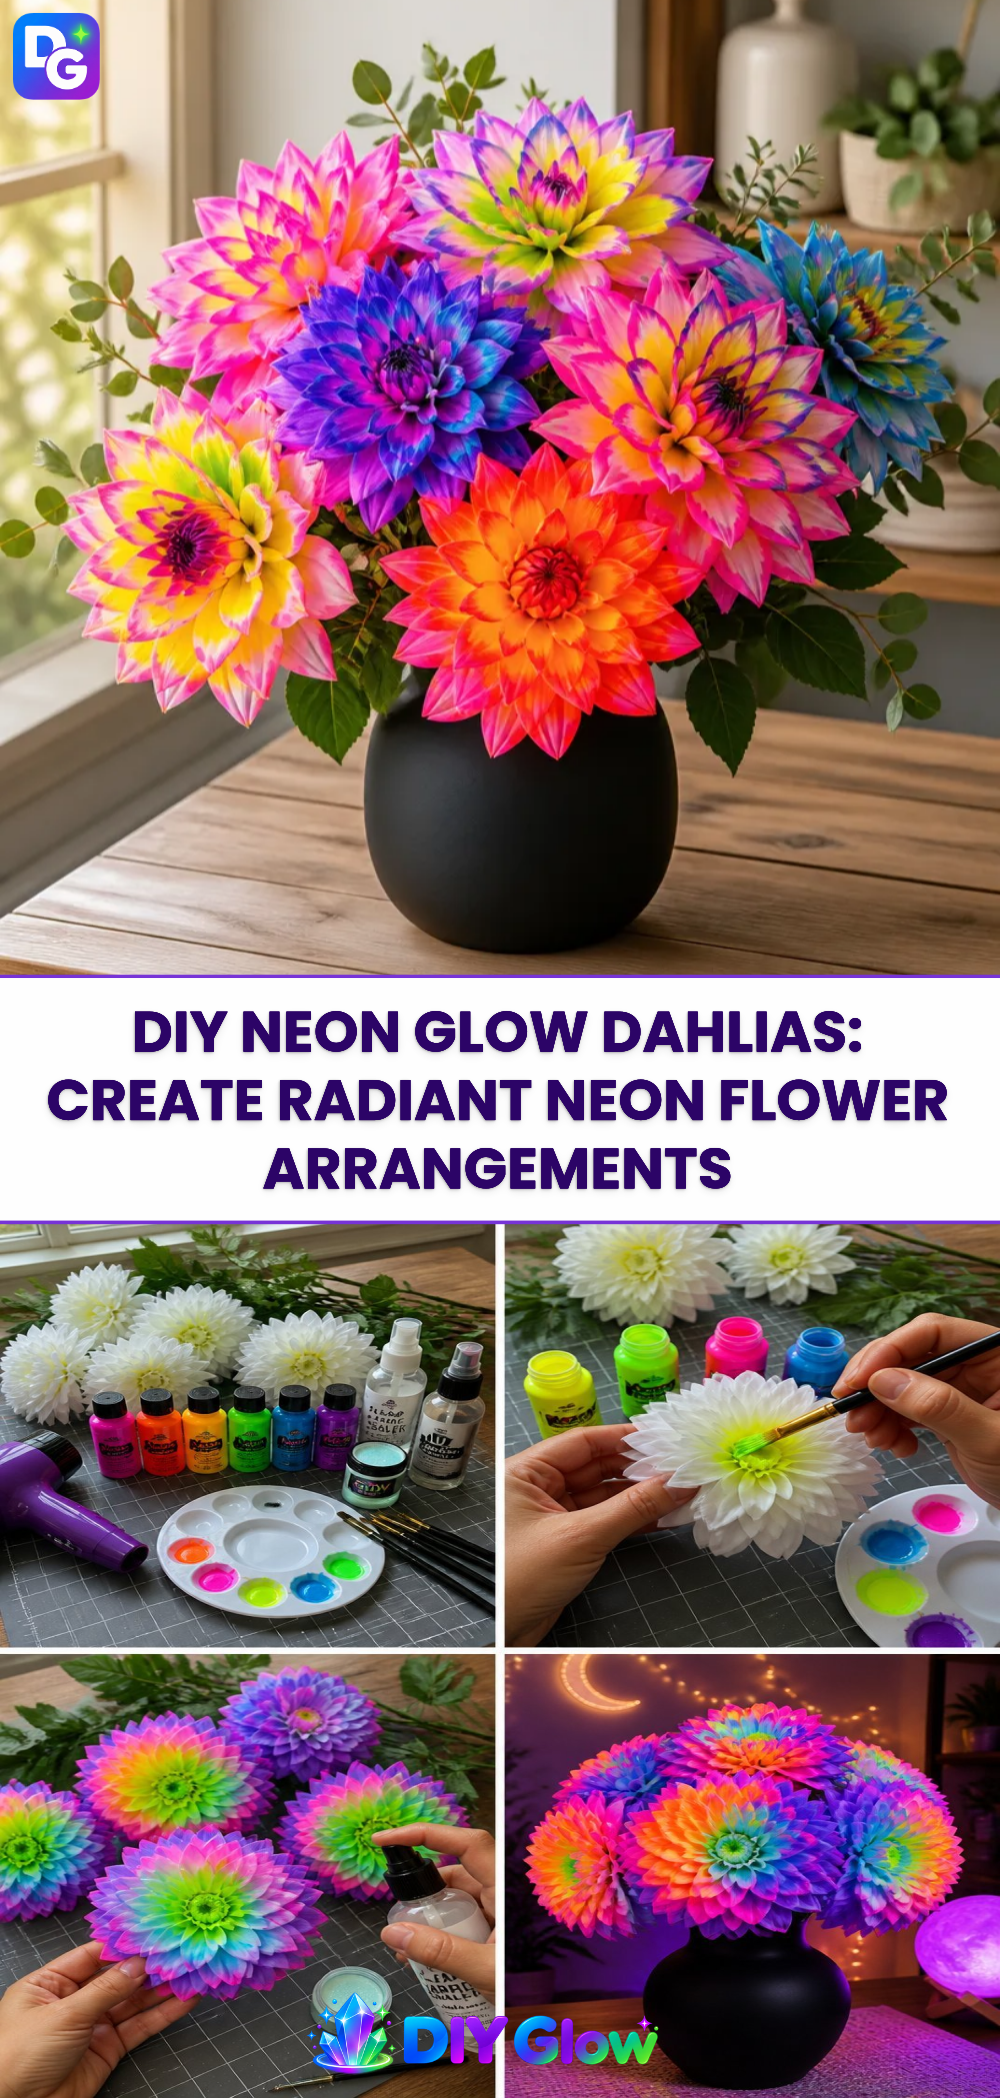
What Goes Wrong and How to Fix It
Sometimes, the flowers may not look as vibrant as expected. This can happen if the glue is not applied evenly. Ensure hot glue is used sparingly for a cleaner look. If petals stick together, gently peel them apart while the glue is still warm. Additionally, if the paint doesn’t glow as much as desired, check to ensure it has dried completely before displaying it.
Where to Display It
Display your DIY Neon Glow Dahlias in various spots to showcase their colors. They can brighten up a window or serve as a centerpiece on a dining table. Consider hanging them in a well-lit area where the light can enhance their appearance. Each flower arrangement can become a conversation starter for visitors. For more fun decoration ideas, check out these creative floral designs.
Variations
Feel free to experiment with different materials and colors. You can combine fabric, paper, or other materials to create unique textures. Using different shapes for petals, like rounded or pointed tips, can also alter the style of the dahlias. Adding glitter can make your flowers sparkle even more under light, enhancing their glow.
FAQs
How long does it take to make these dahlias?
Making a set of DIY Neon Glow Dahlias generally takes about 1 to 2 hours, depending on your crafting speed.
Can I use other materials instead of foam?
Yes, you can use paper or fabric if you prefer. Just make sure they are sturdy enough to hold their shape.
What if my petals aren’t sticking together well?
If your petals are coming apart, try adding more glue or holding them together longer while it sets. Let glue cool slightly before using to improve adherence.
What should I do if I want them to glow brighter?
Using a thicker layer of glow-in-the-dark paint can enhance brightness, but be sure to let it dry fully for the best effect.
Can kids help with this project?
Absolutely! Younger children should be supervised, especially when using the hot glue. They can assist with cutting or choosing colors.
What if I don’t have floral wire?
If you lack floral wire, you could use sturdy straws or sticks as an alternative.
Conclusion
DIY Neon Glow Dahlias are not just craft projects; they transform into radiant decorations that bring joy and color. For those interested in growing their own flowers, consider buying Dahlia ‘Neon Splendor’ tubers. If you’re looking for additional fun craft ideas, explore 25+ Neon DIY Projects to spark creativity in your home.
Follow us on social for more DIY ideas & inspiration!
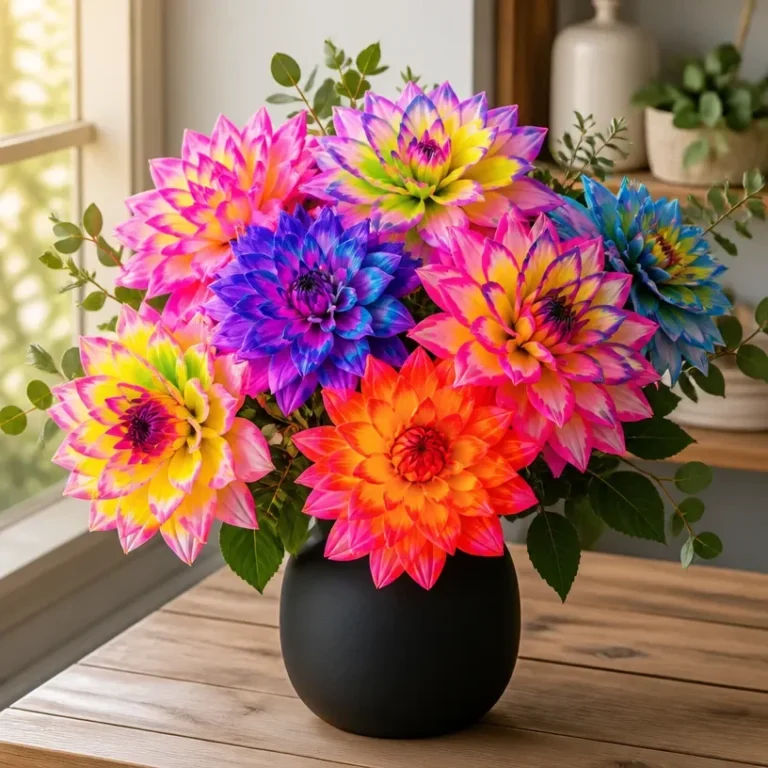
DIY Neon Glow Dahlias
Would you like to save this project?
By submitting you agree to receive this project and occasional emails. Unsubscribe anytime.
Materials
Materials
- 4 sheets Neon-colored craft foam sheets Variety of colors for vibrant arrangements.
- 1 Scissors For cutting petal shapes.
- 1 Hot glue gun To be used by an adult for safety.
- 1 roll Floral tape For securing flower components.
- 1 roll Floral wire For making stems.
- 1 bottle Glow-in-the-dark paint Optional for enhanced glow effect.
Directions
Preparation
- Cut Petals: Start by cutting out petal shapes from your foam sheets. Aim for a mix of sizes to create depth in your flowers. Larger petals should be at the bottom, gradually decreasing in size for each layer.
- Form the Flower Layers: Stack the petal layers together according to size, using the smallest ones for the top. Alternate between colors for a more vibrant effect and secure them with hot glue.
- Attach Floral Wire: Cut a piece of floral wire about two feet long. Poke it through the center of the flower layers, bend it to create a stem, and secure the flower by wrapping with floral tape.
- Paint for Glow Effect: Optionally, lightly brush the edges of the petals with glow-in-the-dark paint, which adds an enchanting touch when displayed in low light.
- Final Assembly: Once the flowers are assembled, arrange them in a vase or hang them. They will make stunning decorative pieces in any room.
Last Step: Don’t forget to leave a rating and comment below! It helps other readers find the best DIY projects — and it helps us too!