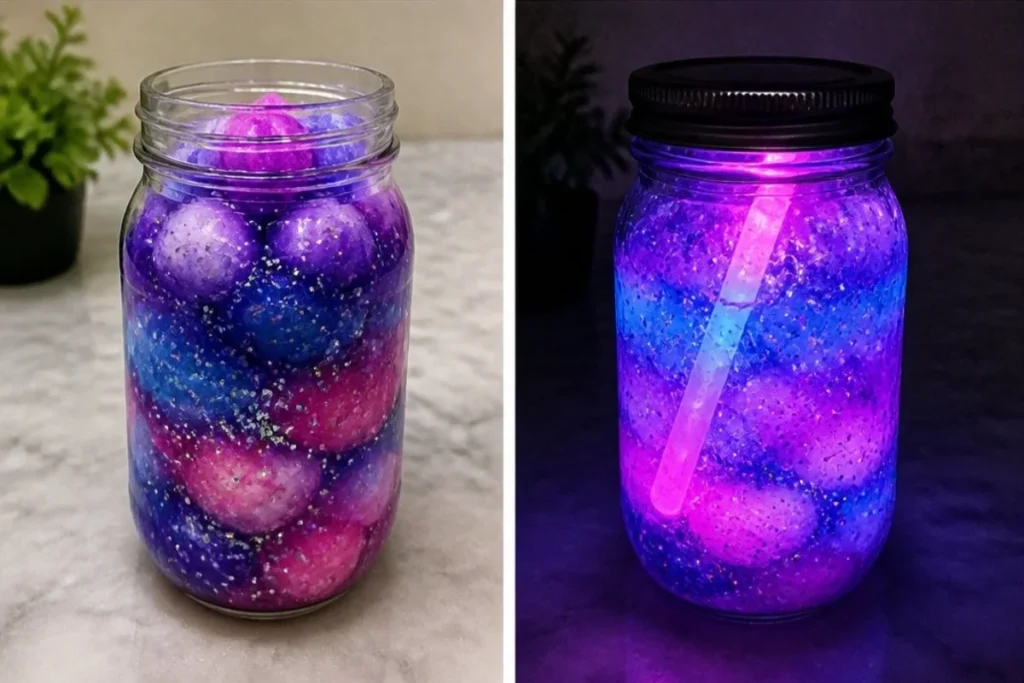
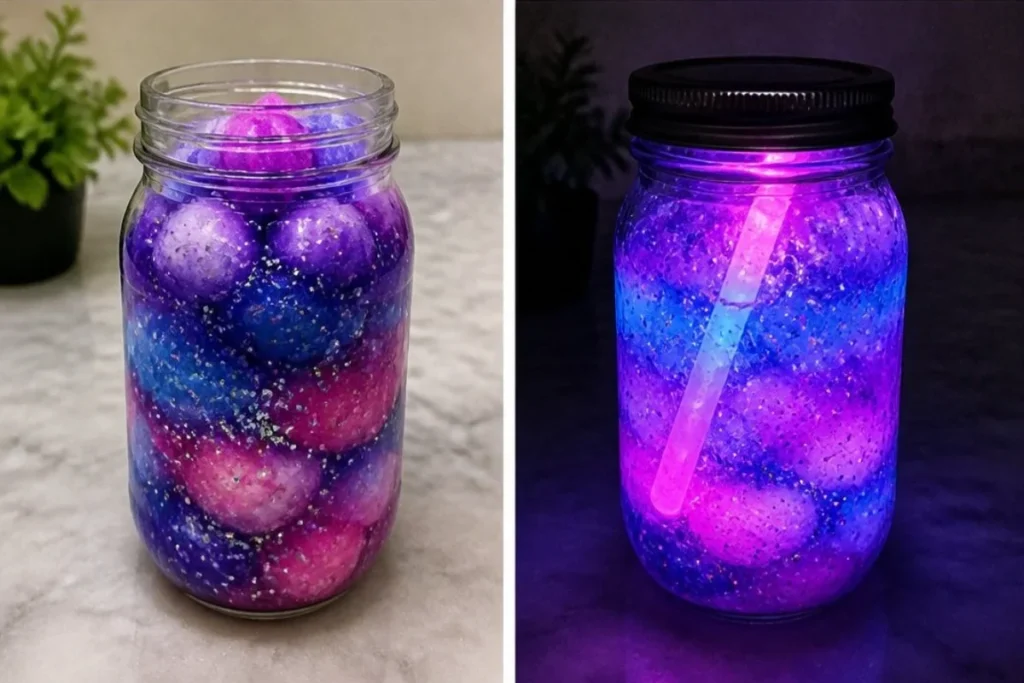
The Glowing Galaxy Jar transforms a simple glass jar into a stunning piece that reflects the beauty of the night sky. The rich colors and sparkling glitter create a mesmerizing effect, especially when combined with a glow stick or LED light. This project allows you to bring cosmic wonder into your home, making it a perfect craft for families or anyone looking to add a little more magic to their space. You may also find Glowing Ocean Jar Cozy useful.
What Makes This Work
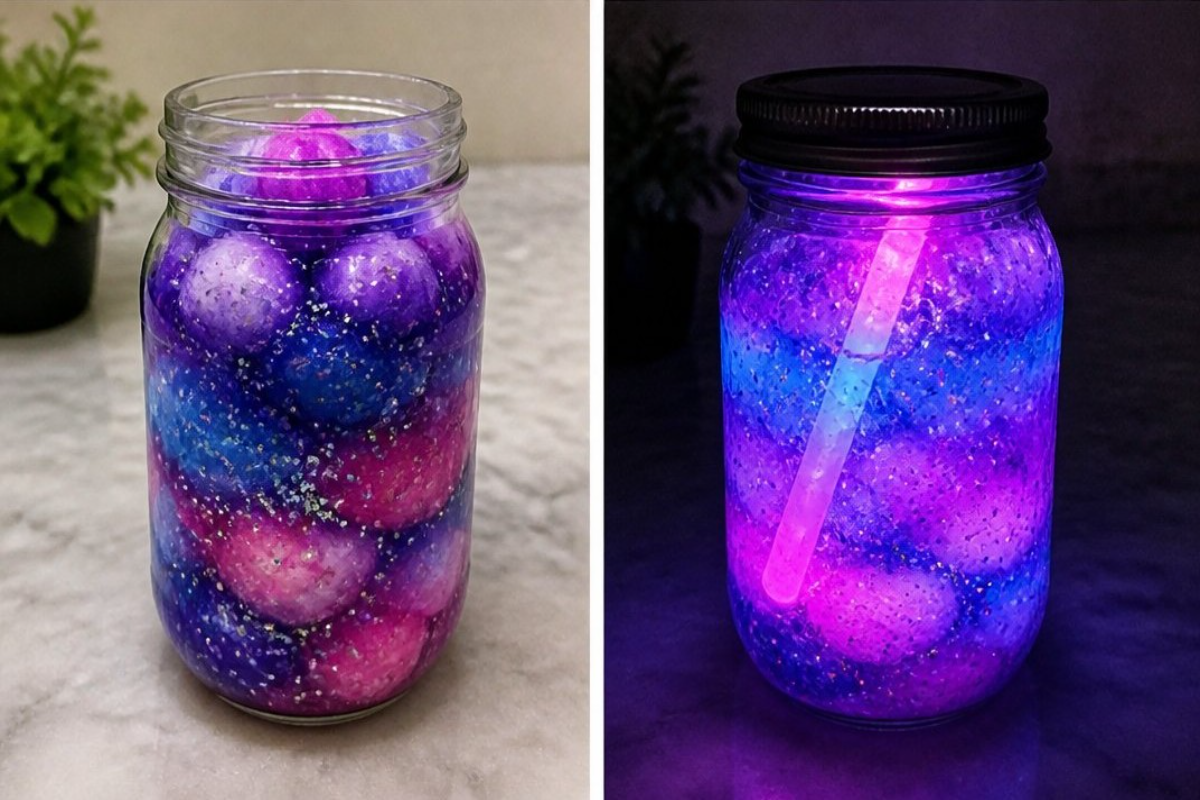
The layered effect of the cotton, colorful water, and glitter creates a beautiful visual display. As you build each layer, you will notice how the colors blend and the texture changes. The glow stick or LED light adds a luminous touch that enhances the jar’s charm. By following a structured process and understanding how each material interacts, you can create a stunning centerpiece that captures attention. You may also find Glowing Rainbow Potion Crystal Jar Enchanted Elixir useful.
Materials
To create your own Glowing Galaxy Jar, you will need the following materials: You may also find Glowing Rainbow Potion In Crystal Jar Enchanted Elixir useful.
- Clear jar
- Cotton balls
- Water
- Purple food coloring or liquid watercolor
- Blue food coloring or liquid watercolor
- Pink food coloring or liquid watercolor
- Glitter
- Glow stick or waterproof LED
Make sure to gather all your materials and set up a clean work area before starting the project.
Steps
Gather all your materials and set up a clean work area. This ensures a smooth crafting experience.
Start by adding a layer of cotton to the jar, then pour in colored water and sprinkle some glitter. The cotton acts as a base, and as you add water, you’ll see the cotton absorb the color. Look for the moment when the cotton becomes vibrant with the color you chose.
Continue layering with different galaxy colors until your jar is full. Each layer can have its own color, adding depth to your creation. Notice how the colors blend as you pour in the water, creating a beautiful gradient effect.
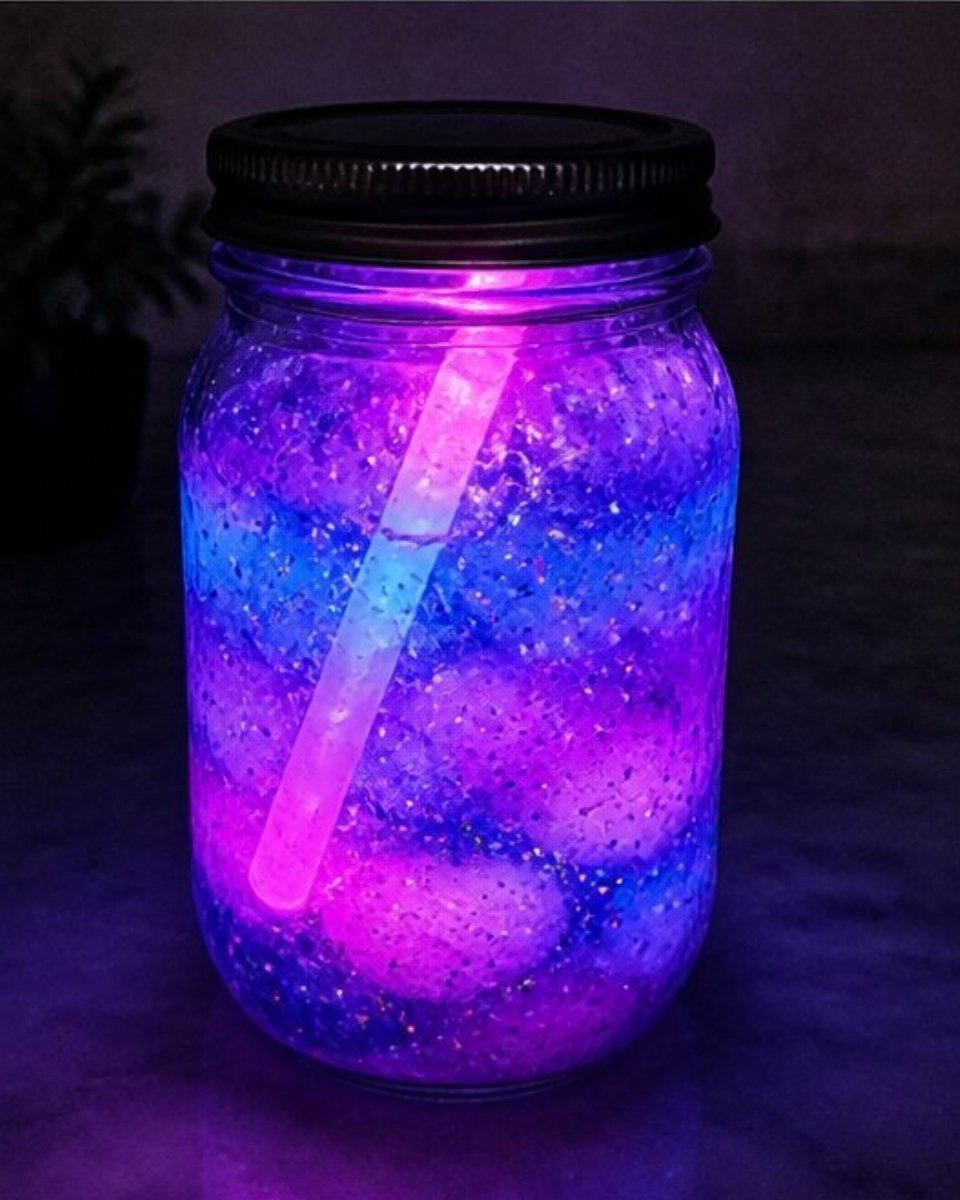
Finally, add a glow stick or waterproof LED, and make sure to close the jar tightly. The glow stick will illuminate your jar, giving it a magical appearance that changes as the light interacts with the colored water and glitter.
What Goes Wrong and How to Fix It
While making the Glowing Galaxy Jar, you might encounter some common issues. If the colors do not mix well, the layers may look muddy. To avoid this, pour the water slowly and allow the previous layer to settle. If the cotton doesn’t hold its shape, make sure to pack it tightly at the bottom. Adjusting the amount of cotton will help maintain layers.
Remember, each layer is a chance to explore different textures and colors. If the glitter settles at the bottom, try gently shaking the jar after adding it. The goal is to create layers that look vibrant and appealing on display.
Where to Display It
The Glowing Galaxy Jar makes an eye-catching addition to any room. Place it on a nightstand or in a window where it can soak in sunlight during the day and glow softly at night. Consider making multiple jars in different sizes and designs to create a themed display. You can also use them as centerpieces for parties or holiday gatherings. For more ideas on similar craft projects, check out this glowing ocean jar project.
Variations
Experimenting with different colors and textures can yield various beautiful results. Try using other color combinations, or mix in small decorations like tiny stars or beads within the layers. You could also adapt the concept for special occasions. For instance, using red, blue, and white for a festive 4th of July fireworks jar theme. The possibilities are endless!
FAQs
How long does it take to make a Glowing Galaxy Jar?
Making your jar can take about 30 to 60 minutes, depending on how detailed you want to be with your layers.
What if I can’t find the colors I want?
You can create new colors by mixing available ones. For instance, mixing blue and pink can create shades of purple.
Can kids help with this project?
Absolutely! This is a family-friendly craft, but younger children should have adult supervision when pouring water or using the glow sticks.
Why did my cotton not absorb the color?
If the cotton isn’t absorbing the color well, it might be too dry. Make sure to apply enough colored water slowly and ensure the cotton is damp before layering.
How can I make this last longer?
To maintain the glow, keep the jar away from direct sunlight for prolonged periods and store it in a cool place. This will prolong the life of the LED or glow stick inside.
How do I clean the jar after making it?
If you need to clean the jar, simply rinse it out with warm water and a gentle soap. Be sure to keep the contents intact if you want to reuse the glowing elements.
Conclusion
Creating a Glowing Galaxy Jar is a delightful way to engage in a fun craft while exploring color and light. You’ll find it both entertaining and educational, making it perfect for family bonding. For more detailed instructions on other galaxy jar projects, check out Galaxy Jars DIY: Hold the Galaxy in your Hands! – Momdot.com and learn about the fascinating science behind nebulae at Galaxy Jars with Mini-Lesson on Nebulae – Ontarian Librarian. Enjoy making this stunning decorative piece!
Follow us on social for more DIY ideas & inspiration!
Glowing Galaxy Jar
Would you like to save this project?
By submitting you agree to receive this project and occasional emails. Unsubscribe anytime.
Materials
For the jar
- 1 piece Clear jar Make sure it's clean and dry.
For the filling
- 10 pieces Cotton balls Use enough cotton to create layers.
- 1 cup Water Colored with food coloring.
- 2 drops Purple food coloring or liquid watercolor Add more to achieve desired opacity.
- 2 drops Blue food coloring or liquid watercolor Add more to achieve desired opacity.
- 2 drops Pink food coloring or liquid watercolor Add more to achieve desired opacity.
- 2 tablespoons Glitter Use your favorite colors for a sparkling effect.
- 1 piece Glow stick or waterproof LED Ensure it's waterproof if using LED.
Directions
Preparation
- Gather all your materials and set up a clean work area.
- Start by adding a layer of cotton to the jar.
- Pour in the colored water and sprinkle some glitter on top.
- Continue to layer with different colors until the jar is full.
- Finally, add the glow stick or waterproof LED and close the jar tightly.
Last Step: Don’t forget to leave a rating and comment below! It helps other readers find the best DIY projects — and it helps us too!