Creating beautiful and intriguing Growing Crystal Ornaments: A Step-by-Step DIY Guide can transform any space with their sparkling charm. As the crystals form, you will notice a stunning display of colors and textures, capturing light like you’ve never seen before. This project not only offers a vibrant aesthetic but also provides a fun and educational experience for all ages. You may also find Diy Bioplastic Suncatchers Step By Step Guide useful.
What Makes This Work
Creating crystal ornaments relies on a simple principle of crystallization, where a solute like borax dissolves in hot water and then re-forms into solid crystals as it cools. The process is fueled by the evaporation of water, leaving behind stunning shapes and structures. This concept is a fascinating intersection of art and science, showcasing how materials behave under specific conditions. You may also find Diy Blue Crayon Suncatchers Guide useful.
Materials
You will need the following materials to get started on your crystal-growing adventure: You may also find How To Make Baking Soda Growing Tree Diy useful.
- Borax (the key ingredient)
- Hot water
- Jars (for allowing crystals to grow)
- String or pipe cleaners (for hanging)
- Wooden sticks (to suspend your hanging ornaments)
- Food coloring (optional, for color effects)
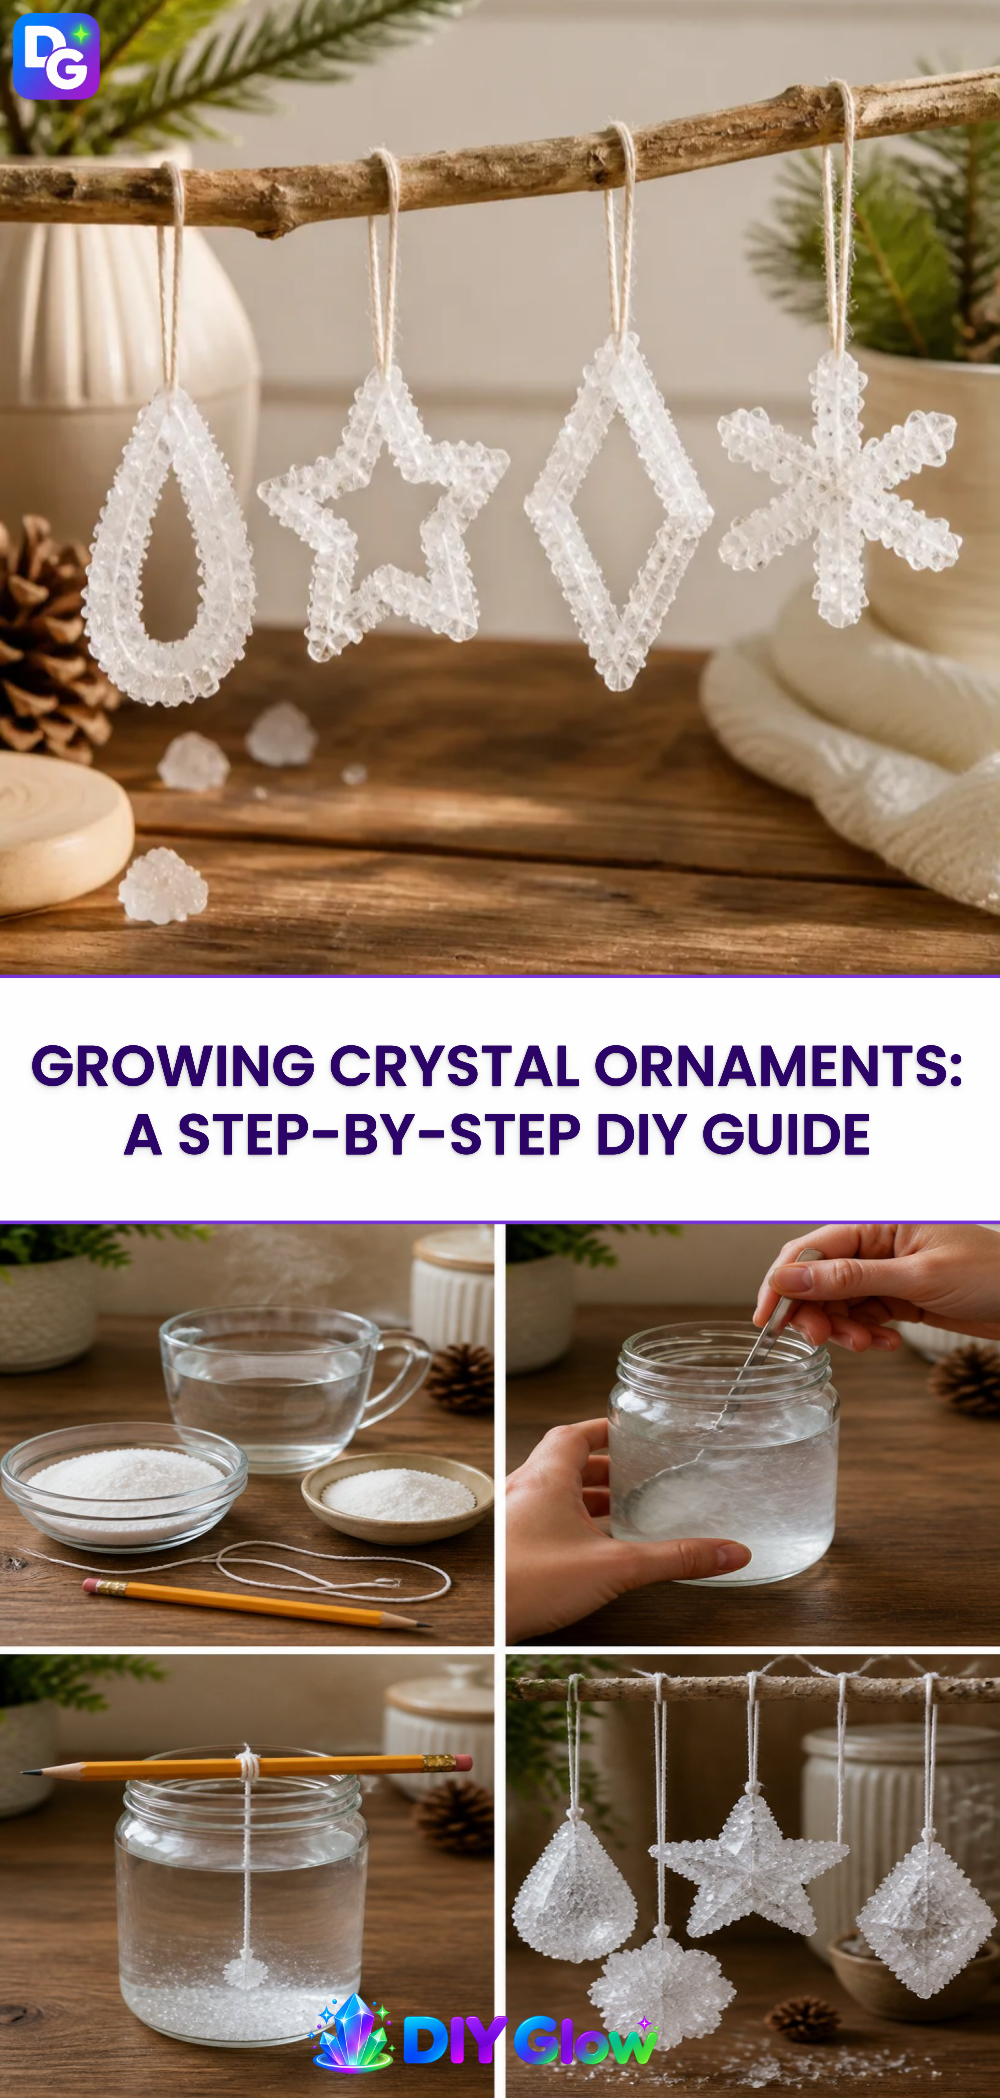
You may also find Diy Radiant Mason Jar Lantern Crystal Accents useful.
Steps
Prepare the Solution
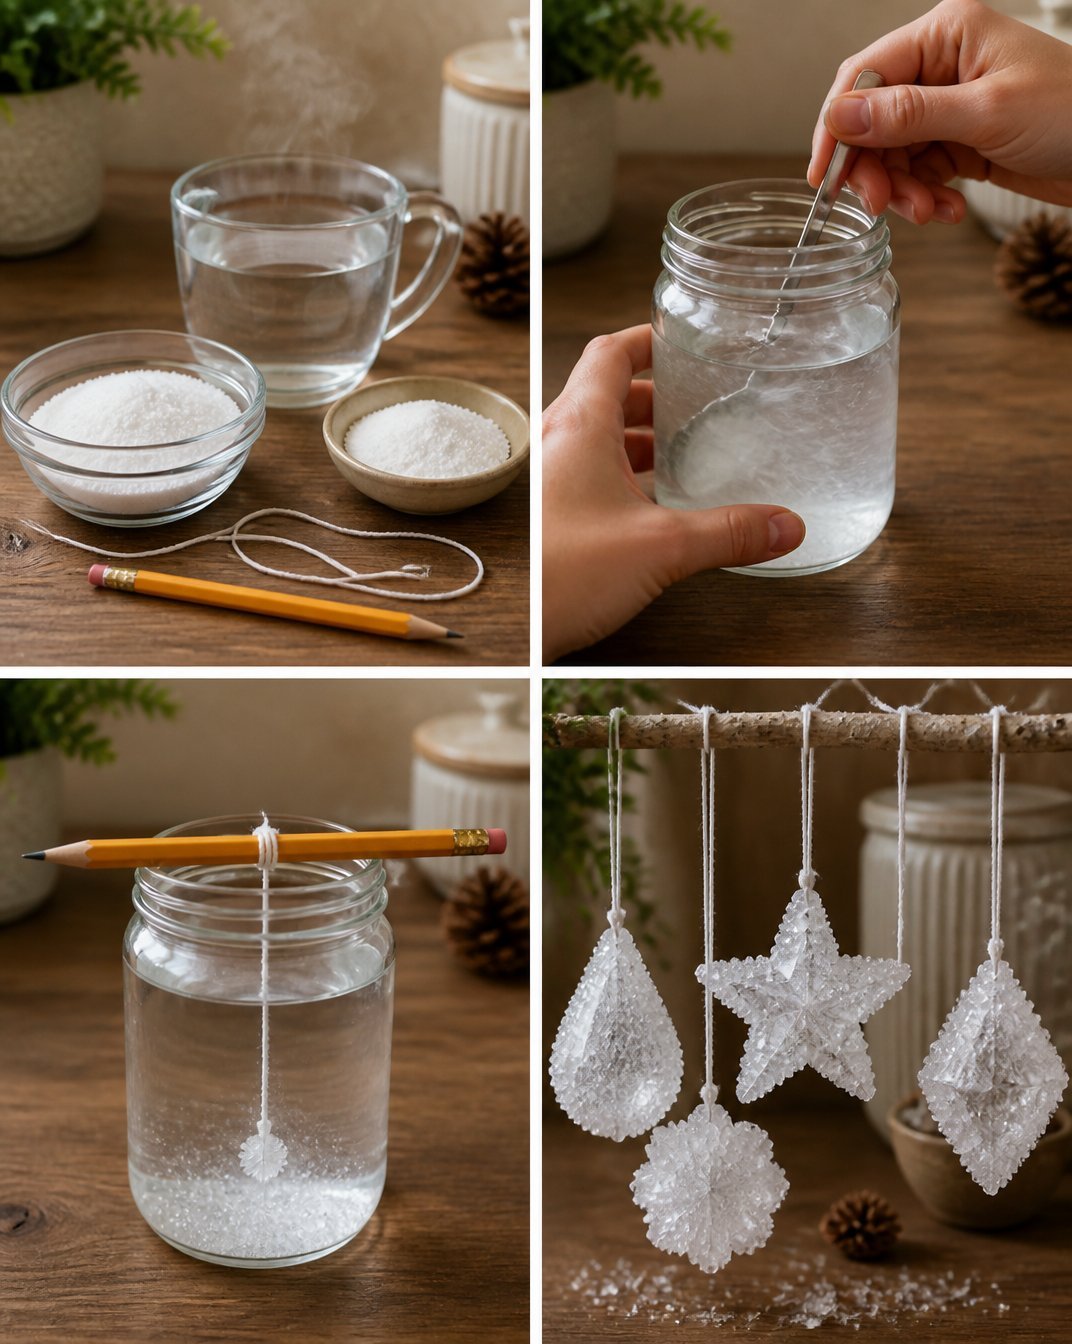
Begin by boiling water and measuring how much you will need based on the size of your jar. The hotter the water, the more borax it can dissolve. For every cup of hot water, add three tablespoons of borax and stir until it dissolves completely.Create Your Ornaments
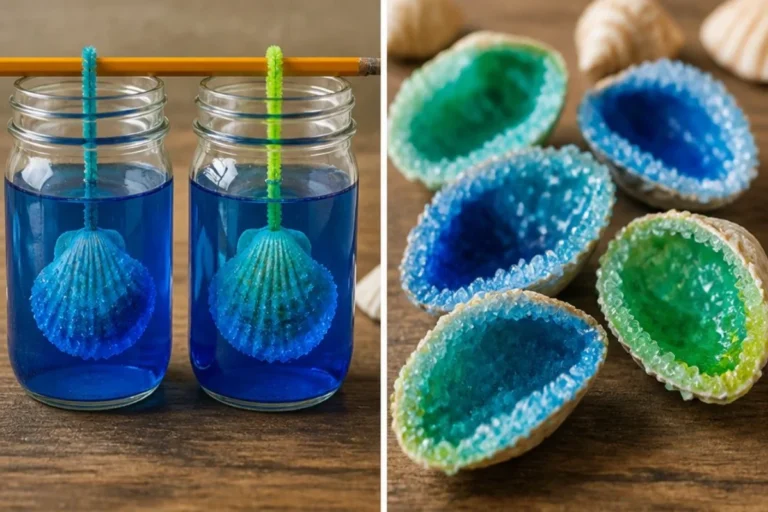
While the solution cools, shape your string or pipe cleaners into the desired forms. You might choose simple shapes like stars or complex ones like snowflakes. These will define the final appearance of your crystal ornaments.Suspend the Shapes
Tie one end of the string to the shape and the other end to a wooden stick, placing the stick across the top of the jar so that the shape hangs just above the solution.Allow Crystals to Form
Place your jar in a cool location where it won’t be disturbed. Over the next few hours to days, watch as crystals begin to form on your ornament. What you’re looking for is a lovely, sparkling appearance as the crystals grow, enhancing the overall structure.Finishing Touches
Once the crystals have grown to your satisfaction, remove the ornament from the jar. Shake off any excess borax and let it dry. The texture will become more defined as it dries.
What Goes Wrong and How to Fix It
Sometimes, you may find your crystals didn’t grow as expected, or they appear cloudy. This can happen if the solution wasn’t hot enough or if it cooled too quickly. If your crystals are cloudy, consider starting fresh with hotter water and ensuring you fully dissolve the borax again.
Where to Display It
Once completed, think about the best places to showcase your creations. They look particularly enchanting in windows where sunlight can catch the crystals and reflect beautiful colors. Consider hanging them near your DIY radiant mason jar lanterns, where the glow enhances the magic even more.
Variations
You can experiment with this project by using different colors of food coloring or varying the shapes you create. If you’re feeling adventurous, try using different types of salts or sugars to see how the crystal formations differ. For additional creative ideas, check out this guide on DIY baking soda crystal structures for another thrilling project.
FAQs
How long do crystals take to grow?
The growth period can vary significantly, but typically you should allow at least four to six hours for noticeable results. Overnight is often recommended for optimal growth.
What can I do if my crystals appear fuzzy?
Fuzzy crystals are usually a sign of improper cooling, meaning the solution cooled too fast or did not mix well. Make sure to always dissolve borax fully in boiling water before it cools.
Can kids help with this project?
Absolutely! Kids can assist in shaping the pipe cleaners and observing the growth process. However, adults should handle the hot water and borax for safety.
Is there a way to speed up the process?
While you can’t rush crystallization too much, you can ensure your water remains hot as long as possible before allowing it to cool. Just ensure not to disturb your jars during this time.
Can I use other ingredients?
While borax is commonly used for its effective crystallization properties, you can also try experimenting with other household items like sugar or salt, although results will vary.
How long will they last?
If taken care of properly, your crystals can last for weeks or even months. Just ensure they are kept in a dry place away from moisture.
Conclusion
Creating your own crystal ornaments can be a wonderful project for families looking to blend craft and science. For additional tips on crystal-making projects that yield stunning results, check out this helpful guide on how to make crystal stars or for a different method, see this step-by-step Instructables guide on growing borax crystals. With the right techniques, you can enjoy a glowing display of craftsmanship that brightens up any room.