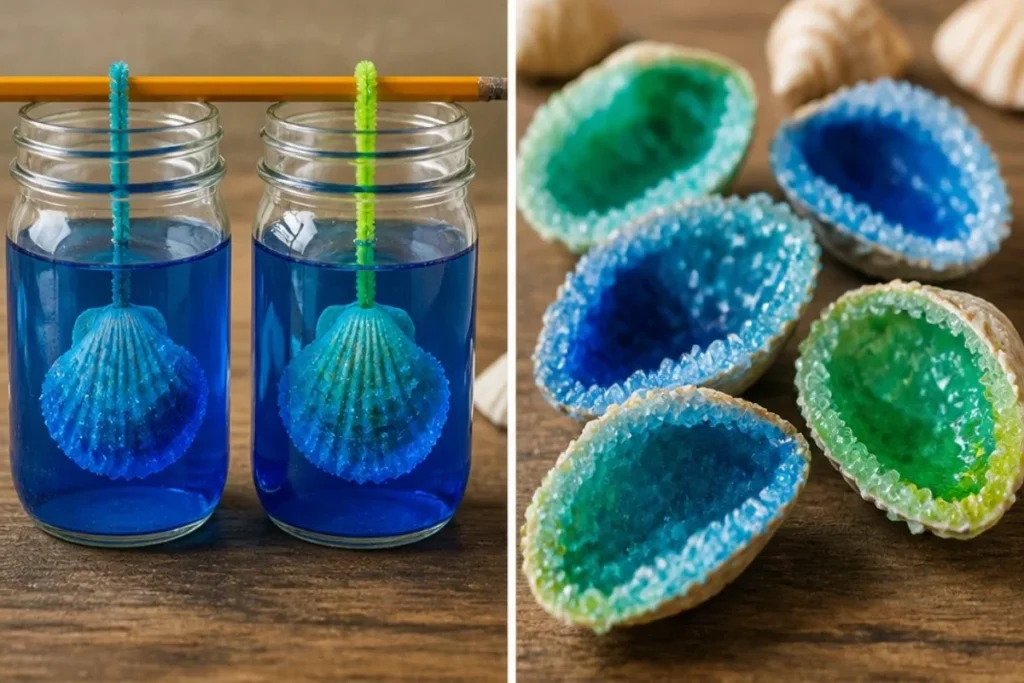
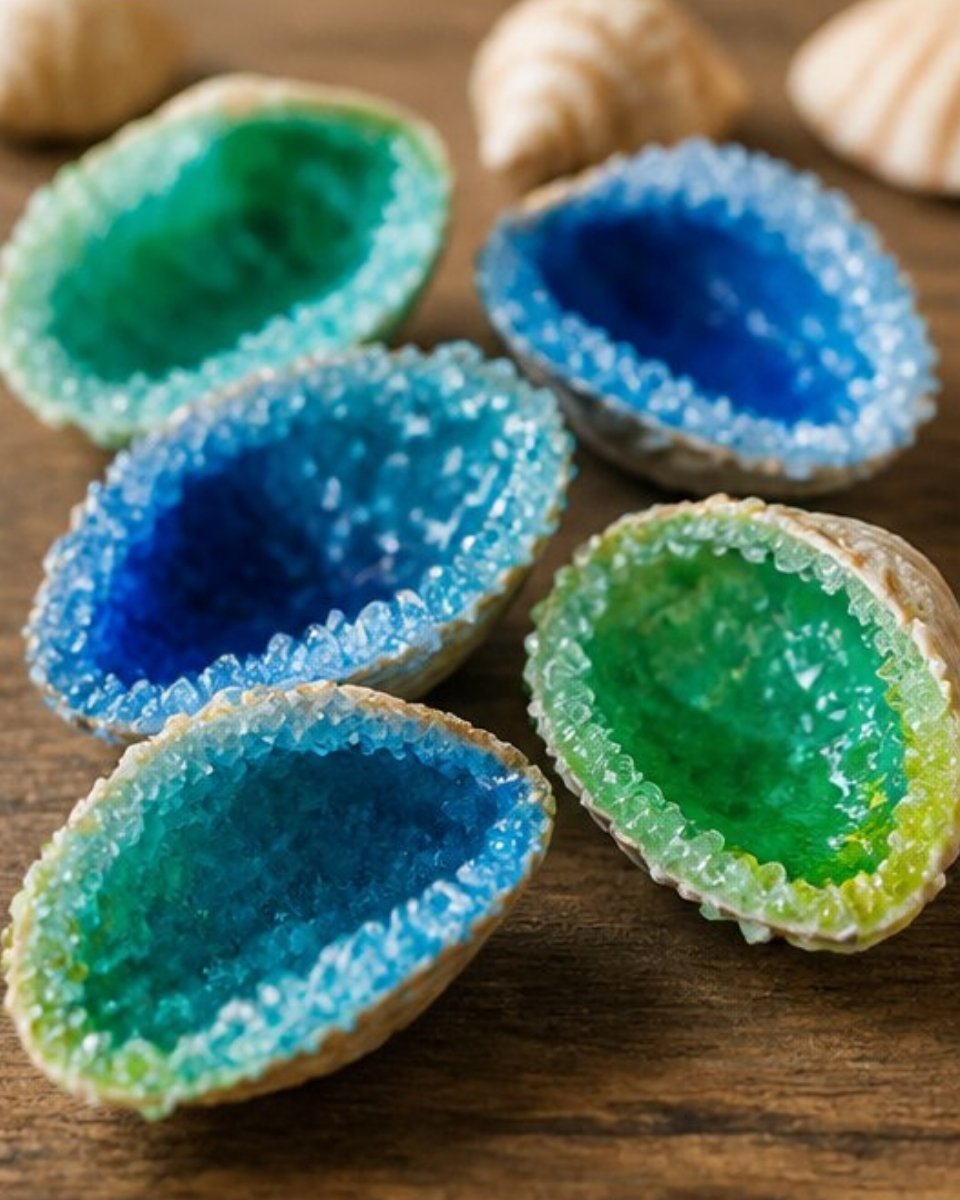
Crystal Growing Seashell Geodes create a stunning transformation, as everyday seashells become vibrant, sparkling works of art. As the crystals form, they glisten with colors, captivating anyone who sees them. This project combines creativity with a bit of science, showing how a simple solution can lead to beautiful results. You may also find Crystal Growing Seashell Experiment useful.
The process of crystallization behind these seashell geodes is fascinating. Borax dissolves in very hot water, allowing the saturation of the solution to increase. When the shells are suspended in this solution, crystals begin to form around them. This is what creates the lovely textures and colors. If you are looking for more experiments involving crystals, you might want to explore this crystal growing experiment for some additional fun!
Materials Needed
To begin your project, gather the following materials: You may also find Crystal Growing Flower useful.
- Clean seashells
- Borax
- Very hot water
- Glass jars
- Spoon
- Food coloring
- String or pipe cleaners
- Pencil
Make sure to use clean seashells as your base. This ensures that the crystals have a nice, flat surface to cling to. Also, remember that the water needs to be very hot for this process, as it helps dissolve the borax efficiently.
Steps to Create Crystal Growing Seashell Geodes
Step 1: Prepare the Borax Solution
Start by dissolving borax into very hot water until no more dissolves. Stir gently to ensure complete dissolution. The key here is to observe how the solution becomes clear without any gritty particles left at the bottom. This indicates that your solution is properly saturated.
Step 2: Add Color
Next, add a few drops of food coloring to your solution. Watch as the water transforms from clear to a vibrant color. The choice of color can affect the final look of your crystals, so feel free to experiment with different shades.
Step 3: Suspend the Shells
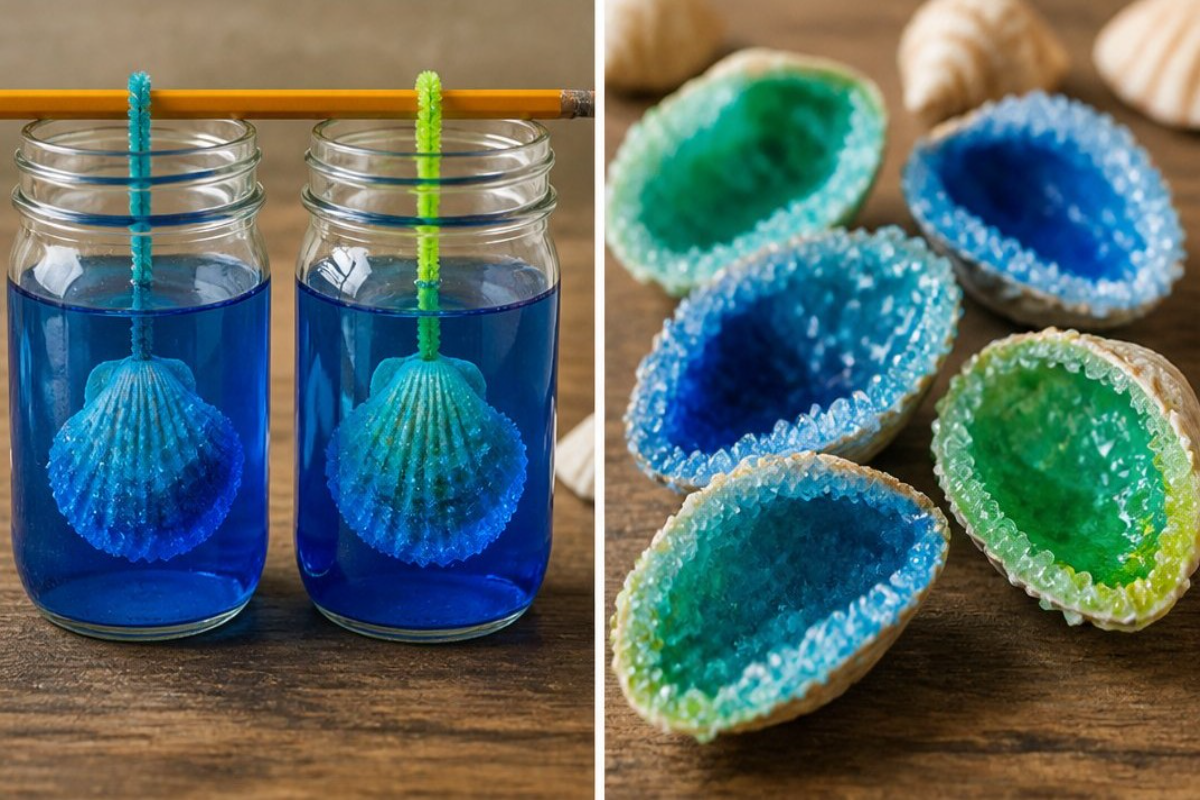
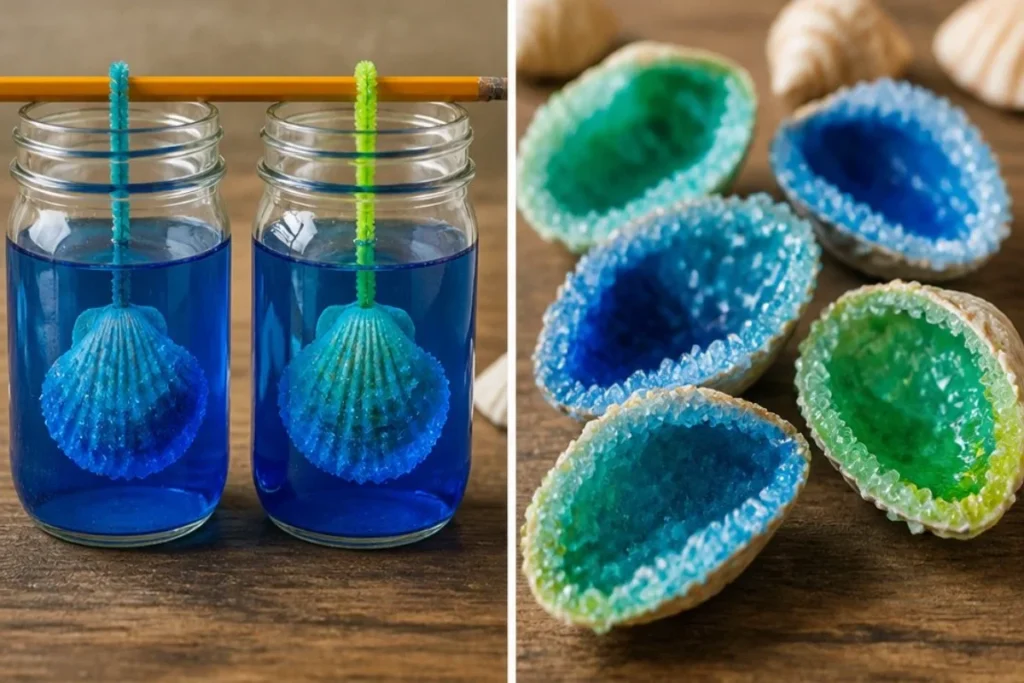
Use string or pipe cleaners to suspend the shells in the solution. Ensure that they do not touch the bottom of the jar. This step is crucial, as it allows the crystals to form evenly around the shells. Take a moment to admire how the shells are now hanging in their colorful bath.
Step 4: Wait for the Crystals to Form
Leave the jars undisturbed overnight. This is where the magic happens. As the solution cools, crystals begin to form around the shells. Look for changes in texture and the way light refracts through the forming crystals. These are signs that you are on the right track!
Step 5: Finishing Touches
Carefully remove the shells from the jars and let them dry. What you’ll see is a stunning array of crystals covering the seashells. Each piece will be unique, showcasing a brilliant blend of color and sparkle.
What Goes Wrong and How to Fix It
Sometimes, projects like this can face setbacks. If the crystals do not form, it might be due to the solution being too cold. Ensure that the solution is at the correct temperature when you suspend the shells. If crystals appear cloudy, that might indicate too much borax was added. In such cases, dissolve more water into the solution, stirring to dilute it.
Where to Display Your Creations
Once your crystal seashells are complete, consider where to display them. They look fantastic on a shelf, catching the light and reflecting colors beautifully. You may also choose to create a centerpiece, using more shells to expand your collection. The transformation from simple seashells to glamorous pieces can brighten any room.
Variations to Try
Experimenting with this project is part of the fun! One variation is to use different types of shells or even explore other shapes created with pipe cleaners before dipping into the solution. You could also consider using different kinds of food coloring to create unique patterns and colors. For another crafting adventure, check out this guide on baking soda crystal growing trees.
FAQs
How long does it take for the crystals to grow?
You should leave the shells in the solution overnight. However, some people prefer to let them sit for a full day or two for larger crystals.
Can I use other substances instead of borax?
Borax is a popular choice for this project, but you could try alternative materials, such as sugar or salt, to see how the crystals differ in structure and clarity.
What should I do if my shells are not suspending properly?
If your shells are not held in place, ensure that you use a sturdy string or pipe cleaner and adjust their positioning until they are secure. If needed, test different lengths to find the best fit.
Will these crystals last indefinitely?
While these crystals can last a long time, humidity and exposure to moisture can cause them to dissolve or lose clarity over time. Keeping them in a dry place helps maintain their beauty.
Can kids help with this project?
Yes, this is a fun family project! But due to the use of very hot water and borax, adult supervision is essential, especially during the preparation phase.
How can I make the crystals look cleaner?
For a cleaner appearance, you can rinse the shells with warm water after removing them from the solution. This helps remove excess borax and reveals the crystals more clearly.
Conclusion
Creating Crystal Growing Seashell Geodes is an exciting activity that combines science and creativity. For more crafting ideas, check out this insightful post on shell crystal craft or explore how to make stunning designs with crystal seashell geodes. Enjoy the glowing transformation of your seashells into beautiful works of art!
Follow us on social for more DIY ideas & inspiration!
Crystal Growing Seashell Geodes
Would you like to save this project?
By submitting you agree to receive this project and occasional emails. Unsubscribe anytime.
Directions
Last Step: Don’t forget to leave a rating and comment below! It helps other readers find the best DIY projects — and it helps us too!