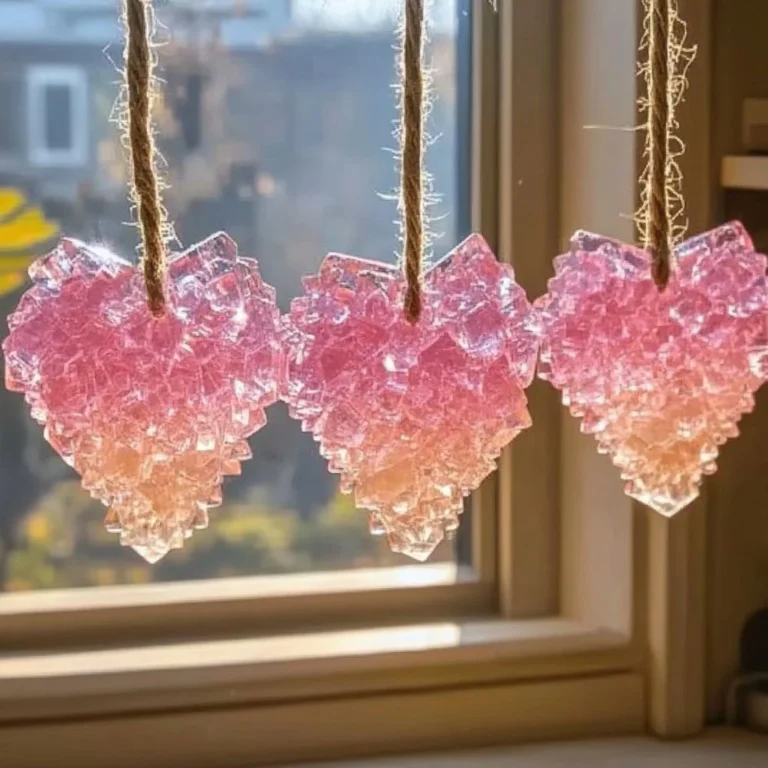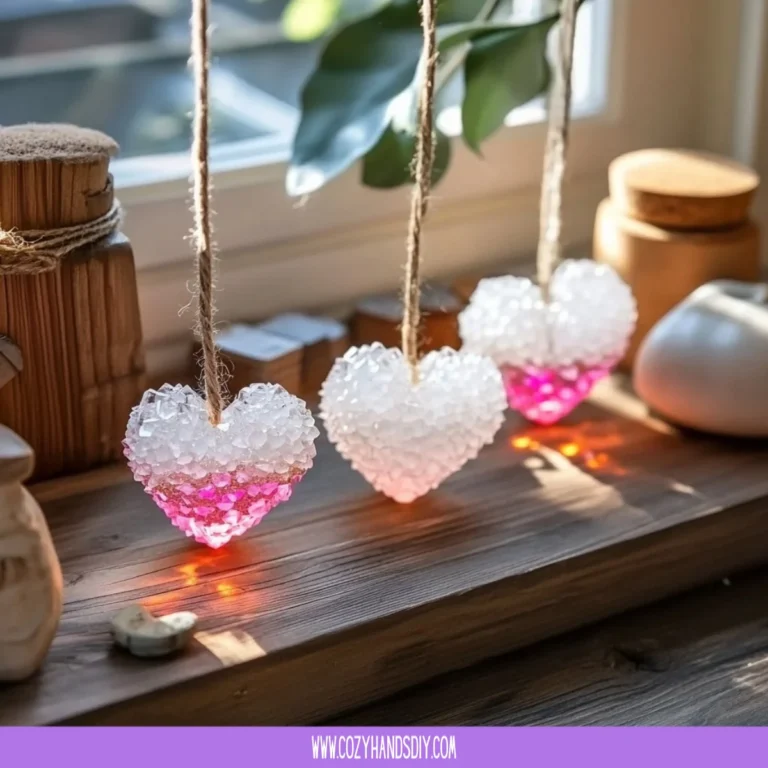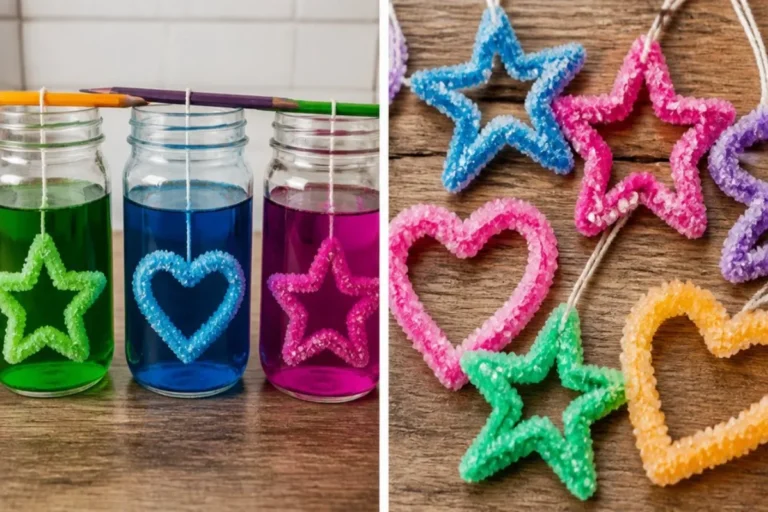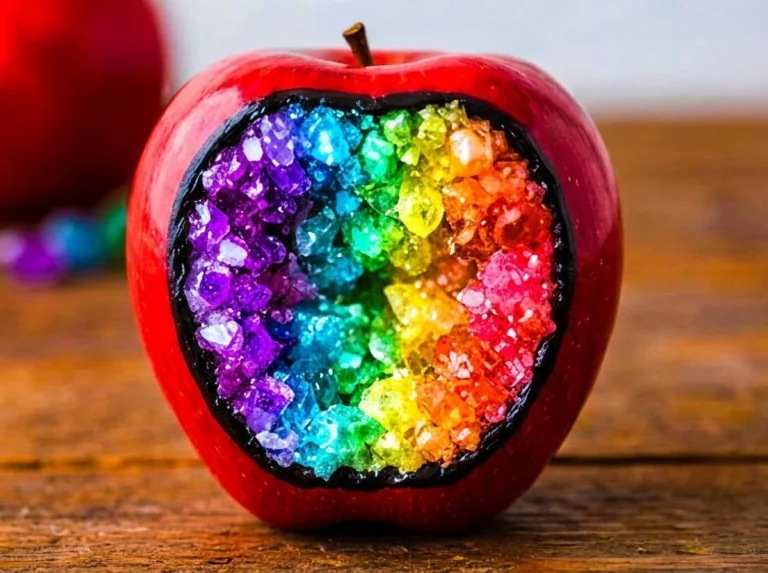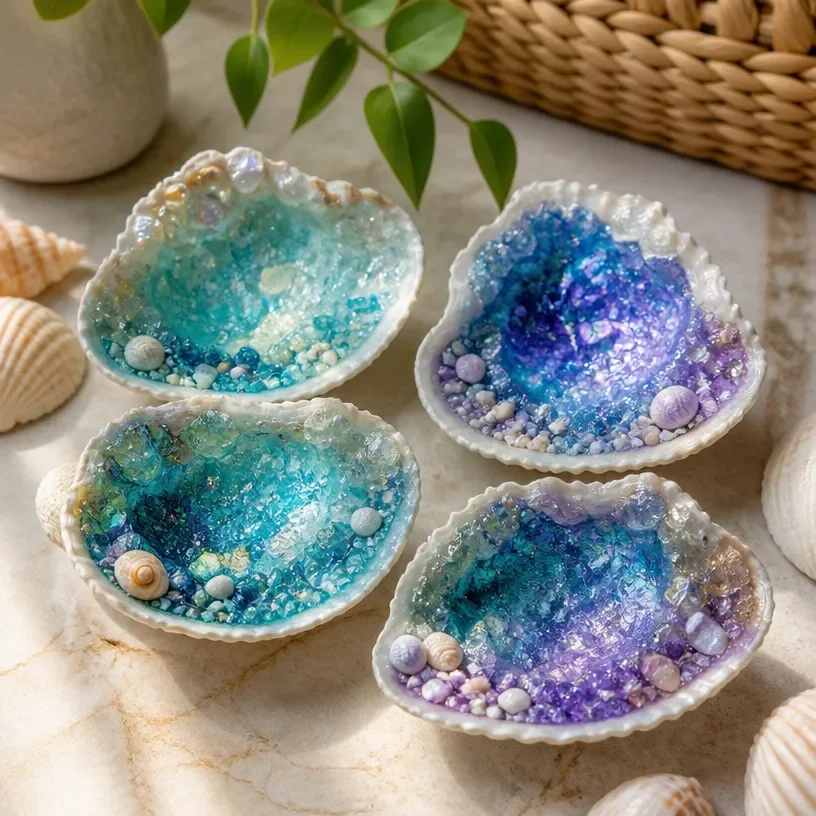
Look at the final product of the How to Grow Crystal Seashell Geodes. The sparkling colors and unique textures can brighten any shelf or window. This DIY project allows you to create mesmerizing geodes that mimic the beauty of the ocean. Using simple materials, you can fully engage in a colorful science experiment that is both fun and educational. You may also find How To Make Crystal Seashells useful.
What Makes This Work
This project uses materials that, when combined, create a crystallization effect. As the mixture cools, the crystals form, which results in stunning shapes and colors. The combination of water, sugar, and other compounds creates a unique environment that promotes crystal growth. If you’re eager to create similar crystal formations, consider checking out baking soda crystal hearts as well.
Materials
Here’s what you need to gather for this project:
- Epsom salt
- Boiling water
- A heat-safe container
- Seashells (real or molded)
- Food coloring (optional)
- Stirring stick
Make sure to use care when handling boiling water, as spills can cause burns. An adult should perform this step to ensure safety.
Steps
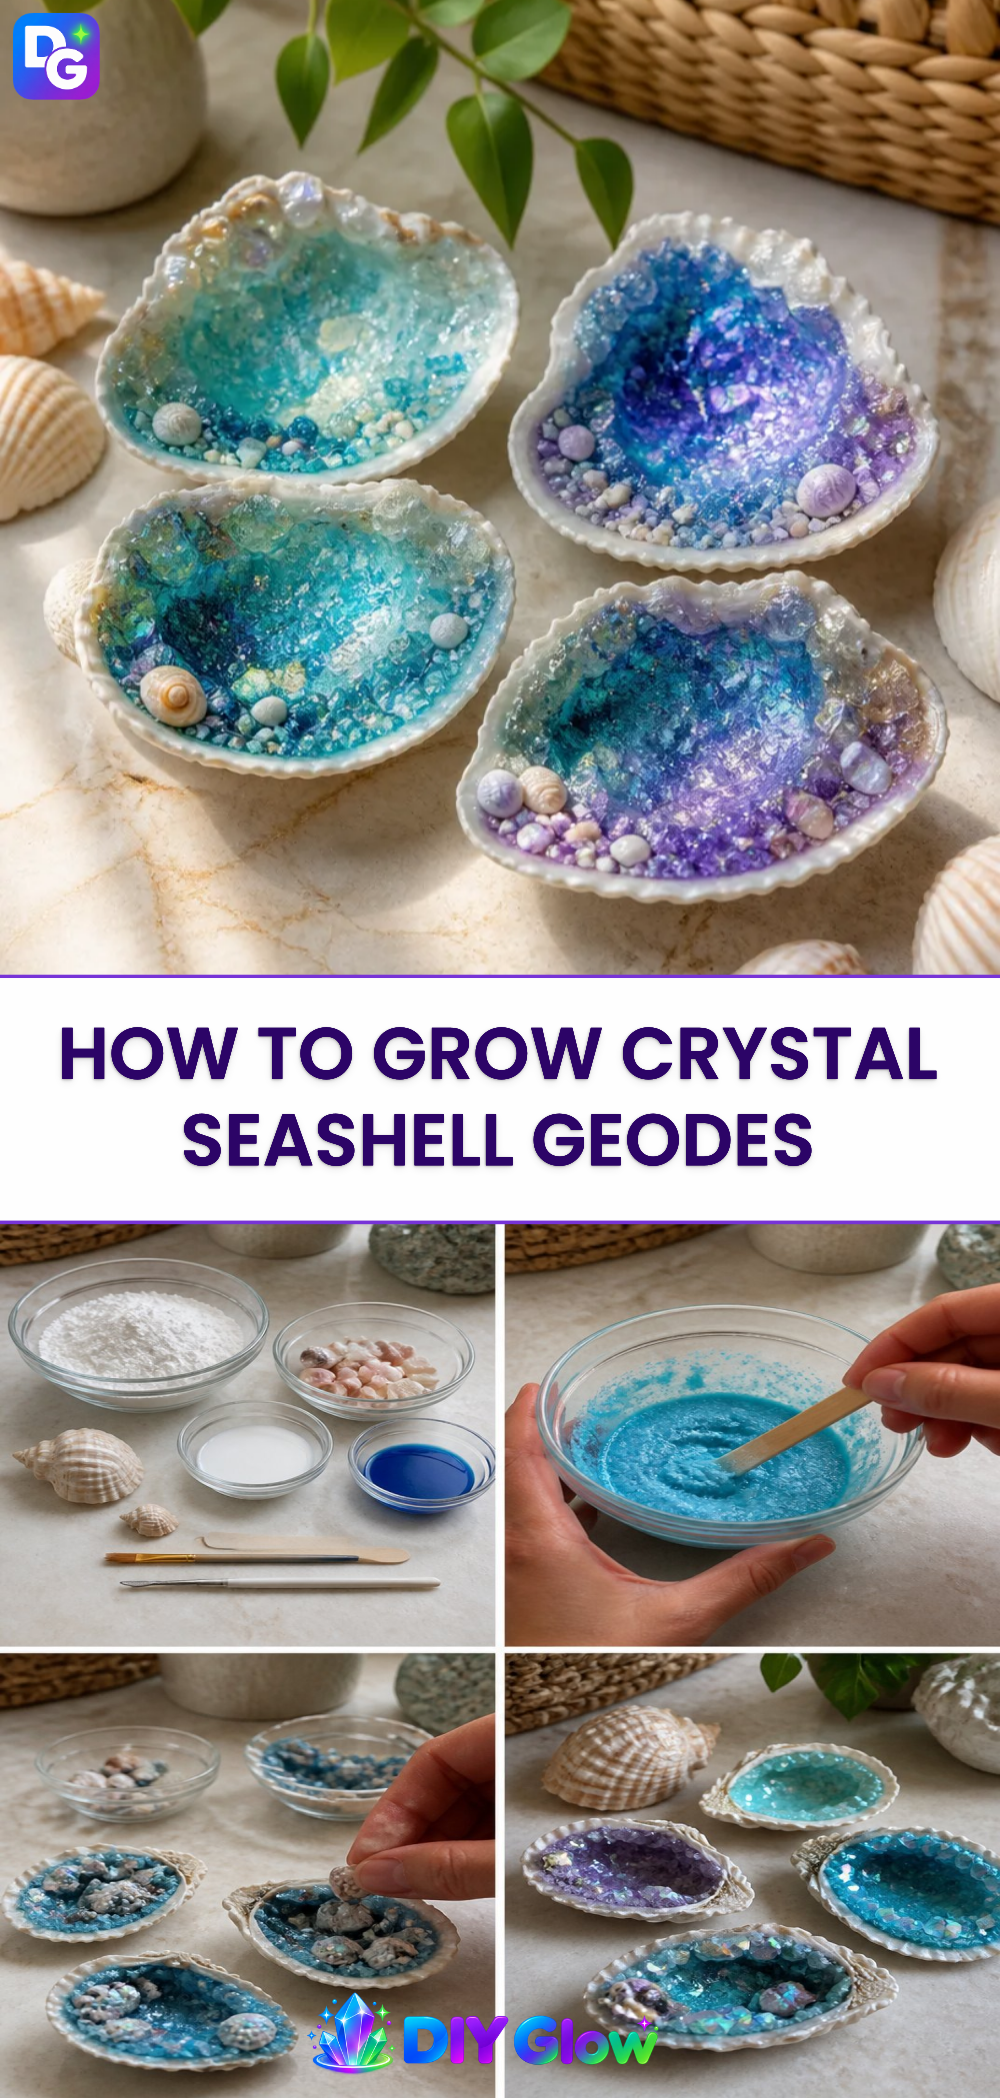
Prepare the Solution: Start by boiling water in a kettle or pot. Once it’s boiling, carefully pour it into your heat-safe container. The amount of water will depend on how many seashells you want to use.
Add Epsom Salt: Gradually add Epsom salt to the boiling water. Stir continuously until all the salt dissolves. You will know the solution is ready once the water no longer appears cloudy.
Add Color: If you want your crystals to be colorful, add a few drops of food coloring to the solution. Stir it gently to mix.
Place Your Shells: Carefully place the seashells in the solution. If you’re using smaller seashells, you might want to arrange them on a flat surface until the solution cools.
Let It Set: Allow the container to cool at room temperature for at least 24 hours. Check periodically to see the crystals forming. Look out for the texture changing from smooth to rough, which indicates growth.
Remove the Shells: After 24 hours, gently remove the shells from the solution. Be careful not to disturb the crystals too much. Let them dry completely on a paper towel.
Observe the Result: The final look should be a dazzling blend of colors and shiny surfaces. They will glisten in light, creating a stunning display. If you want more crystal projects to try, explore growing crystal ornaments for variety.
What Goes Wrong and How to Fix It
Sometimes, you may notice your crystals aren’t forming as expected. This can happen for several reasons:
- Solution Too Hot: If the solution is cooled too quickly, crystals may not form properly. Make sure to allow it to cool slowly.
- Insufficient Salt: If there was not enough Epsom salt, crystals won’t grow. Always use the correct ratio with water.
- Movement: Avoid moving the container while the crystals are growing. Any disturbance can disrupt the process.
Where to Display It
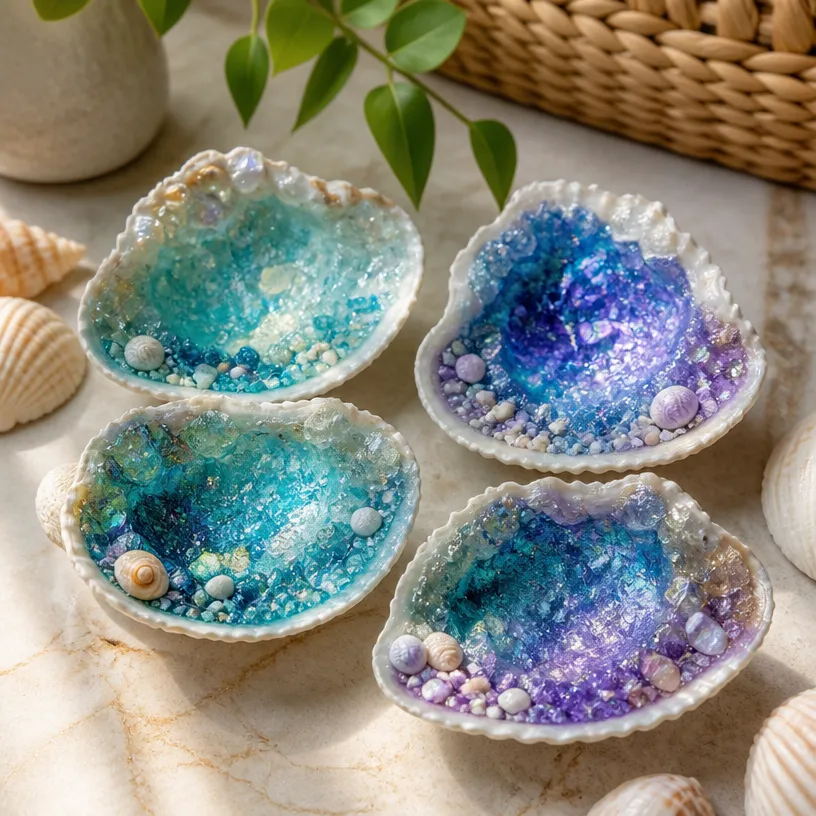
Once your crystal seashell geodes are complete and dried, consider showcasing them in various places. They can look beautiful on a windowsill, reflecting light and showcasing their glitter. Similarly, a display box or shelf dedicated to these projects allows for an artistic arrangement that draws attention. Adding them to a nature-themed area will enhance their effect, especially when combined with plants or other natural elements. You can find more creative ideas in making DIY crystal seashells.
Variations
Here are some tweaks you can try to make your project unique.
- Different Salts: Experiment with other types of salt, like table salt or rock salt, to see how the crystal formation varies.
- Shell Shapes: Use different shell shapes or sizes to create diverse looks.
- Glow in the Dark: Add glow-in-the-dark powder to the solution for an exciting twist.
FAQs
How long does it take for the crystals to form?
Crystals typically start forming within 24 hours, but for best results, allow them to grow for 48 hours.
Can you use different shells?
Yes, any shell will work. Just ensure they are clean and dry before placing them in the solution.
What if my crystals are tiny?
If the crystals are too small, try increasing the amount of Epsom salt or allowing the solution to settle longer before removing the shells.
Are these safe for kids to do?
This project is generally safe for kids, but they should not handle boiling water. Always supervise them during the process.
Can I use other materials in place of Epsom salt?
While Epsom salt is effective, you can also try sugar, baking soda, or different salts, but results may vary.
What’s the best way to store these?
Keep them in a dry place away from moisture to maintain their appearance and prevent the crystals from dissolving.
Conclusion
Creating crystal seashell geodes is not just an engaging DIY project but also an opportunity to witness the beauty of science. As you explore this craft, consider checking out How to Make Crystal Egg Geodes – Instructables for another fun experiment. Additionally, for those looking for a fun family activity, you can read about How to Grow Your Own Crystal Geodes that will expand your DIY crafty universe.
Follow me on social for more recipe ideas & inspiration!
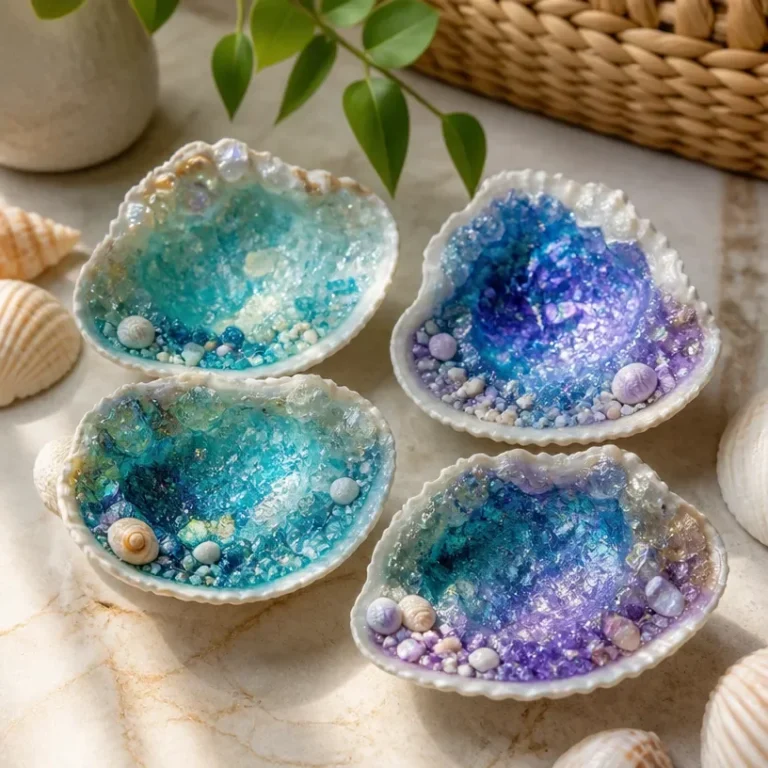
Crystal Seashell Geodes
Would you like to save this recipe?
By submitting you agree to receive this recipe and occasional emails. Unsubscribe anytime.
Materials
Materials for Crystal Growth
- 1 cup Epsom salt Ensure it's enough for the water amount.
- 1 container Boiling water The amount depends on how many seashells you want to use.
- 1 heat-safe container Heat-safe container For mixing the solution.
- several pieces Seashells (real or molded) Choose various shapes or sizes.
- a few drops Food coloring (optional) For adding color to the crystals.
- 1 stick Stirring stick For mixing the solution.
Instructions
Preparation
- Start by boiling water in a kettle or pot. Once it’s boiling, carefully pour it into your heat-safe container.
- Gradually add Epsom salt to the boiling water. Stir continuously until all the salt dissolves.
- If you want your crystals to be colorful, add a few drops of food coloring to the solution and stir gently.
- Carefully place the seashells in the solution and arrange smaller seashells on a flat surface until the solution cools.
- Allow the container to cool at room temperature for at least 24 hours. Check periodically to observe crystal growth.
- After 24 hours, gently remove the shells from the solution, letting them dry completely on a paper towel.
- The final look should be a dazzling blend of colors. Display them in a place where they can catch light.
Last Step: Don’t forget to leave a rating and comment below! It helps other readers find the best recipes — and it helps us too!
Tips & Notes:
Nutrition Information: Serving: 1 | Calories: | Carbohydrates: | Protein: | Fat: | Sodium: | Fiber: | Sugar:
Nutritional information is provided as a courtesy and calculated automatically. Values can vary depending on the brands and ingredients you use, so if you’re tracking closely, I recommend calculating with your own preferred tool.