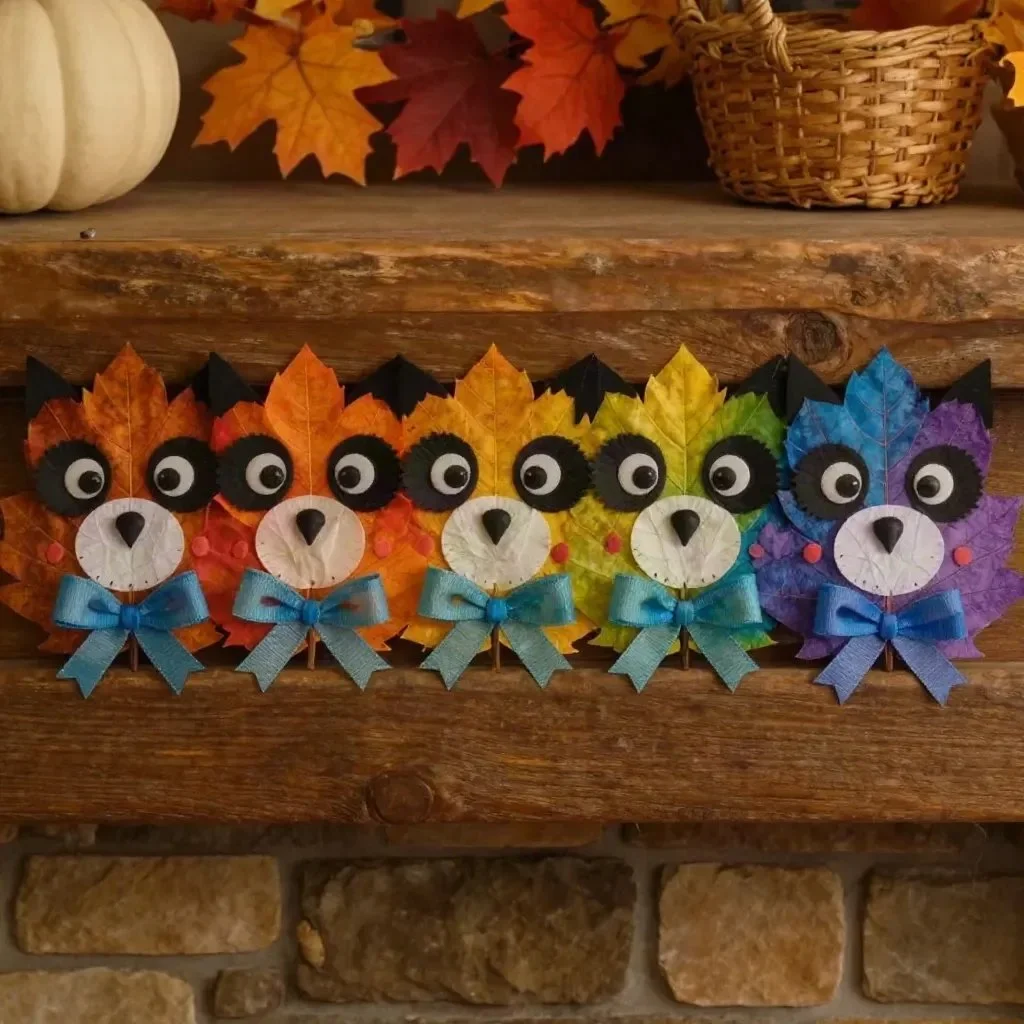
The Rainbow Panda Fall Leaf Friends Craft for Kids brings a burst of color to your home. When you create these charming panda leaves, you will have a delightful display that catches the eye. With vivid accents and playful textures, these crafts add a unique touch to any space. You may also find Baking Soda Rainbow Crystal Forest Rainbow Crystals useful.
Gather your materials. You will need 6 large artificial leaves, white felt, black felt, rainbow paint markers, clear pink pom-poms, clear blue ribbon, googly eyes, and glue. The vibrant hues provided by the paint markers will transform your artificial leaves into beautiful canvases. For a similar colorful project, check out this rainbow sun catcher to add more charm to your window.
Steps
Step 1 – Apply Rainbow Colors
Begin by using the rainbow paint markers to apply vivid accents across the surface of the artificial leaves. As the colors blend, you will notice how they brighten and enhance the leaves, turning them into a vibrant backdrop for your panda faces. Ensure you allow the leaves to dry completely before moving on to the next step. This drying stage is important, as it prevents any unwanted smudging or mixing of colors. You may also find Diy Flowers Salt Painting For Kids Cozy useful.
Step 2 – Create Panda Features
Once the leaves are dry, cut shapes from the white and black felt to create the panda’s face and ears. These felt features will stand out beautifully against the colorful background of the leaves. Use glue to attach the eyes, ears, and facial features securely. Look for a smooth, even application of glue to ensure the felt pieces adhere well. While crafting, you might also enjoy making other colorful projects for kids, such as salt paintings.
Step 3 – Add Cheeks
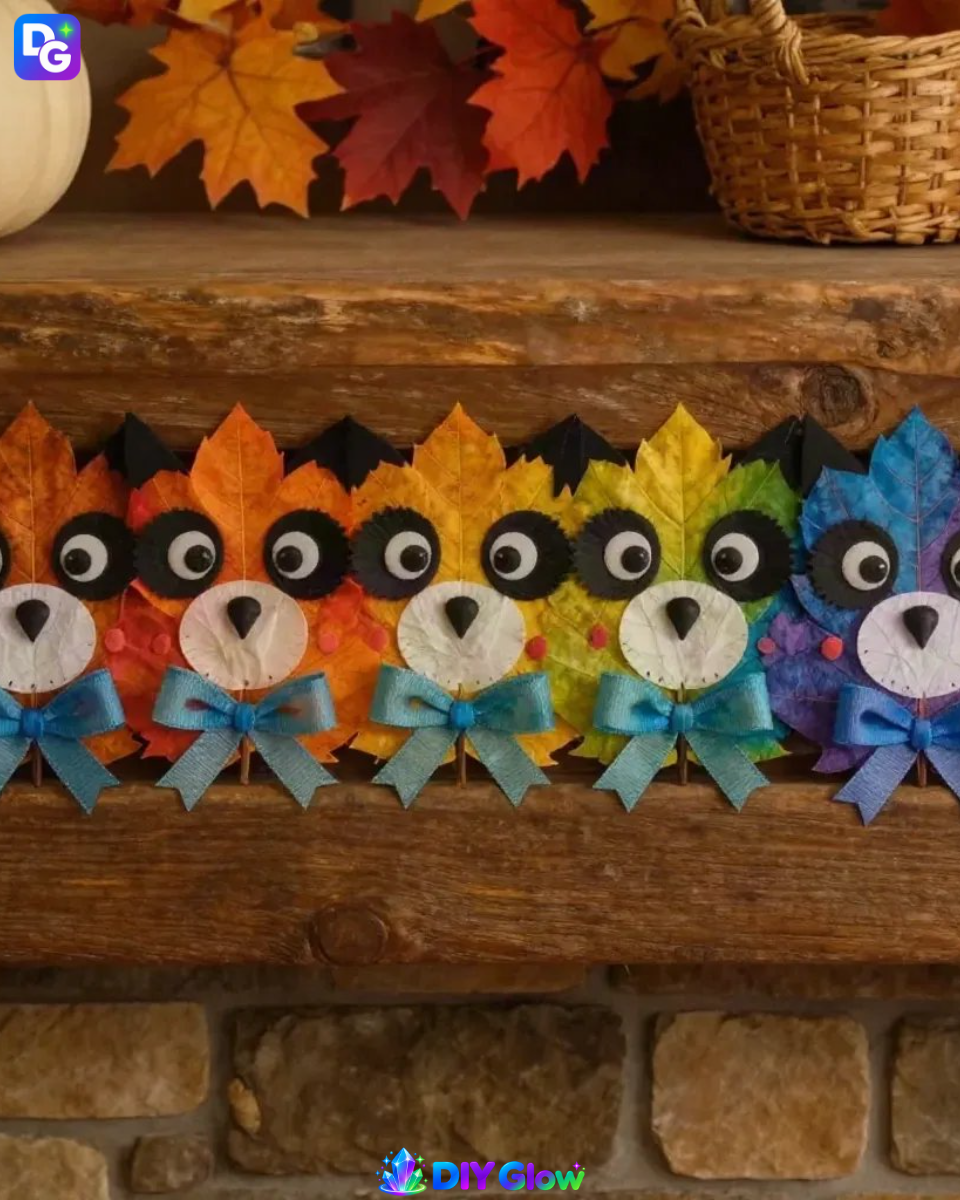
Use the clear pink pom-poms to create cheeks and glue them onto each panda’s face. These pom-poms add texture and enhance the playful character of each panda leaf. Ensure you place them evenly to provide balance and visual interest to the faces.
Step 4 – Bow Decorations
Cut pieces of clear blue ribbon to make bow decorations and attach them to the top of each panda’s head. The shiny ribbon contrasts nicely with the matte felt and colorful leaves, offering visual variety. Tie the ribbons into bows for a finishing touch that completes their cute look.
Step 5 – Display Your Craft
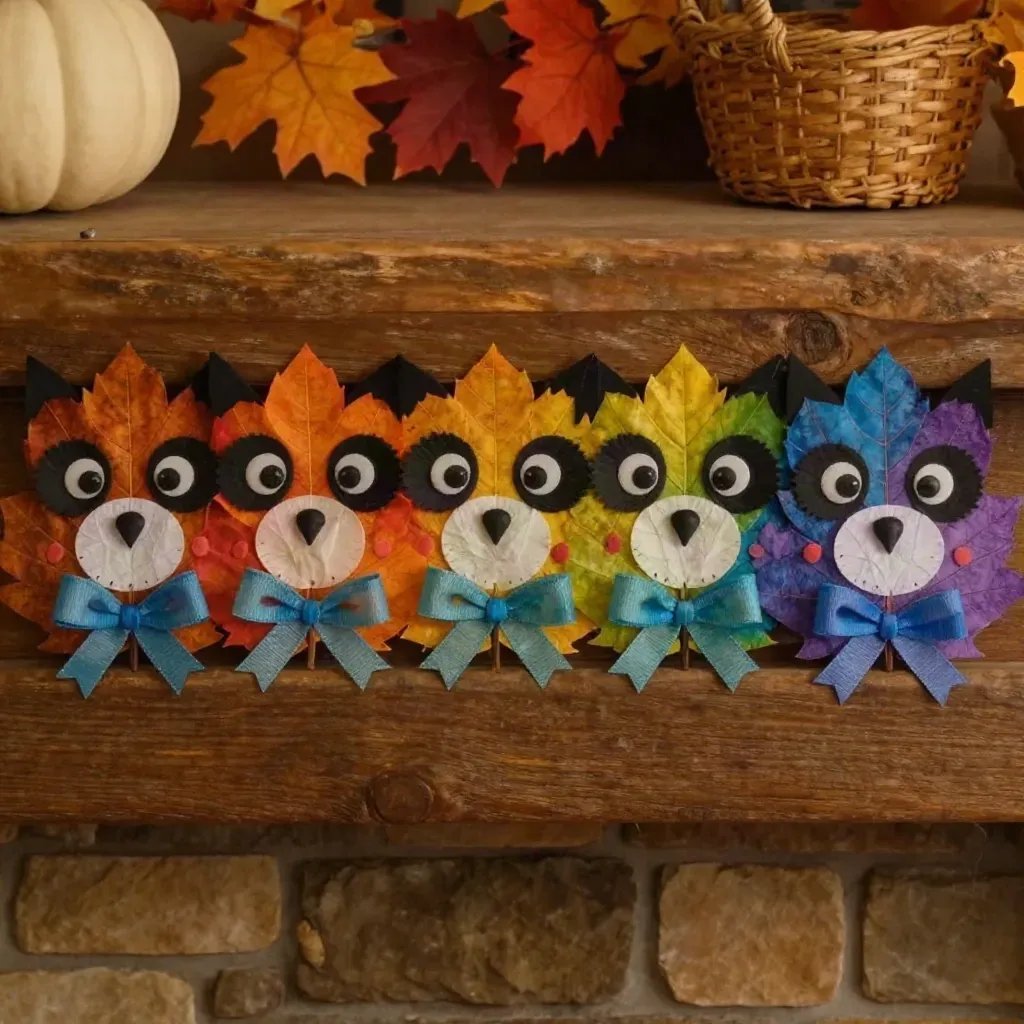
Gather and display your panda leaf friends on a mantel or shelf. Their colorful appearance and charming features will make them a favorite decor item. Look for a spot where they can catch the light, enhancing their colors even more. Putting them in direct sunlight will activate the vibrant colors, making them even more eye-catching in your home.
What Goes Wrong and How to Fix It
If the leaves appear tacky even after drying, it may be that the paint markers were applied too thickly. Lightly dab them with a paper towel to absorb excess moisture. If the glue does not hold the felt pieces, consider using a stronger adhesive or allowing extra drying time to ensure all components set well.
Variations
For a unique twist, consider using other types of leaves, different colors of felt, or adding more embellishments like glitter or sequins. These variations can lead to a collection of different panda leaves that each have their own personality. If you’re interested in mixing colors and seeing stunning effects, this baking soda crystal project offers great insights as well.
FAQs
What if my paint does not adhere well to the leaves?
Make sure the artificial leaves are clean and dry before applying the paint. You can sand the surface lightly to help the paint stick better.
Can kids help with this craft?
Yes! Kids can assist with coloring the leaves and applying the pom-poms. Just ensure that any cutting or gluing is done by an adult or with adult supervision.
How long does this craft last?
With proper care, your panda leaf friends can last for years. Keep them out of direct moisture and sunlight for optimal preservation.
What materials can I use if I don’t have felt?
You might use colored paper or fabric scraps as alternatives. Ensure they are sturdy enough to hold their shape.
Can I make this craft bigger?
Absolutely! You can use larger leaves or multiple layers of smaller leaves to create a grander display. Just adjust the amounts of felt and other materials accordingly.
What do I do if the glue doesn’t hold?
If the glue isn’t setting, try cleaning the surfaces before reapplying it. You can also switch to a stronger glue for better adhesion.
Conclusion
Creating Rainbow Panda Fall Leaf Friends is a delightful project that brightens any space. This craft engages creativity while allowing for playful experimentation with colors and textures. To explore more seasonal activities, consider checking out this fall art project for toddlers or read about planning themed activities here.
Follow us on social for more DIY ideas & inspiration!

Rainbow Panda Fall Leaf Friends Craft
Would you like to save this project?
By submitting you agree to receive this project and occasional emails. Unsubscribe anytime.
Materials
Craft Materials
- 6 pieces large artificial leaves
- 1 sheet white felt
- 1 sheet black felt
- 1 set rainbow paint markers For coloring the leaves
- 1 pack clear pink pom-poms Used for panda cheeks
- 1 roll clear blue ribbon For bow decorations
- 1 pack googly eyes For panda faces
- 1 bottle glue
Directions
Apply Rainbow Colors
- Begin by using the rainbow paint markers to apply vivid accents across the surface of the artificial leaves.
- Allow the leaves to dry completely before moving on to the next step to prevent any unwanted smudging or mixing of colors.
Create Panda Features
- Once the leaves are dry, cut shapes from the white and black felt to create the panda's face and ears.
- Use glue to attach the eyes, ears, and facial features securely.
Add Cheeks
- Use the clear pink pom-poms to create cheeks and glue them onto each panda's face.
Bow Decorations
- Cut pieces of clear blue ribbon to make bow decorations and attach them to the top of each panda's head.
Display Your Craft
- Gather and display your panda leaf friends on a mantel or shelf.
- Find a spot where they can catch the light, enhancing their colors even more.
Last Step: Don’t forget to leave a rating and comment below! It helps other readers find the best DIY projects — and it helps us too!