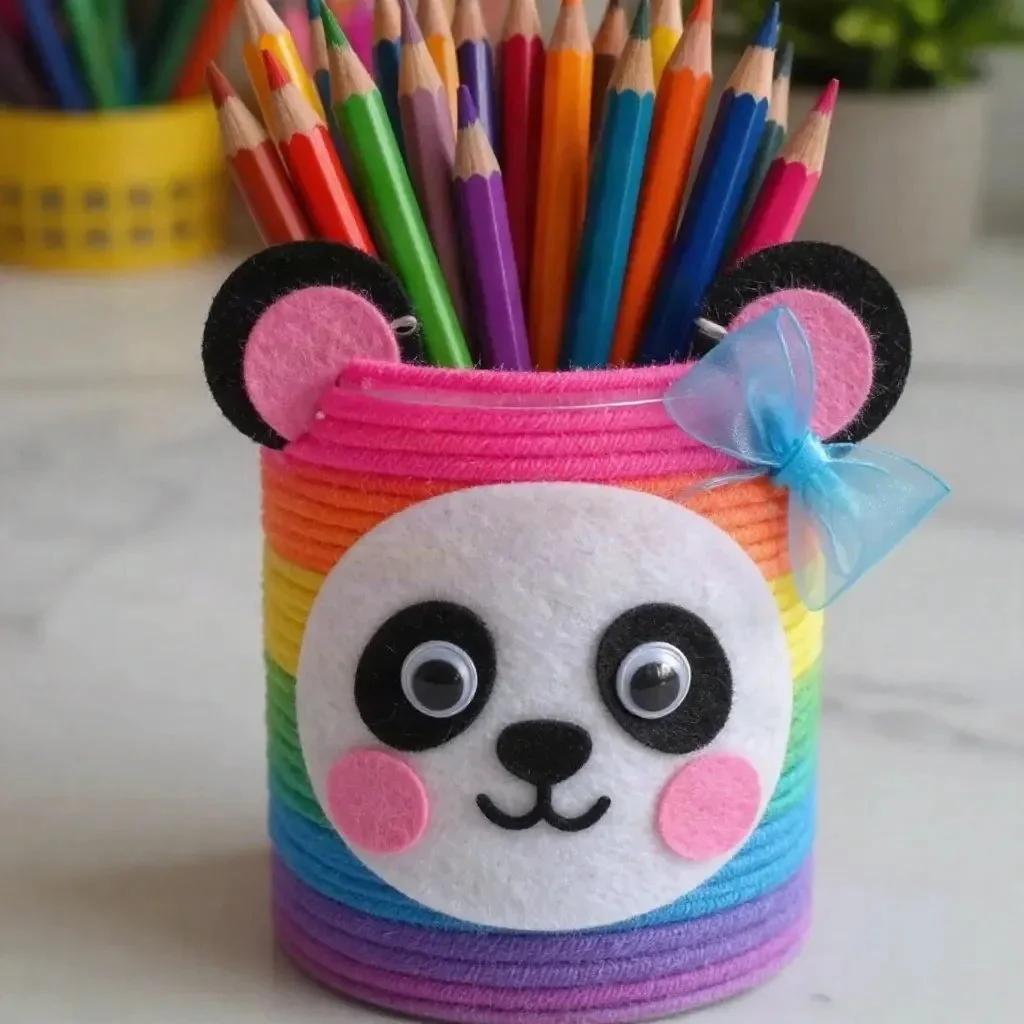
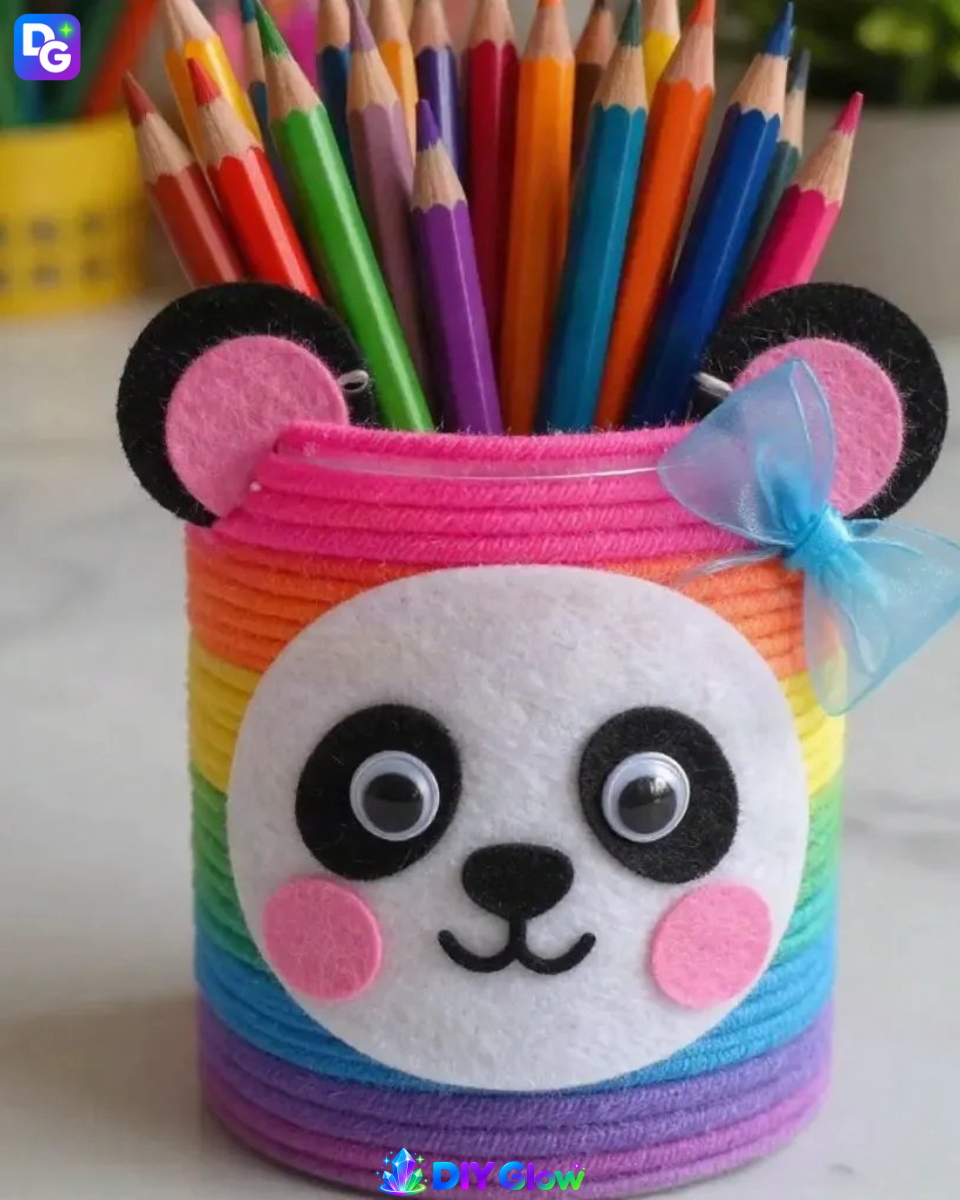
The Rainbow Panda Pencil Cup Classroom Organizer captures attention with its vibrant colors. This charming project transforms a simple tin can into a delightful panda cup, perfect for holding colorful pencils. As you create this piece, you will notice the beauty of each layer and color coming together, ultimately adding a cheerful touch to any space. You may also find Adorable Diy Easter Bunny Cups useful.
What Makes This Work
The magic of this project lies in the colorful yarn and felt materials. Wrapping the tin can with rainbow yarn not only enhances its appearance but also gives it a unique texture. The felt pieces create a soft, inviting look for the panda face. Each material behaves as it does due to its properties for instance, yarn is flexible and can be manipulated easily, while felt is soft and easy to cut. You may also find Baking Soda Rainbow Crystal Forest Rainbow Crystals useful.
Materials
For this project, gather the following supplies: You may also find Baking Soda Rainbow Crystal Forest useful.
- Clean tin can
- Rainbow yarn
- White felt
- Black felt
- Clear pink felt
- Clear blue ribbon
- Googly eyes
- Glue
Steps
Wrap the tin can with bands of rainbow yarn, securing with glue. As you add yarn, observe how its colors blend and brighten the can, creating a beautiful base. You may also find Crystal Rainbow Butterfly Tree Garden Decor useful.
Cut white and black felt pieces for the panda face. This is where the panda comes to life notice how the contrasting colors create an engaging design that is visually appealing.
Cut circles from the clear pink felt for cheeks and glue them onto the white face. The clear pink felt adds a soft sparkle to the cheeks, enhancing the panda’s charm.
Attach the black felt for eyes and glue on the ears. The black felt provides a striking contrast, making the panda features pop against the white face.
Create a clear-blue bow from the ribbon and glue it below one ear. The bow adds a playful touch, and the clear blue ribbon gives a lovely shine.
Fill the completed panda cup with colorful pencils and markers. Filling the cup with bright supplies brings the project to life, adding function and fun to your new organizer.
What Goes Wrong and How to Fix It
Sometimes, the yarn may unravel if not secured well. If this happens, simply apply a little more glue at the seam to hold it in place. If the felt does not stick properly, ensure your glue is strong enough for fabric applications. It’s also essential to cut the felt neatly so that the pieces fit together perfectly; jagged edges can lead to an uneven appearance.
Where to Display It
This charming panda pencil cup is perfect for a desk, a craft table, or a child’s study area. Placing it on a shelf adds a fun element to the room decor. You can also create a group of these organizers to fill a larger space creatively. Mix and match with other DIY projects like the broken crayons rainbow flowers for an even more vibrant display.

Variations
You can personalize your panda cup even further. Experiment with different colors of yarn or add additional features, such as a small flower or heart made from felt. Creating a family of panda organizers with different ear shapes or bow styles can make this project more engaging and encourage a creative exploration of materials.
FAQs
Can I use other types of yarn?
Yes! Any yarn you have will work. Choose a thicker yarn for a denser look or a thinner one for more precision.
What if my panda face doesn’t turn out right?
If the panda features don’t look perfect, don’t worry! That adds character. You can always adjust the shapes or colors to better fit your vision.
How long does it take to make?
The project can typically be completed in about an hour, depending on your crafting speed.
Can kids help with this project?
Absolutely! Children can help with wrapping the yarn and applying glue, but supervision is recommended for cutting the felt.
What should I do if it doesn’t stick?
If parts don’t stick, check your glue’s strength. You might need a fabric glue or a glue gun for a stronger hold.
Can I use other decorations?
Certainly! Stickers, additional felt shapes, or buttons could add personal flair to your panda cup.
Conclusion
Creating the Rainbow Panda Pencil Cup Classroom Organizer is an enjoyable project that infuses a splash of color into your workspace. If you’re interested in more fun and colorful organizing ideas, consider browsing creative options like the Building Blocks Pencil Holder or the Barn Pencil Holder Colorful Square Rainbow Glass Pen Holder. Each project offers a unique twist on how to keep your space organized and cheerful!
Follow us on social for more DIY ideas & inspiration!
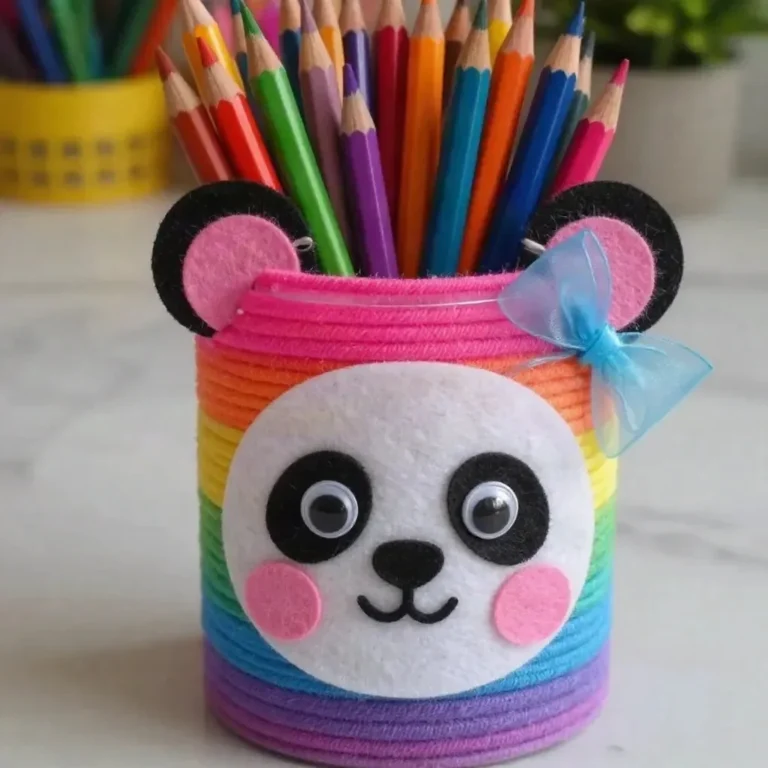
Rainbow Panda Pencil Cup
Would you like to save this project?
By submitting you agree to receive this project and occasional emails. Unsubscribe anytime.
Materials
Materials
- 1 can Clean tin can Ensure it is washed and dry.
- 1 skein Rainbow yarn Choose your favorite color scheme.
- 1 piece White felt For the panda face.
- 1 piece Black felt For the panda features.
- 1 piece Clear pink felt For the panda's cheeks.
- 1 piece Clear blue ribbon To create the bow.
- 2 pieces Googly eyes For added charm.
- 1 bottle Glue Make sure it's strong enough for fabric.
Directions
Creating the Cup
- Wrap the tin can with bands of rainbow yarn, securing with glue. Observe how its colors blend and brighten the can.
- Cut white and black felt pieces for the panda face, noticing how contrasting colors create an engaging design.
- Cut circles from the clear pink felt for cheeks and glue them onto the white face.
- Attach the black felt for eyes and glue on the ears.
- Create a clear-blue bow from the ribbon and glue it below one ear.
- Fill the completed panda cup with colorful pencils and markers.
Last Step: Don’t forget to leave a rating and comment below! It helps other readers find the best DIY projects — and it helps us too!