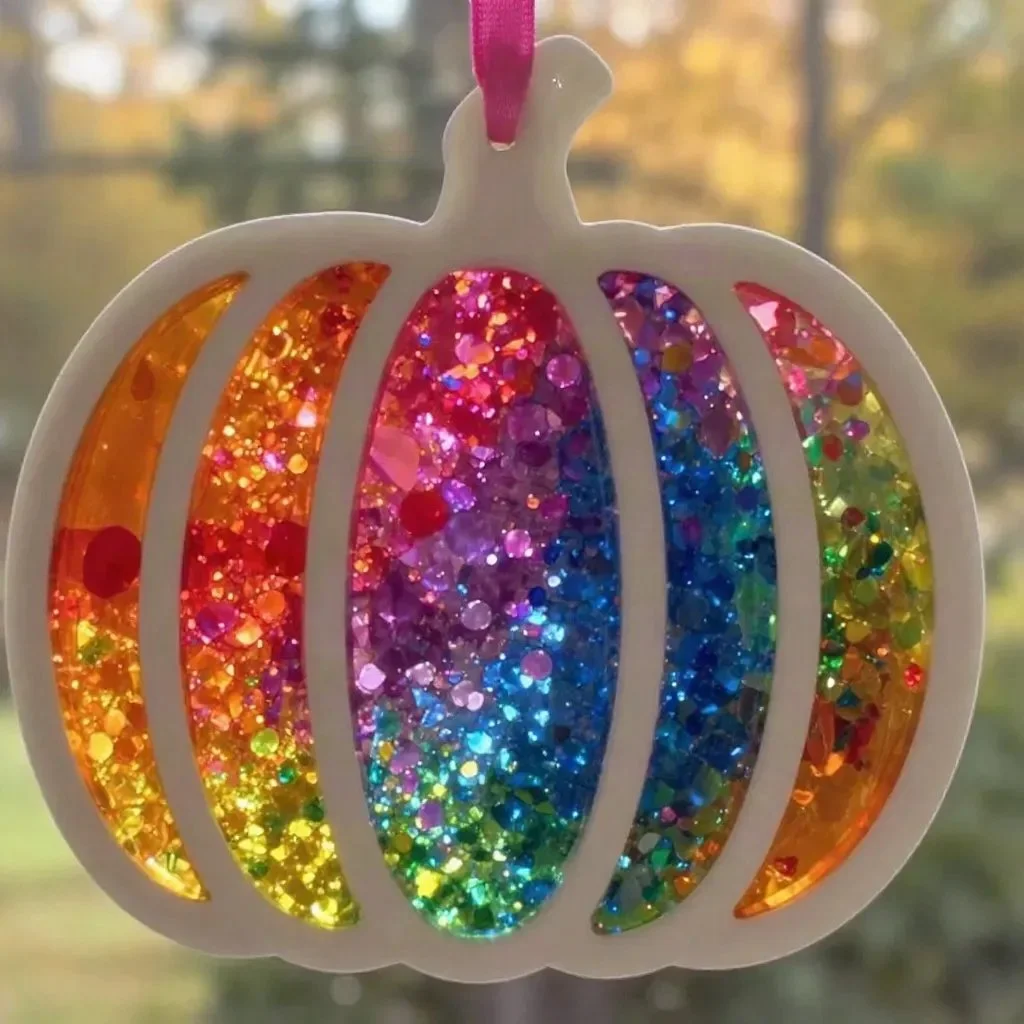
The Rainbow Melted-Crayon Pumpkin Suncatcher transforms ordinary crayon shavings into a delightful autumn decoration. As the crayon shavings melt under a warm iron, you’ll witness a mesmerizing change from solid colors to stunning swirls of vibrant hues. This project not only brings color into your home but also creates a playful way to celebrate the fall season. You may also find Cozy Melted Crayon Flower Suncatchers Transform useful.
What Makes This Work
The key to the Rainbow Melted-Crayon Pumpkin Suncatcher is the melting process. When heated, crayons soften and blend, creating a marbled effect that changes appearance and texture. The wax in crayons allows them to melt uniformly, allowing for beautiful color combinations. Notably, this project can also inspire different craft ideas, such as using similar methods for other seasonal suncatchers like iridescent window designs.
Materials
To create your own suncatcher, you will need the following materials: You may also find Melted Crayon Flower Suncatchers Calm useful.
- Wax paper
- Rainbow crayon shavings
- A pumpkin template
- Cardstock
- An iron
- Ribbon
You may also find Rainbow Crystal Flower Suncatcher Chain useful.
Steps
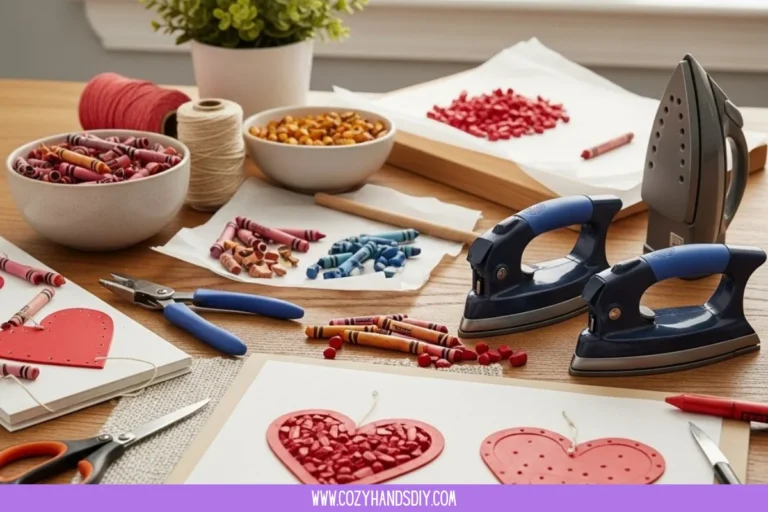
Prepare the crayon shavings by sharpening the crayons and collecting the shavings in a bowl. Look for a variety of colors to enhance the final result.
Place a layer of wax paper on the work surface and sprinkle the crayon shavings evenly between two sheets of wax paper. When arranging the shavings, make sure they are spread out but can still overlap for the best color merging.
Gently press down with a low heat iron until the crayon shavings melt into a marbled effect. Keep an eye on the melting process once the shavings begin to spread and blend, you’ll know they are ready.
Once cooled, cut out the pumpkin shape using the template. Be careful with the edges to ensure a smooth cut, which enhances the final look.
Glue the cut-out pumpkin shape onto cardstock for stability. This step helps to ensure the suncatcher hangs well and keeps its shape.
Use a ribbon to create a loop for hanging the finished suncatcher. Choose a ribbon color that complements the crayons used, for a more polished appearance.
What Goes Wrong and How to Fix It
Sometimes the melting process may not yield the expected results. If the colors look muddled instead of marbled, try adjusting the amount of crayon shavings. Too much can lead to blending that is less aesthetically pleasing. Additionally, ensure your iron is set to a low heat; too high of a setting may cause the wax paper to burn, ruining the design.
Where to Display It
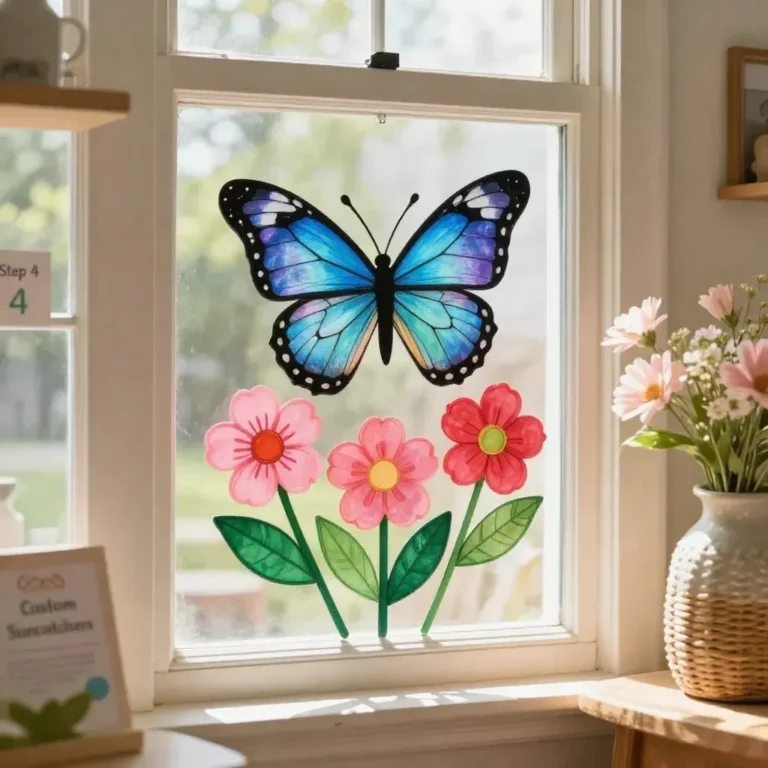
The final suncatcher can brighten up various spaces. Consider adorning windows, hanging it in a kitchen, or decorating your child’s room. Suncatchers are especially enchanting when sunlight shines through them, casting colorful reflections on nearby walls. For more ideas about keeping the vibrant spirit alive, check out the instructions for cozy glow flower suncatchers.
Variations
Feel free to experiment with different shapes beyond pumpkins! Using other templates can provide seasonal or thematic designs such as leaves or stars. You can also create chains of suncatchers for an eye-catching display. If you prefer a softer look, try fewer colors to maintain a more uniform appearance.
FAQs
How do I clean up crayon wax spills?
It’s best to let it cool and harden before scraping it off with a knife. For any stubborn areas, using a warm cloth can help.
What should I do if the crayon doesn’t melt properly?
If the crayon shavings are not melting well, check the iron temperature or the pressure you’re applying. An insufficient heat or light pressure may prevent the crayons from melting completely.
Can kids help with this project?
Absolutely! Children can assist with gathering crayons, arranging shavings, and cutting out shapes, though they should be supervised when using the iron.
What if I don’t have wax paper?
You could use parchment paper as a substitute, but keep in mind that results may vary. The melting process might not produce the same glossy finish as wax paper.
How long does this project take to complete?
The entire process generally takes about an hour, including setup, melting, cooling, and assembling.
How do I store my suncatcher when not in use?
Store it flat in a cool, dry place to prevent bending or damage to the design.
Conclusion
Making a Rainbow Melted-Crayon Pumpkin Suncatcher is a unique and colorful craft that kids and adults can enjoy together. It’s a great way to utilize leftover crayons while creating an eye-catching decoration for your home. For further inspiration on different DIY projects, you might enjoy exploring the Melted Crayon Pumpkin or checking out Melted Crayon Art 2.0 ideas. Let your creativity shine through this fun craft!
Follow us on social for more DIY ideas & inspiration!
Rainbow Melted-Crayon Pumpkin Suncatcher
Would you like to save this project?
By submitting you agree to receive this project and occasional emails. Unsubscribe anytime.
Materials
Materials
- 1 piece Wax paper Used as a surface for melting crayon shavings.
- 1 Rainbow crayon shavings Collect various colors for a vibrant look.
- 1 template A pumpkin template Template to cut out the pumpkin shape.
- 1 piece Cardstock Provides stability for the suncatcher.
- 1 iron An iron Used to melt the crayon shavings.
- 1 piece Ribbon For creating a loop to hang the suncatcher.
Directions
Preparation
- Prepare the crayon shavings by sharpening the crayons and collecting the shavings in a bowl.
- Place a layer of wax paper on the work surface and sprinkle the crayon shavings evenly between two sheets of wax paper.
- Gently press down with a low heat iron until the crayon shavings melt into a marbled effect.
- Once cooled, cut out the pumpkin shape using the template.
- Glue the cut-out pumpkin shape onto cardstock for stability.
- Use a ribbon to create a loop for hanging the finished suncatcher.
Last Step: Don’t forget to leave a rating and comment below! It helps other readers find the best DIY projects — and it helps us too!