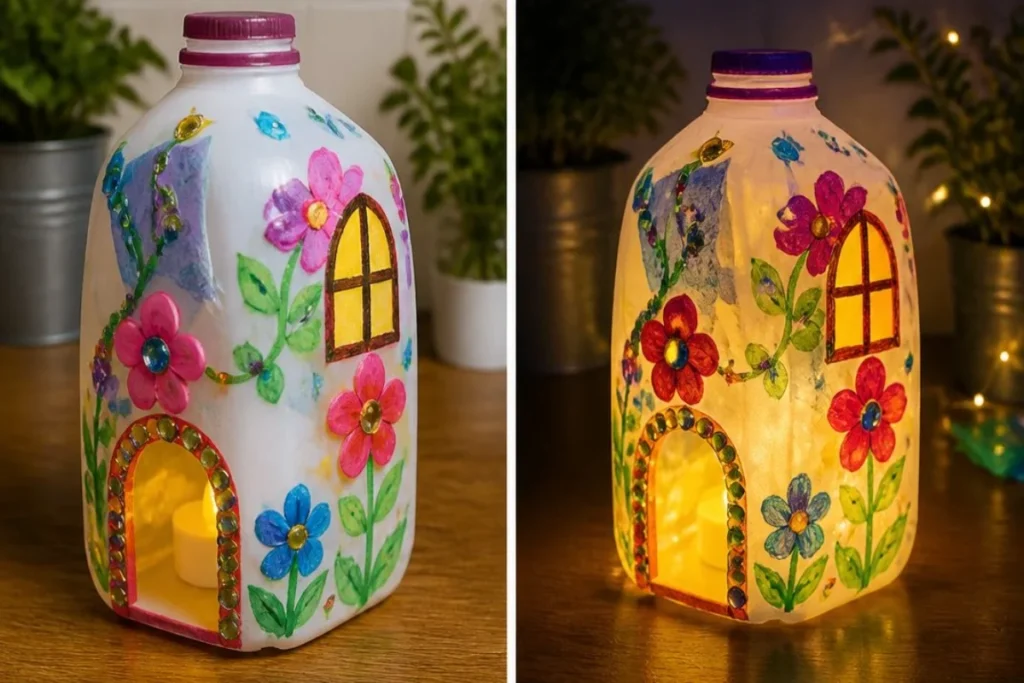
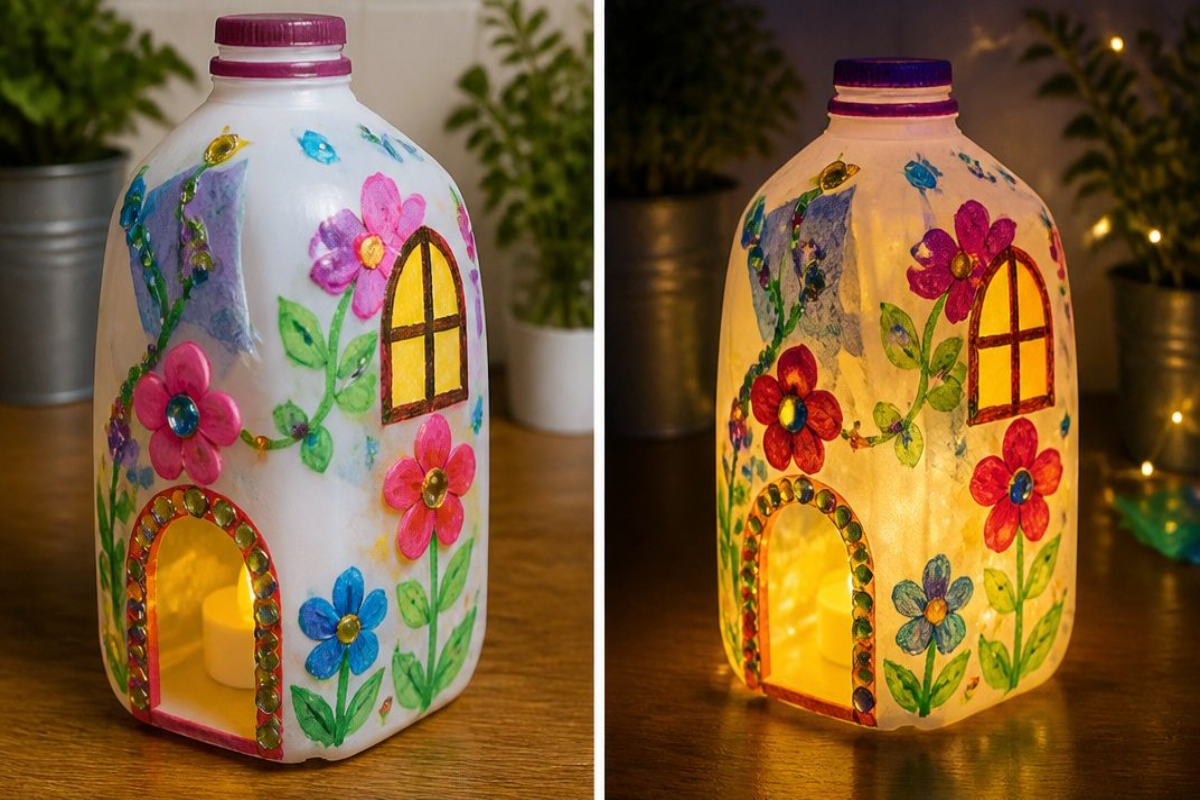
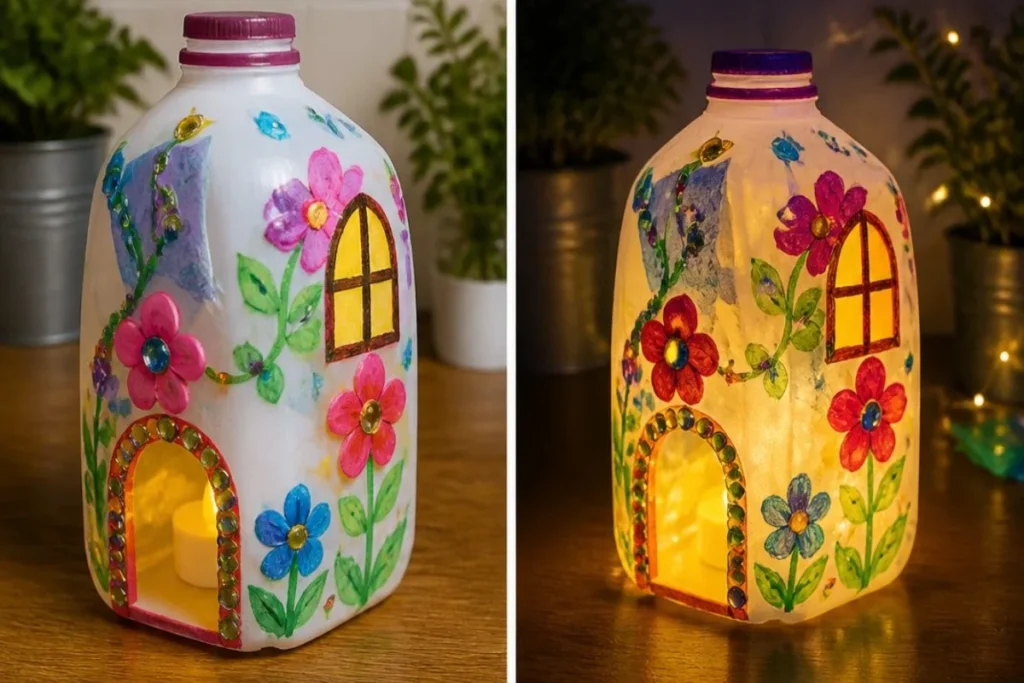
Milk Jug Fairy Lanterns light up any space with their colorful glow. These charming creations are wonderful for placing on shelves or in windows, where they bring warmth and charm to your home. By following a simple set of steps, you and your family can transform empty milk jugs into beautiful fairy lanterns that not only brighten your surroundings but also engage kids in a fun and inventive craft project. You may also find Milk Jug Fairy Lantern Cozy useful.
What Makes This Work
The magic of these lanterns lies in the light inside and the playful design on the outside. When illuminated by a battery-operated LED tea light, the colors and shapes you create shine brightly, transforming an ordinary milk jug into something extraordinary. This project encourages creativity and offers a chance to explore how light interacts with color and surface texture. You may also find Pink Glow Fairy Lanterns useful.
Materials
To create your Milk Jug Fairy Lanterns, gather the following materials:
- Clean, empty plastic milk jug
- Battery-operated LED tea light or fairy lights
- Permanent markers or acrylic paint
- Craft knife or scissors
- Glue
- Decorative gems or colorful tissue paper
Make sure you have everything on hand before starting the project so that the crafting process flows smoothly.
Steps
Start by washing and drying the milk jug thoroughly. This ensures that no residues interfere with your design. The surface needs to be clean so colors will adhere properly.
Carefully cut a small opening in the back for access. This opening will allow you to insert the light source easily. Be cautious when using the craft knife or scissors; adults should manage this step for safety.
Invite your little ones to decorate the outside with fun designs like fairy windows and flowers! Encourage them to use bright colors that catch the eye. This personal touch makes each lantern unique.
Add decorative gems or colorful tissue accents for that extra sparkle. Gluing these onto the milk jug can enhance the overall design and create texture, adding depth to your lantern.
Place the battery LED light inside and enjoy the glow in a dim room. The light will shine through the painted designs and decorations, making the lantern glow beautifully.
For more inspiration, you might check out how a simple idea can become a gorgeous centerpiece with Milk Jug Fairy Lanterns.
What Goes Wrong and How to Fix It
Sometimes, the designs may not turn out as expected. If your paint smudges or doesn’t stick, ensure that you allow each layer to dry thoroughly before applying another. If you don’t see the desired glow once your light is placed inside, consider using a brighter LED tea light or adjusting the decorations to allow more light to shine through.
Where to Display It
The placement of your lanterns can greatly affect their appearance. Consider placing them on a windowsill, where the natural light can enhance their colorful designs during the day. In the evening, they can offer a soft glow that creates a cozy atmosphere. You can also hang them in trees or around a porch to add a whimsical touch to outdoor gatherings.

Variations
There are many ways to customize your Milk Jug Fairy Lanterns. For instance, you can create a mosaic milk jug lantern by using broken pieces of colorful tissue paper as a stunning design element. Alternatively, experiment with different themes, such as ocean creatures or seasonal motifs to keep the project fresh and exciting.
FAQs
Can I use other types of paint for my designs?
Yes, you can use acrylic paint or permanent markers, but make sure they are appropriate for plastic surfaces. Regular paint might not stick well.
How long does it take to make the lantern?
This craft can typically be completed in one to two hours, depending on how detailed your designs are and how long you let the layers dry.
What should I do if my light doesn’t fit inside?
If the LED tea light is too big for the opening, simply enlarge your cut in the back or choose a smaller light source to make it easier to fit.
Can kids help with this project?
Absolutely! This is a family-friendly project, and children can assist in decorating the outsides of the lanterns while adults manage cutting and glueing.
How do I clean my lantern for next time?
Cleaning is easy! Use a damp cloth to wipe away any dust or residue. If you used paint, avoid soaking it to prevent the designs from washing off.
Can I use other materials instead of milk jugs?
Reusable plastic containers can work well, but make sure they are sturdy enough to hold the light source. Experiment with different shapes!
Conclusion
Creating milk jug fairy lanterns can be an enjoyable activity for the whole family. This project sparks creativity and provides a colorful way to light up your home. For more crafting ideas, you might explore Sparkle Craft: Milk Jug Lanterns or check out this helpful tutorial on milk jug flower lights for additional inspiration!
Follow us on social for more DIY ideas & inspiration!
Milk Jug Fairy Lanterns
Would you like to save this project?
By submitting you agree to receive this project and occasional emails. Unsubscribe anytime.
Materials
Materials
- 1 piece Clean, empty plastic milk jug
- 1 piece Battery-operated LED tea light or fairy lights
- 1 set Permanent markers or acrylic paint Ensure suitable for plastic surfaces
- 1 piece Craft knife or scissors Adult supervision required
- 1 tube Glue
- to taste Decorative gems or colorful tissue paper
Directions
Preparation
- Wash and dry the milk jug thoroughly to remove any residues.
- Carefully cut a small opening in the back for easy access to insert the light source.
- Invite kids to decorate the outside with fun designs like fairy windows and flowers using bright colors.
- Add decorative gems or colorful tissue accents and glue them onto the milk jug.
- Place the battery LED light inside and enjoy the glow in a dim room.
Last Step: Don’t forget to leave a rating and comment below! It helps other readers find the best DIY projects — and it helps us too!