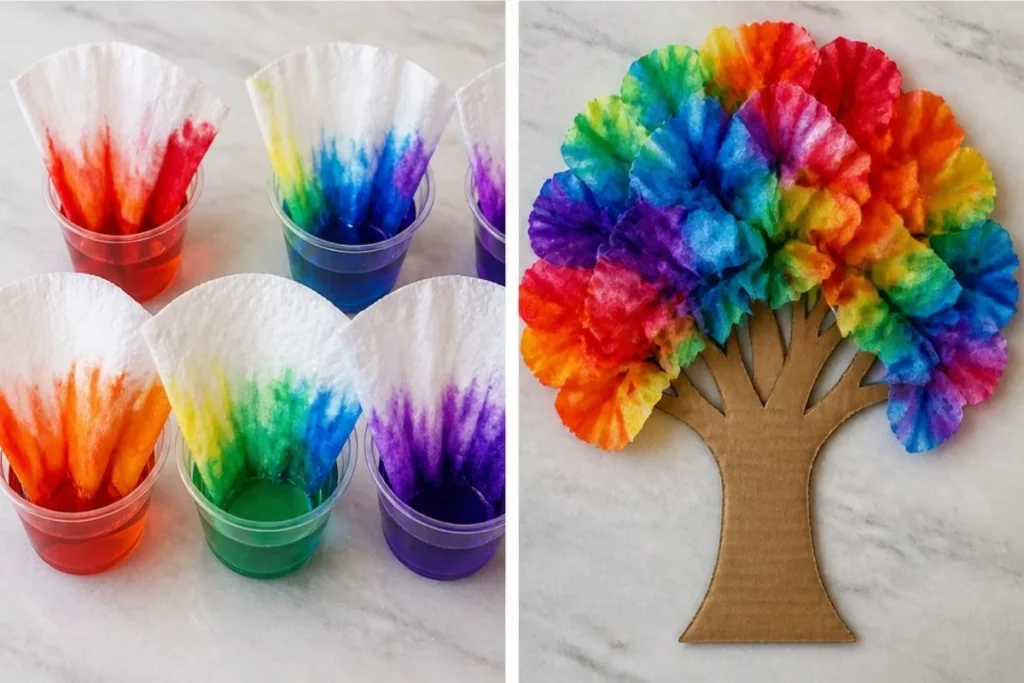
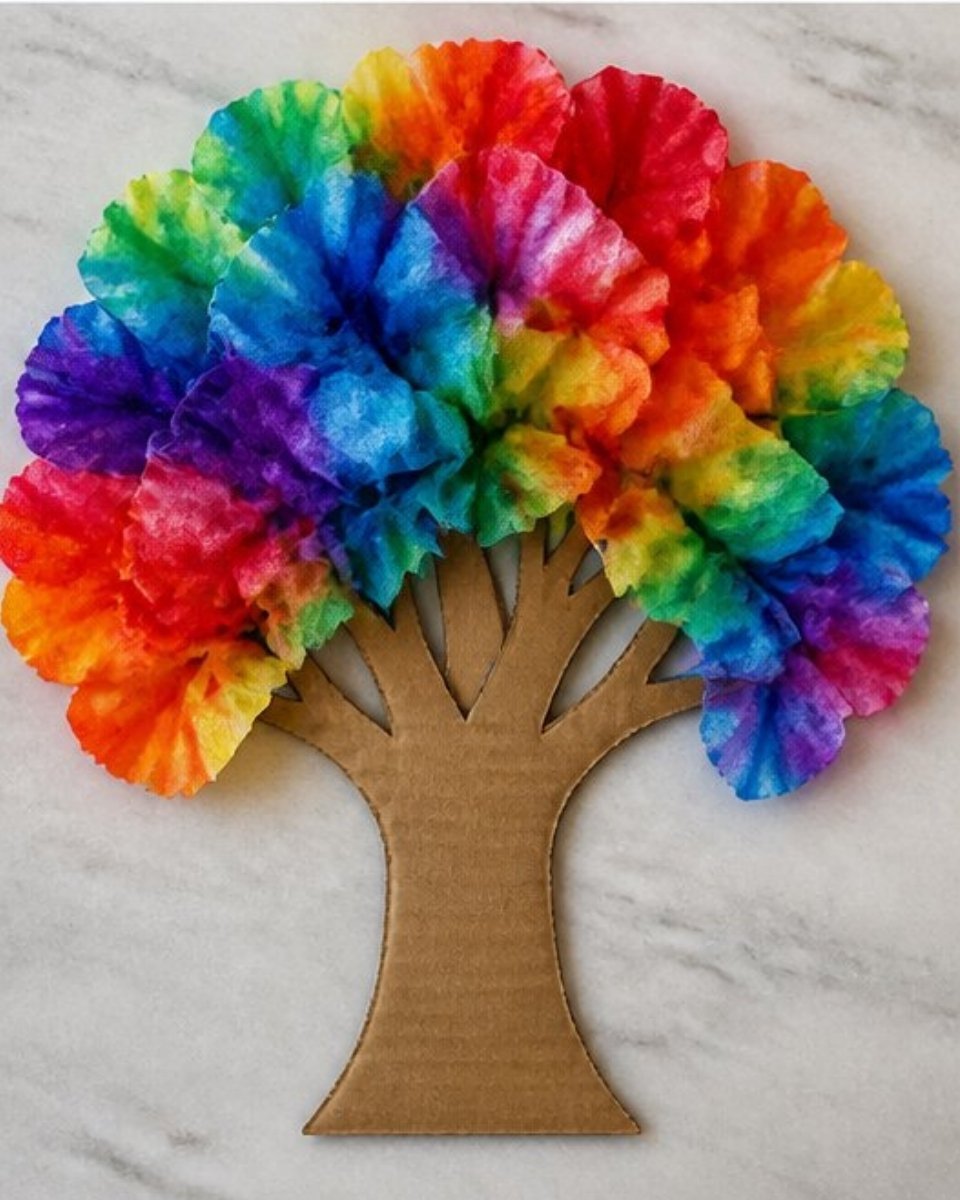
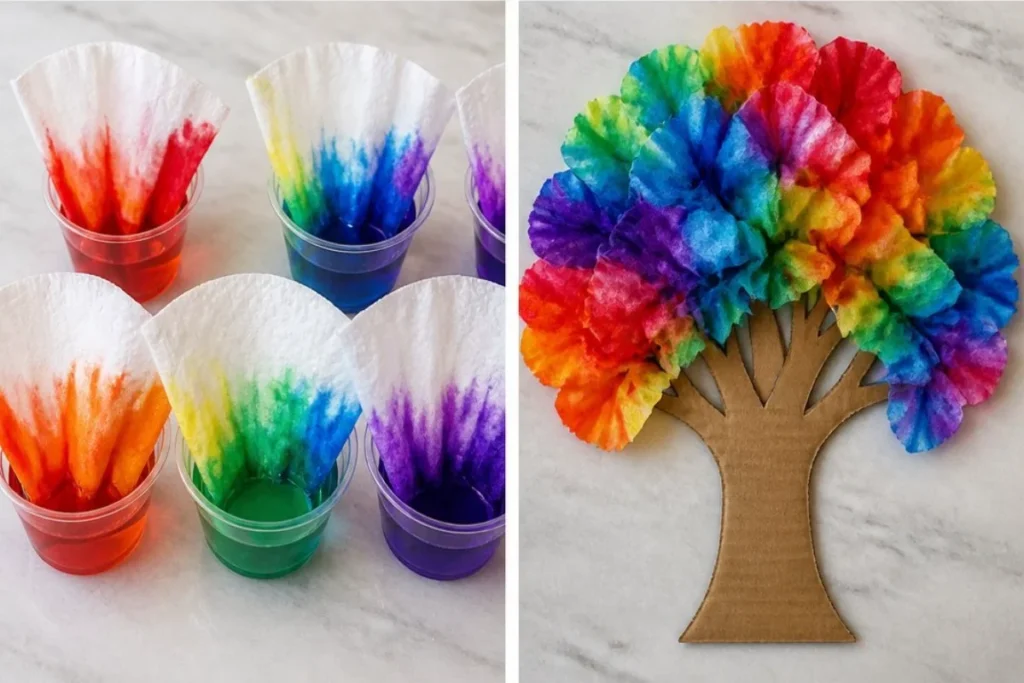
Magic Colour Tree is a fun and interactive project that transforms simple materials into a stunning, colorful creation. As you work on the Magic Colour Tree, you will witness vibrant colors rising up the paper towels or coffee filters, turning into lush green leaves that crown your cardboard tree. Your finished piece will stand out beautifully on a shelf or in a window. You may also find Baking Soda Crystal Growing Trees useful.
What Makes This Work
The magic behind this project lies in capillary action, where water travels up the paper towels or filters. The colored lines you draw will spread as the water moves upward, creating a delightful blend of hues. The materials you use will directly affect the outcome, so follow along with the steps for the best results. You may also find Baking Soda Growing Trees useful.
Materials
Gather the supplies before starting:
- Paper towels or coffee filters
- Washable markers
- Water
- Small cups
- Cardboard tree trunk
- Tape or glue
Be sure to set up a clean space for your project. It’s nice to keep things tidy!
Steps
Draw and Create: Begin by drawing colored lines near the bottom edges of your folded paper towels or filters. Let your creativity shine, as this will be the base of your tree’s leaves.
Observe the Colors Rising: Next, place the ends of the paper towels or filters into small cups of water. Watch the colors travel up it’s like magic! As the water climbs, this is where you will see the transformation beginning.
Dry and Arrange: Once the paper is colorful, carefully dry the paper and arrange it as the leafy crown of your cardboard tree.
Final Touches: Secure the colorful leaves onto the tree trunk using tape or glue. Ensure they are well-fixed, as this enhances the look of your tree.
Remember, keeping an eye on how the colors spread and the textures change is key to achieving a wonderful result.
What Goes Wrong and How to Fix It
Sometimes, you might not see the colors travel as expected. If your paper towels or filters seem too thick to let the water rise, try using thinner materials. If no color seems to be reaching the top, check that the ends of the paper are in the water. If necessary, you could consider using baking soda crystals to create even more vibrant effects.
Where to Display It
Your Magic Colour Tree deserves a prominent spot. Consider placing it on a windowsill or a bookshelf. The light passing through the colored leaves will create beautiful patterns around the room, enhancing its charm.
Variations
There are many ways to make this project unique. You could change the colors you use or the shape of your tree trunk to create different looks. If you’re feeling adventurous, try using glitter or additional materials to give your tree a sparkling effect. For a themed project, use boho magic wands as part of your décor.
FAQs
Can I use regular markers instead of washable ones?
Using washable markers is recommended since they easily wash out if spilled. Regular markers may stain surfaces or clothing.
What if the colors don’t travel up the paper?
If the colors are not rising, the materials may be too thick. Opt for thinner paper towels or filters to facilitate the upward movement of water.
How long does it take for the colors to spread?
The colors begin to move almost immediately, but the full effect may take a few minutes. Allow enough time to see the colors blend beautifully.
Can younger children help with this project?
Yes, younger children can participate with supervision. They can help draw designs or choose colors, making this a fun family activity.
What if I want to change the colors after they dry?
Once dried, colors are fixed. However, if you want to try new colors, you can always start a fresh batch!
How do I clean up after the project?
Make sure to have paper towels handy to clean any spills. Washable markers should come off easily with water.
Related DIY Projects
For more colorful activities, check out our guide on baking soda growing trees, which can be another fascinating project for families.Conclusion
The Magic Colour Tree is a delightful way to engage in fun and color while learning about science. This project not only produces wonderful art but also encourages creative thinking and exploration. To learn more about activities that promote creativity in children, explore the Reusable Coloring Placemat – Magic Tree. You may also enjoy creating more colorful science experiences, such as the Magic Colour Changing Potions Science Activity.
Follow us on social for more DIY ideas & inspiration!
Magic Colour Tree Project
Would you like to save this project?
By submitting you agree to receive this project and occasional emails. Unsubscribe anytime.
Materials
Materials
- 1 roll Paper towels or coffee filters Use thinner materials for best results.
- 5 markers Washable markers Regular markers may stain surfaces.
- 1 cup Water To place the ends of the paper towels or filters.
- 4 small cups Small cups For holding water.
- 1 trunk Cardboard tree trunk You can shape it to your liking.
- 1 as needed Tape or glue To secure the leaves onto the tree trunk.
Directions
Drawing and Creating
- Begin by drawing colored lines near the bottom edges of your folded paper towels or filters.
Observing the Colors Rising
- Place the ends of the paper towels or filters into small cups of water and watch the colors travel up.
Drying and Arranging
- Once the paper is colorful, carefully dry it and arrange it as the leafy crown of your cardboard tree.
Final Touches
- Secure the colorful leaves onto the tree trunk using tape or glue.
Last Step: Don’t forget to leave a rating and comment below! It helps other readers find the best DIY projects — and it helps us too!