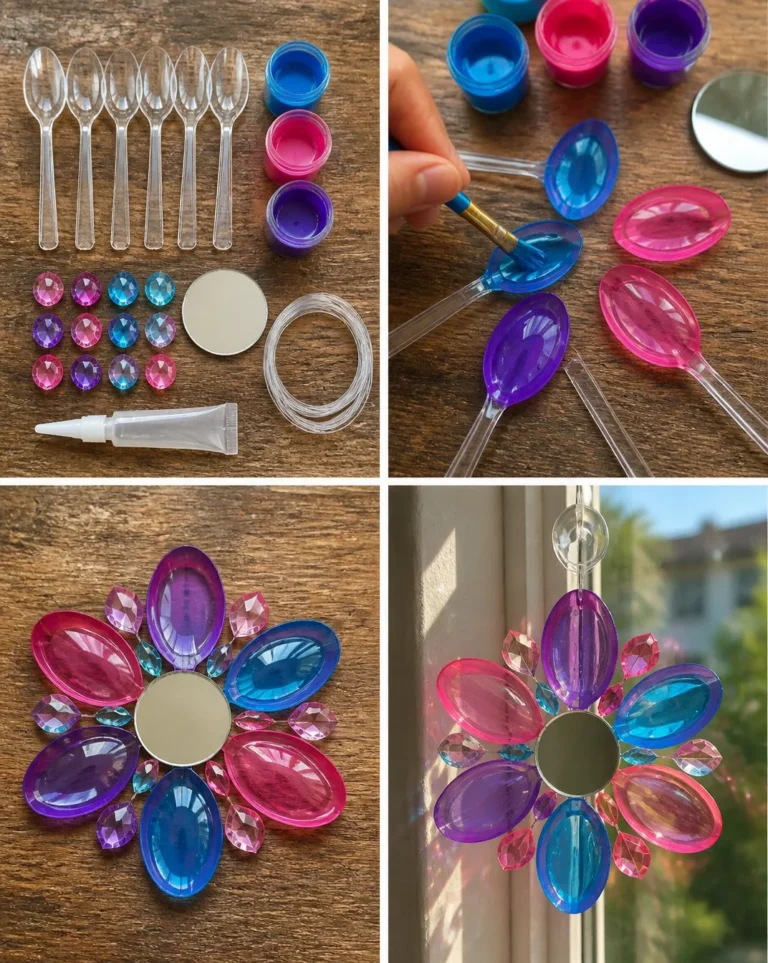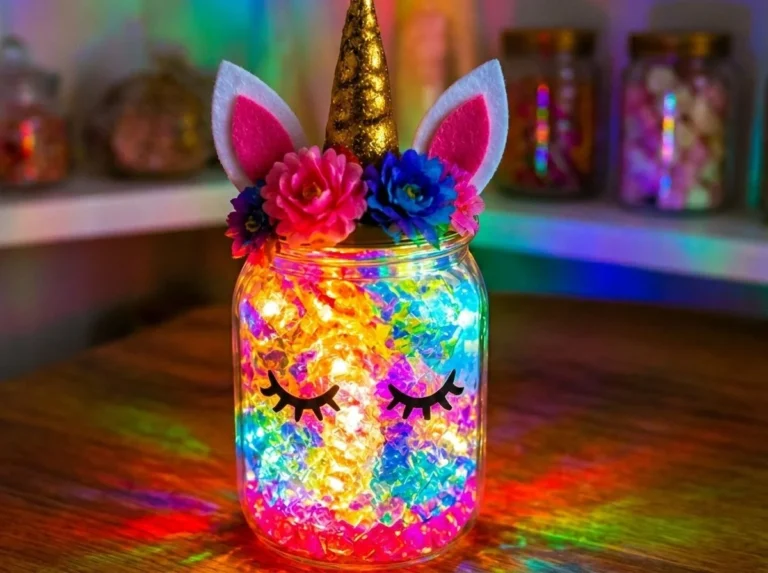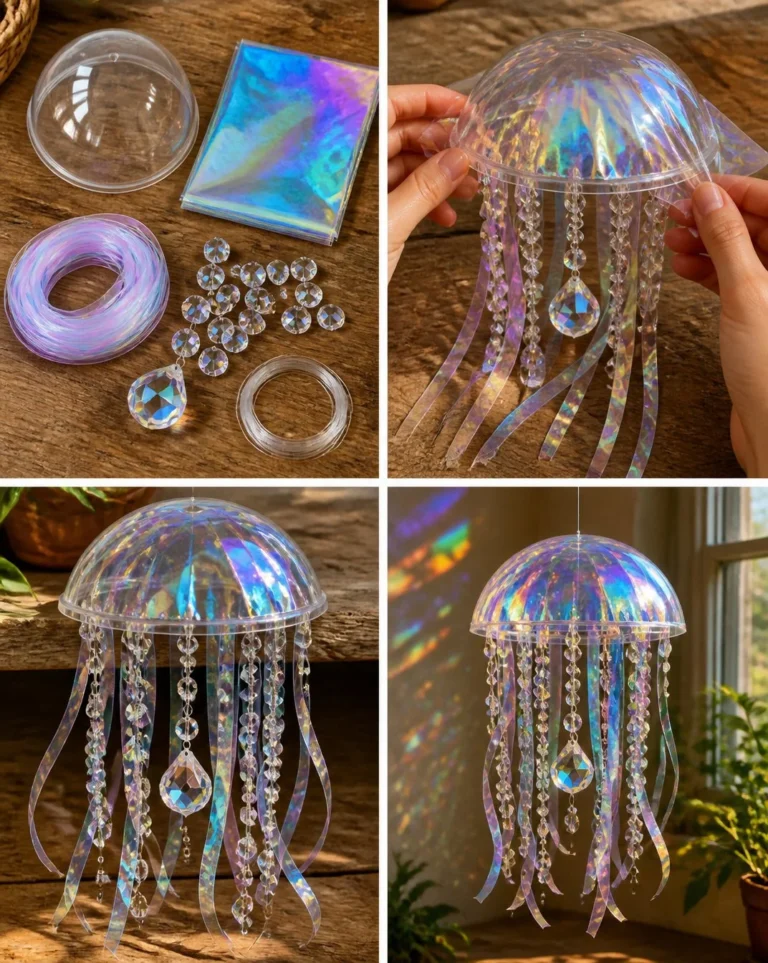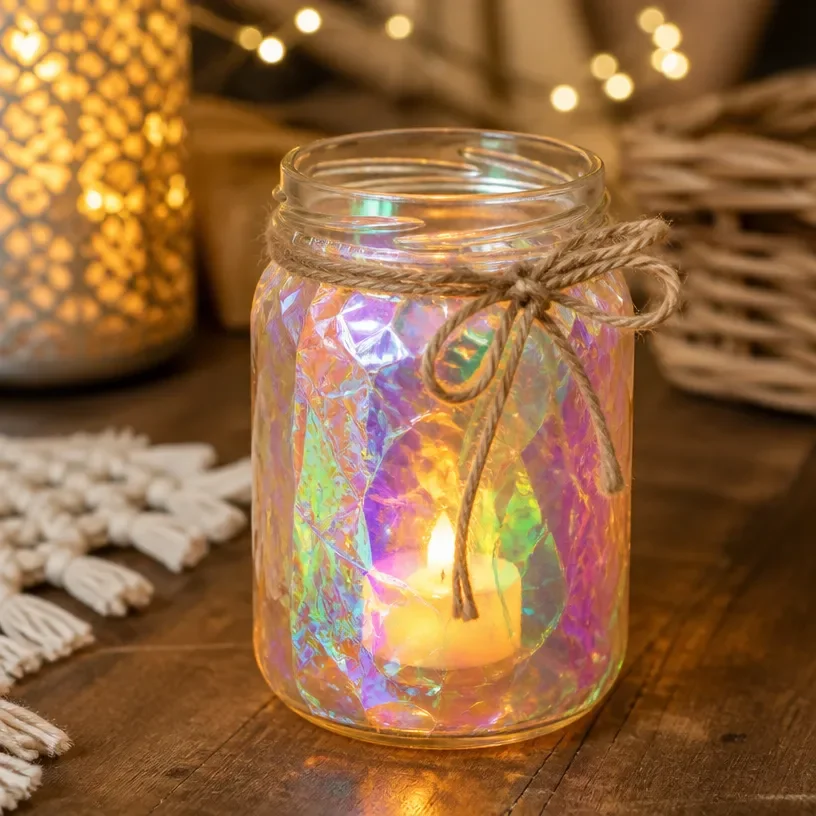
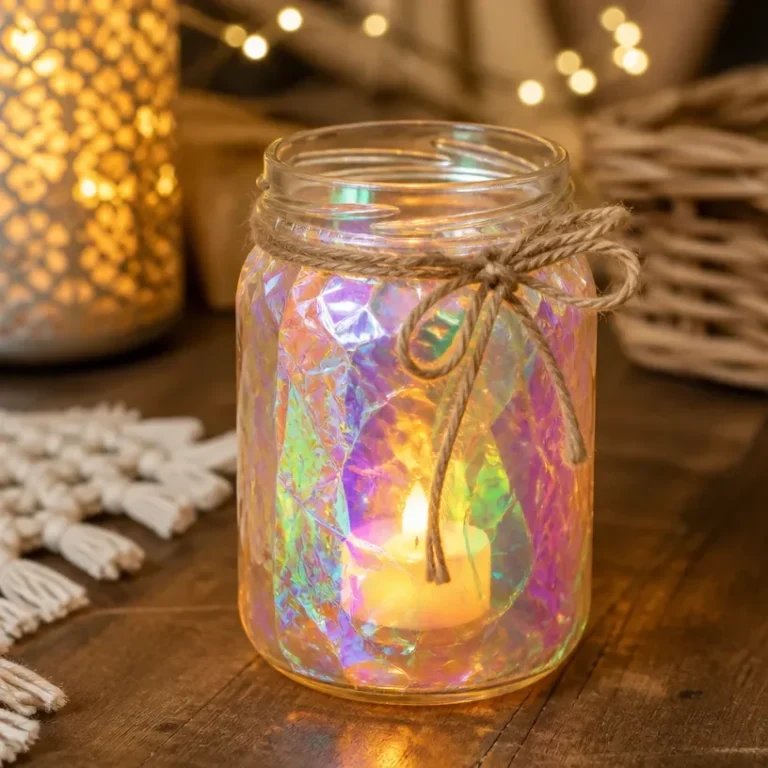
The Iridescent Lantern with Enchanted Glow transforms any space with its stunning appearance. This DIY project is perfect for adding a splash of color and light to your home decor. As you create this lantern, you’ll notice its vibrant hues changing as the materials interact, resulting in a magical piece to brighten your surroundings. You may also find Butterfly Led Lantern With Warm Glow For Outdoor Decor useful.
What Makes This Work
The beauty of the Iridescent Lantern lies in the materials used and the chemical reactions that take place during the crafting process. By combining certain substances, you initiate a reaction that changes the color and sheen of the lantern, creating that mesmerizing enchanted glow. This project allows you to explore basic scientific principles while crafting an eye-catching decor piece. You may also find Diy Glowing Jellyfish Lanterns Cozy useful.
Materials
Gather the following supplies before you begin: You may also find Diy Radiant Mason Jar Lantern With Crystal Accents useful.
- Clear plastic jar (or glass if preferred)
- LED tealight candle
- Borax (exercise caution when handling)
- Hot water
- Food coloring
- Clear glue
- Paintbrush
- Decorative gems or pebbles
- String or fishing line for hanging
Make sure to have everything ready for a smooth crafting experience. For a different enchanting touch, consider integrating elements from other projects, like the DIY Radiant Mason Jar Lantern.
Steps
Mix the Borax Solution: In a bowl, mix about 3 tablespoons of borax with 1 cup of hot water. Stir until the borax dissolves completely. Always ensure an adult is present when handling hot water and borax. You may also find Glowing Rainbow Potion Crystal Jar Enchanted Elixir useful.
Add Food Coloring: For added magic, pour a few drops of food coloring into the solution. The color will spread, creating a lovely tint.
Apply the Glue: Use the paintbrush to apply clear glue on the outside surface of the plastic jar. This will help the crystalline structure form later.
Dip the Jar: Carefully dip the glue-covered jar into the borax solution. Make sure it’s fully submerged. Allow it to sit for about 6-8 hours, or overnight for the best results.
Remove and Rinse: After the waiting period, take the jar out and rinse it under cool water to remove any excess borax. As the water drips off, look for the first signs of crystal growth on your jar surface.
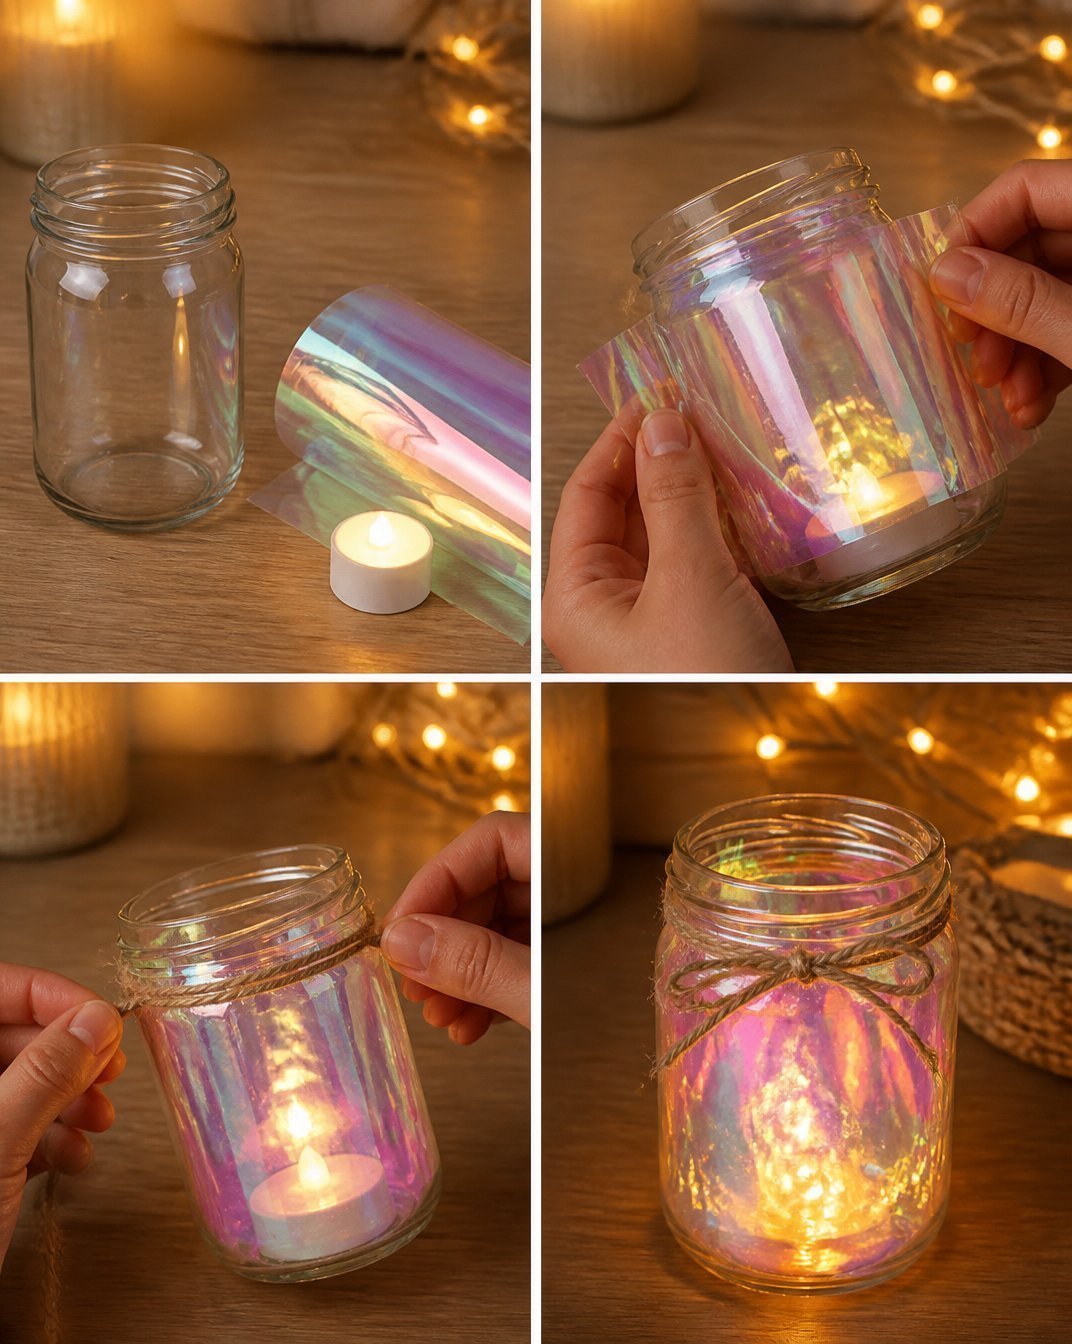
Add the Candle: Place the LED tealight candle inside the jar. This will be the source of the enchanting glow.
Decorate and Display: To finish, you can add decorative gems or pebbles around the base of the lantern or hang it using string or fishing line.
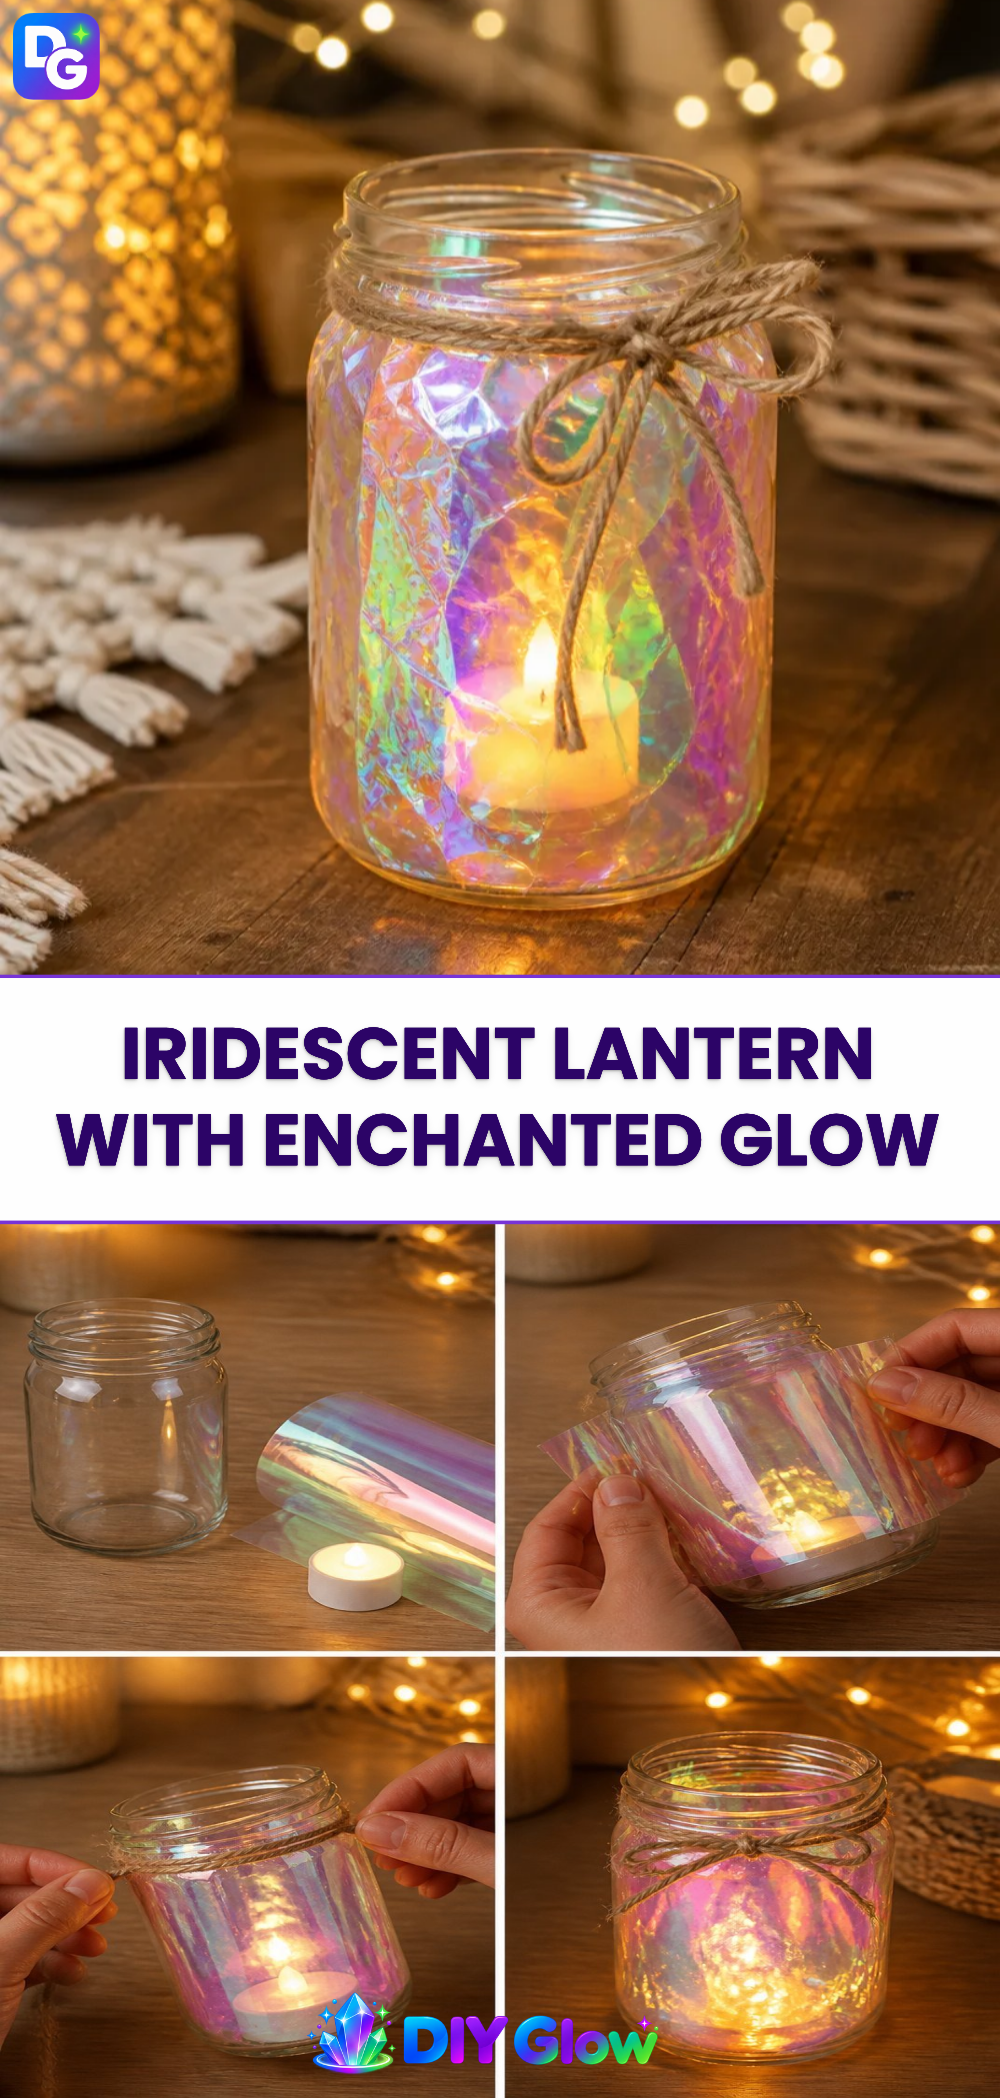
Enjoy the Glow: Observe how the light shifts through the crystals, creating a sparkling ambience in your space. The glowing effect will be most pronounced during the evening.
What Goes Wrong and How to Fix It
Sometimes, the crystals may form unevenly or not at all. If this happens, you can try reapplying glue to the jar and repeating the borax dipping process. Make sure that the borax solution is fully saturated and well mixed. Additionally, ensure the temperature of the water is HOT when mixing with borax for better results.
Where to Display It
The Iridescent Lantern can be displayed in several places. Consider placing it on a window sill to catch the light, on your nightstand for a dreamy atmosphere, or as a centerpiece for a cozy gathering. For inspiration, check out the Glowing Fish Lantern Craft, which uses similar techniques for delightful results.
Variations
You can create your own spin on the Iridescent Lantern by experimenting with different colors and sizes. Try using smaller jars for mini lanterns or mixing in glitter to add extra sparkle. Another fun idea is to paint the inside of the jar with glow-in-the-dark paint for an even more enchanted effect!
FAQs
How long does it take to make this lantern?
The project takes about 30 minutes to set up, but you will need to let it sit for several hours (ideally overnight) for the best crystal formation.
What can I use instead of borax?
While borax is recommended for crystal growth, you can also try using sugar or salt in a similar manner, though the results may differ.
Why did my crystals not form properly?
Crystals may not form if the borax solution is not saturated enough or if the jar wasn’t submerged fully. Make sure to mix until everything is dissolved and allow sufficient soaking time.
Can this be made with kids?
Yes, kids can help with most steps, but adult supervision is needed for handling hot water and glue.
How long does the lantern last?
The lantern itself is permanent, but the glow will diminish as the tealight battery runs down. Replace the battery as needed to keep the light shining.
Can I use this lantern outdoors?
This lantern can be used outdoors, but be cautious of moisture. Placing it under cover will help maintain its look.
Conclusion
Creating your own Iridescent Lantern with Enchanted Glow is an exciting project that combines art and science. It provides a stunning light display that enriches any space. If you’re interested in adding more enchanting decor to your garden, consider checking out the Enchanted Garden Solar Lantern or the delightful Enchanted Mini World Mushroom Jar for additional inspiration.
Follow us on social for more DIY ideas & inspiration!
Iridescent Lantern with Enchanted Glow
Would you like to save this project?
By submitting you agree to receive this project and occasional emails. Unsubscribe anytime.
Materials
Materials
- 1 jar Clear plastic jar (or glass if preferred) Choose a size that fits your space.
- 1 piece LED tealight candle Ensure it fits inside the jar.
- 3 tablespoons Borax Handle with caution.
- 1 cup Hot water Adult supervision recommended.
- a few drops Food coloring Any color of your choice.
- 1 bottle Clear glue For the outer layer of the jar.
- 1 piece Paintbrush For applying glue.
- as needed handful Decorative gems or pebbles To decorate the base.
- as needed String or fishing line For hanging the lantern.
Directions
Preparation
- In a bowl, mix about 3 tablespoons of borax with 1 cup of hot water. Stir until fully dissolved.
- Pour a few drops of food coloring into the solution for added magic.
- Apply clear glue on the outside surface of the jar using a paintbrush.
Assembly
- Dip the glue-covered jar into the borax solution, ensuring it is fully submerged. Allow it to sit for 6-8 hours or overnight.
- After waiting, take the jar out and rinse under cool water to remove excess borax, observing crystal growth.
- Place the LED tealight candle inside the jar.
- Customize by adding decorative gems or pebbles around the base.
Final Touches
- Enjoy the glow of your enchanted lantern, particularly in the evening.
Last Step: Don’t forget to leave a rating and comment below! It helps other readers find the best DIY projects — and it helps us too!