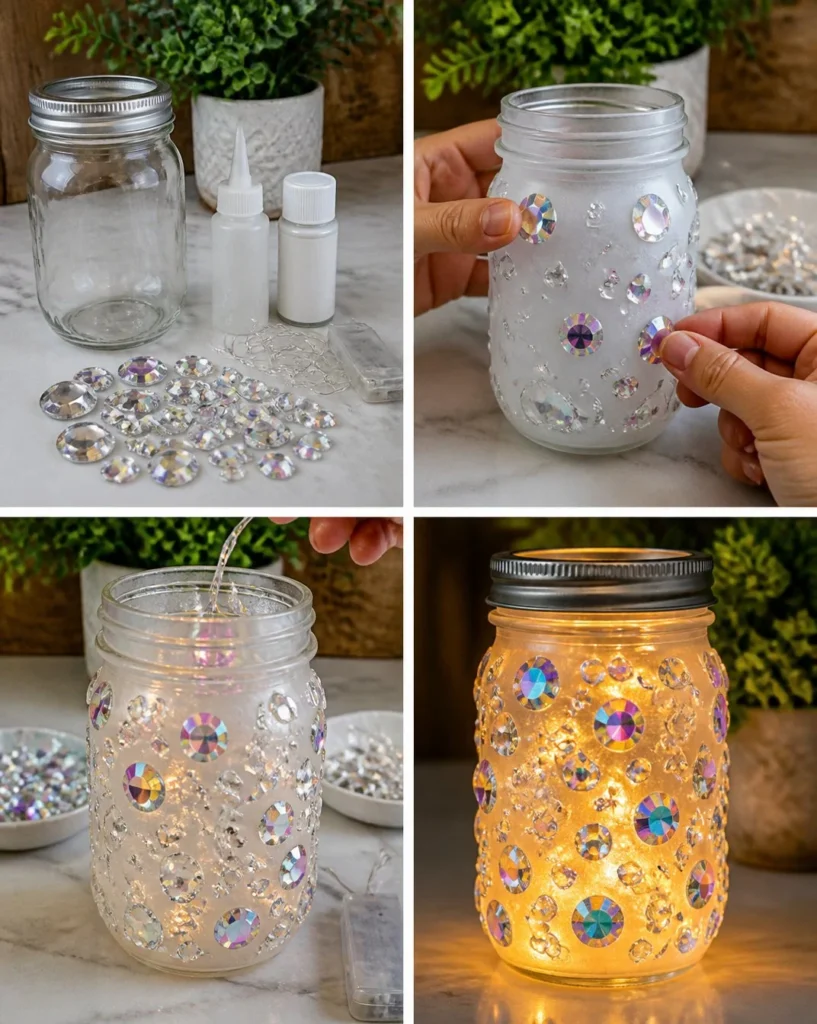
Glowing Crystal Mason Jar Lanterns cast a magical light in every room they grace. With their vibrant colors sparkling like tiny jewels, these lanterns transform even the simplest spaces into something enchanting. Picture your family gathered around, watching as the softly shining fairy lights illuminate the iridescent gems, creating a whimsical, glowing atmosphere. Making your very own Glowing Crystal Mason Jar Lantern can be a delightful adventure filled with creativity and family bonding. Let’s dive into how this colorful project can create glowing moments in your home.
The Magic Behind This DIY
Why make a Glowing Crystal Mason Jar Lantern? The answer is simple: joy! This project combines creativity with imagination, letting both kids and grown-ups experience the magic of crafting together. Every step invites you to explore color, light, and texture, sparking curiosity and wonder. When the lantern is finished, it becomes more than just a craft; it sets the mood for celebrations, cozy evenings, or even as a gift that radiates warmth and love.
A Quick Look at How It Works
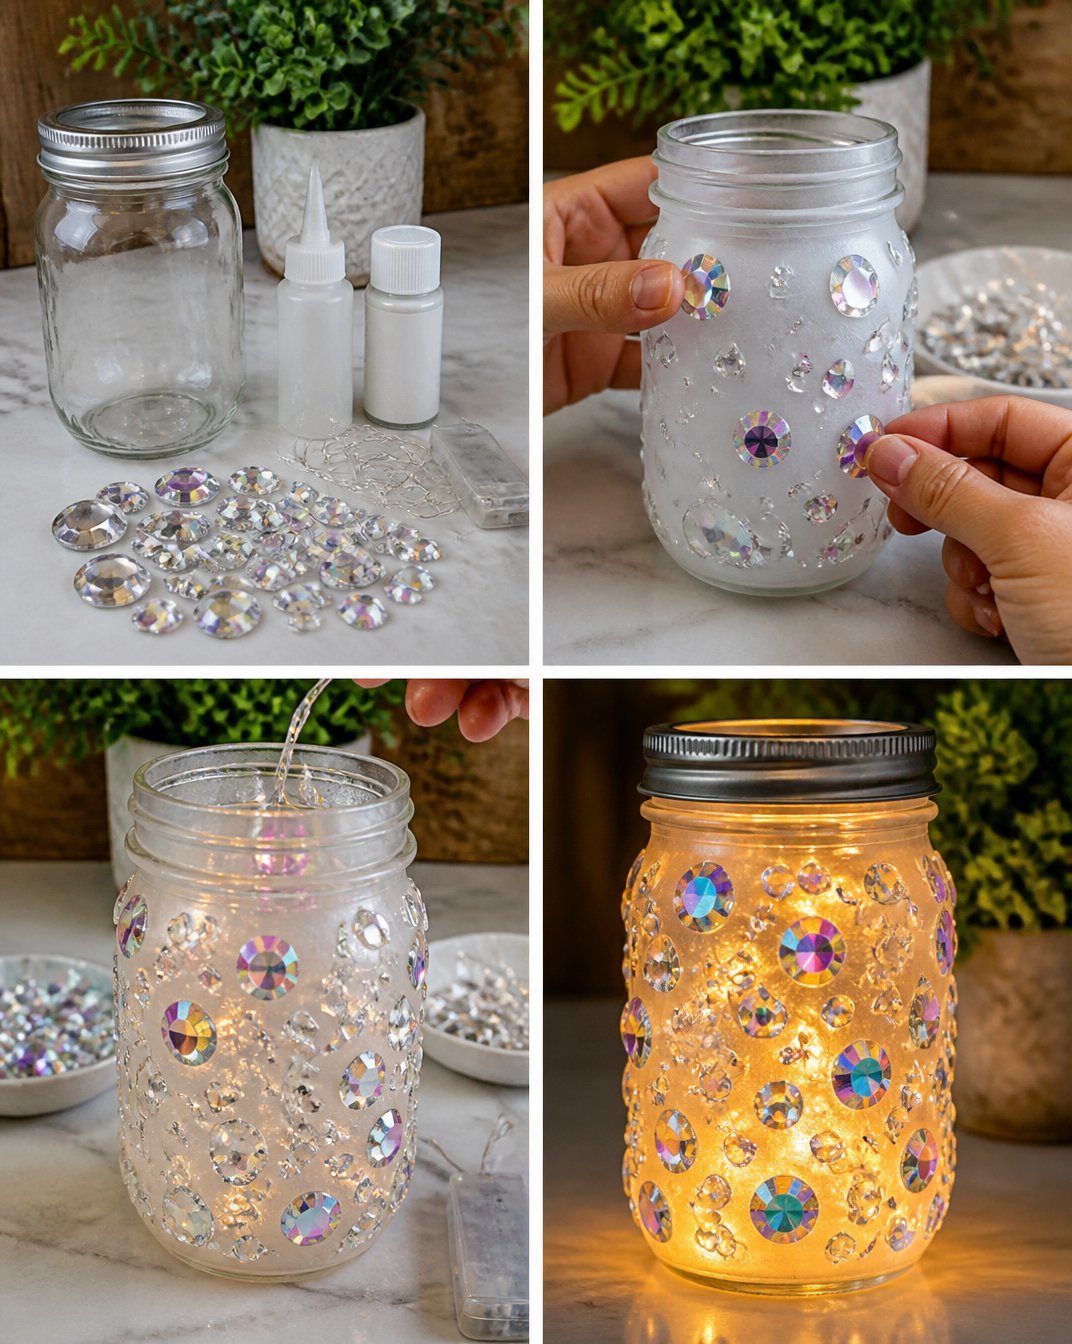
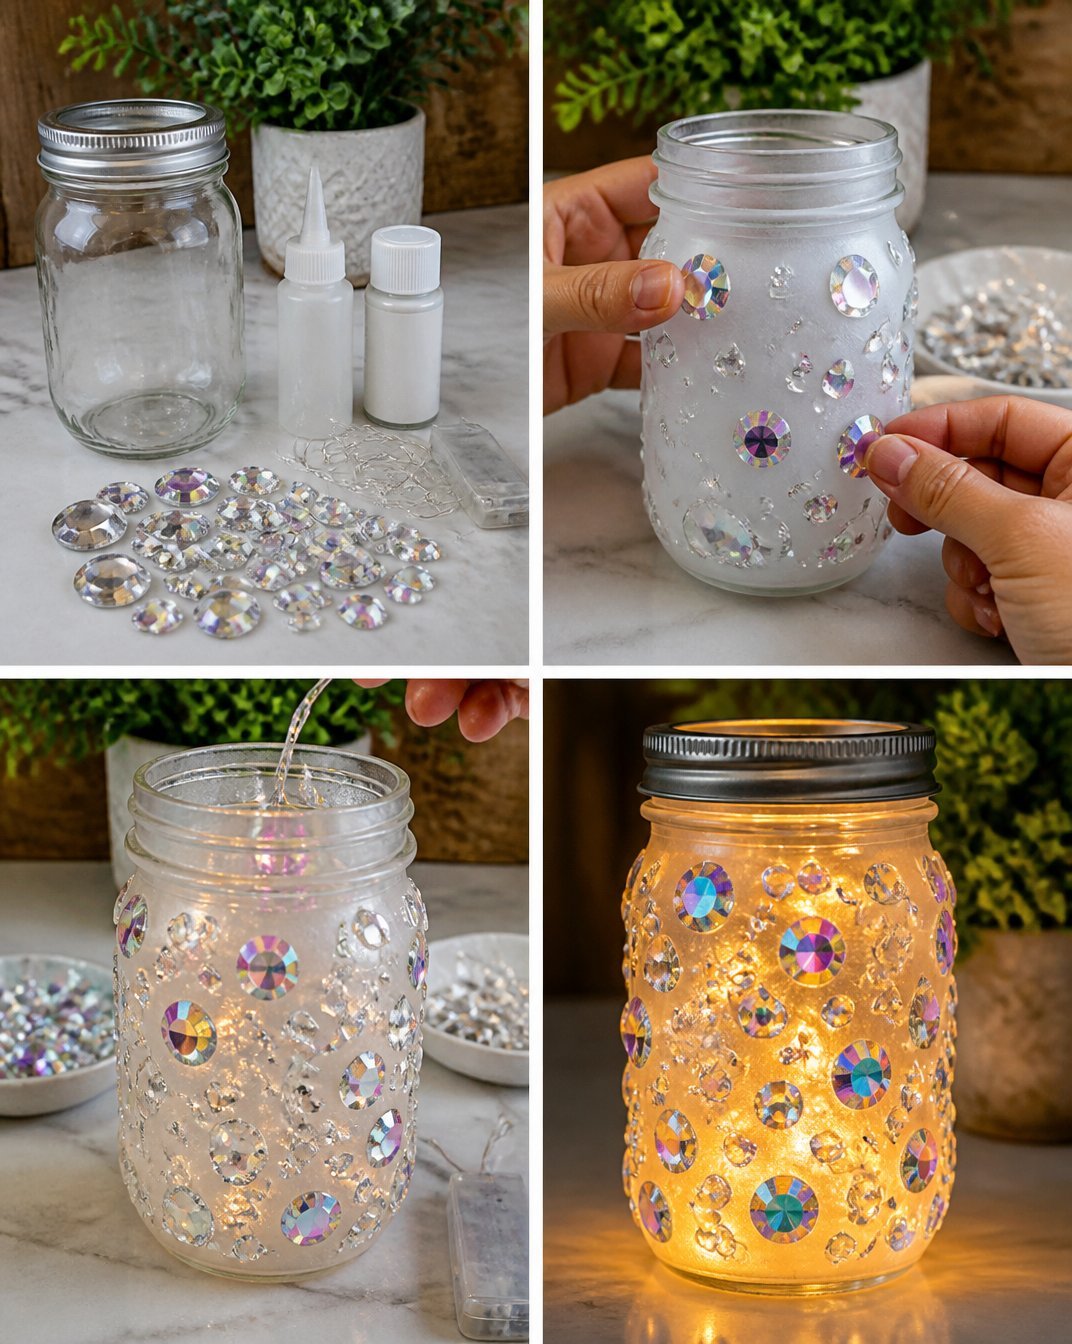
This glowing DIY project unfolds in fun and straightforward steps. You start with a mason jar, applying frosted glass paint that gives it a lovely, diffused effect when lit. Next, you arrange clear and iridescent acrylic gems that catch light beautifully, creating a dazzling display. Finally, with the addition of battery-powered fairy lights, the whole creation comes alive, sparkling with a soft glow. This transformation happens because the gems reflect and refract light, making your lantern twinkle like the night sky.
Materials You Will Need
Gathering your materials is a joyful part of the process. Here’s what you’ll need to make your Glowing Crystal Mason Jar Lantern:
- 1 mason jar (any size you like)
- 25 clear and iridescent acrylic gems (easy to find at craft stores)
- Clear glue (great for securing the gems)
- Frosted glass paint (for a magical, soft finish)
- Micro LED fairy lights (battery-powered for safety)
These are craft materials, not food, so keep them away from little hands that might want a snack!
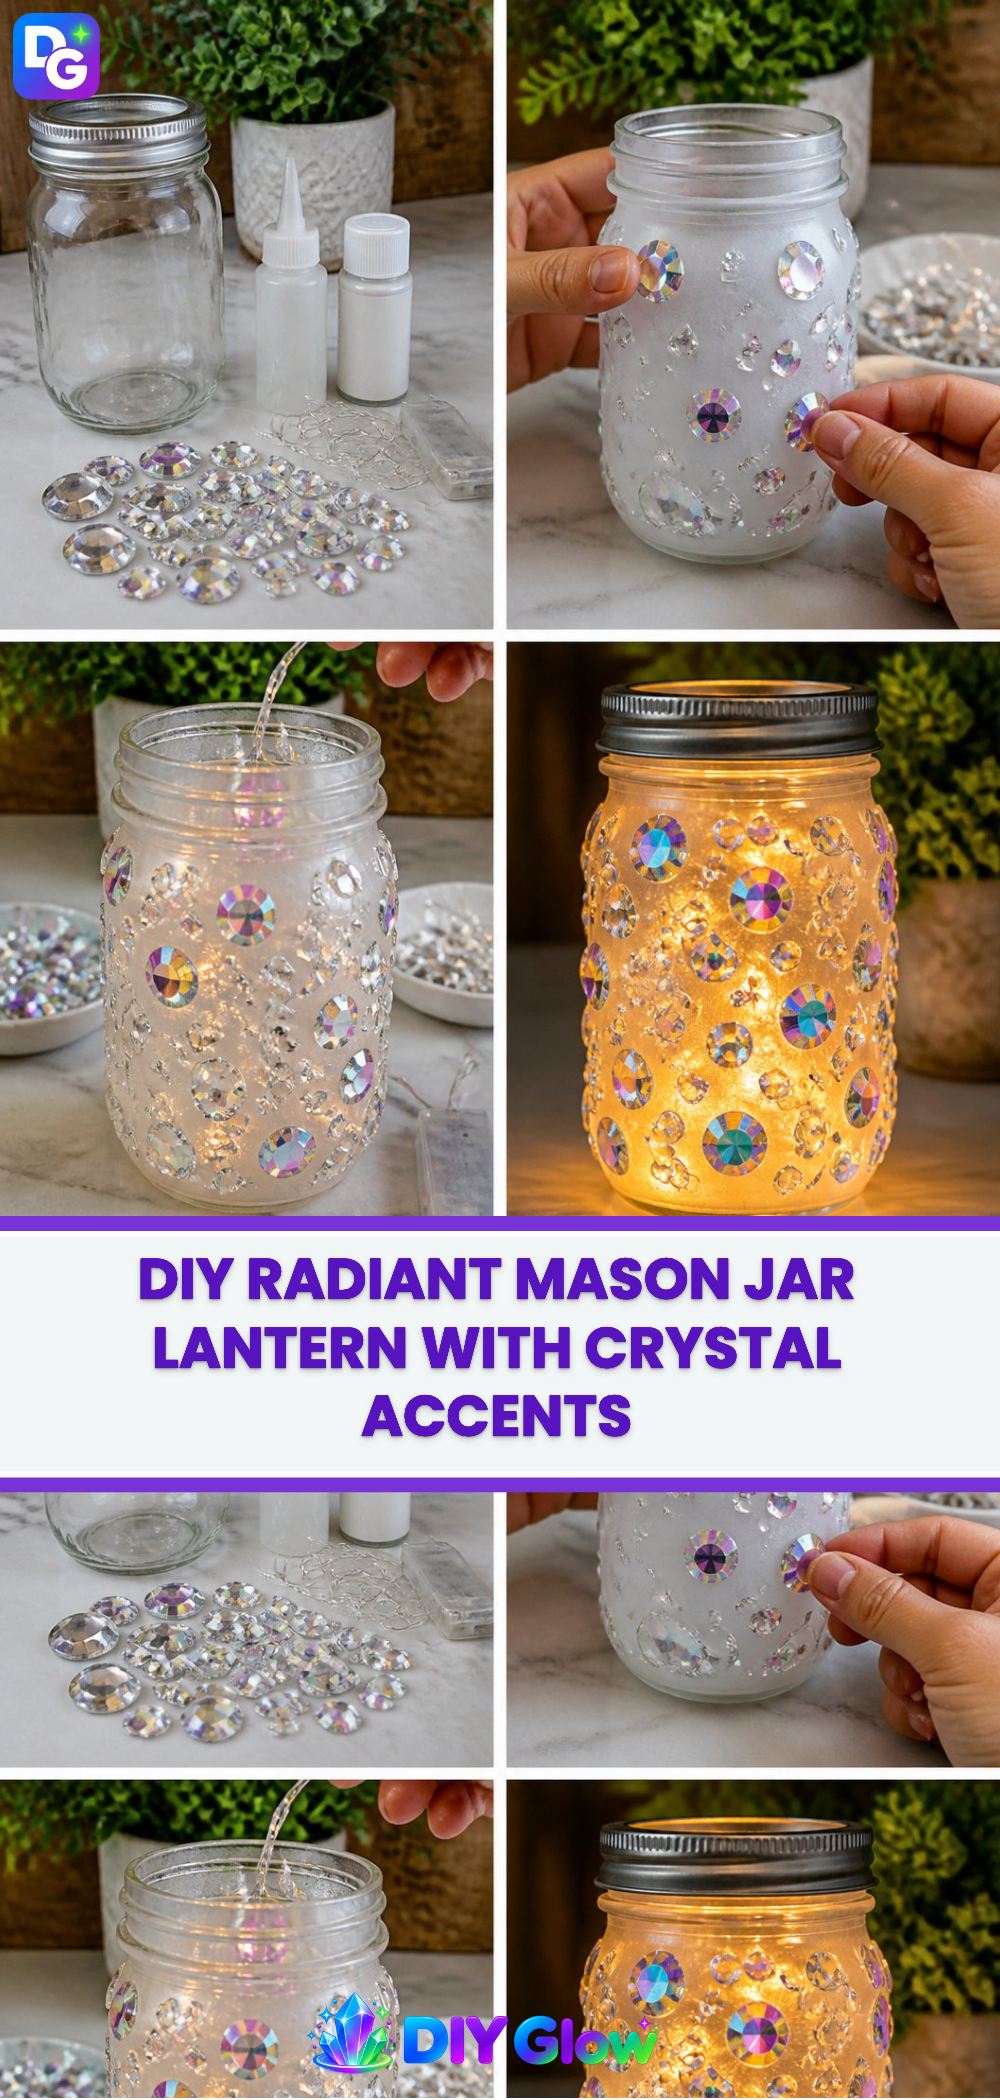
Step-by-Step Directions
Step-by-Step Directions
- Clean and dry the mason jar thoroughly. Make sure it’s free from any dust or moisture, so the paint adheres well.
- Apply a light, even layer of frosted glass paint to the jar and let it dry according to the paint directions. Watch the color spread beautifully as you apply it.
- Arrange clear and iridescent acrylic gems in scattered clusters around the outside of the jar. Play with the placement for the best sparkle.
- Secure the gems with clear glue and allow the glue to cure completely. Be patient here the results will be worth the wait!
- Place battery-powered micro LED fairy lights inside the jar for a glowing crystal effect. Turn them on and see the magic unfold as your lantern lights up.
As you work through these steps, remember to watch for the colors and the sparkle. This is where the magic truly happens. If you’re using any hot glue or sharp objects, adult supervision is a great idea. Safety first!
Displaying Your Finished Glowing Crystal Mason Jar Lantern
Once your lantern is complete, the fun is just beginning. Think about where you’d like to showcase your masterpiece. It could shine brightly on a windowsill, a dining table, or even as part of a festive centerpiece. You might gift it to a friend or keep it as a comforting nightlight for a little one. This colorful project can ignite imagination and wonder in any space.
Keeping Your Glowing Crystal Mason Jar Lantern Looking Great
Caring for your glowing creation is simple. The lantern itself does not require much maintenance. Store it in a cool, dry place when not in use to keep dust away. If you notice any dust or dirt on the gems, a gentle wipe with a soft cloth will do the trick. With proper care, your lantern can be enjoyed for years to come.
Fun Tips and Colorful Variations
Let your creativity soar with these fun tips and variations for your Glowing Crystal Mason Jar Lantern:
- Colorful Gems: Try using colorful acrylic gems instead of just clear ones. You could create a rainbow effect or use colors that match the season.
- Large or Small: Experiment with different-sized mason jars. A mini lantern could be a cute addition to a party table.
- Seasonal Themes: Decorate for holidays with themed colors or shapes. Think orange and purple for Halloween or red and green for Christmas.
- Layering Lights: For a dynamic look, use two sets of fairy lights in different colors for added depth and excitement.
Each variation helps make this project uniquely yours!
FAQs About Glowing Crystal Mason Jar Lantern
Will it work with any type of jar?
Yes, you can use any clear jar! The beauty of this craft is its versatility. Just stick with clear glass to let that glow shine through.
Is it safe for kids?
With adult supervision, this project is safe for kids. Just watch out for small parts, and let them help with supervision when applying paint.
How long does it take to make?
This project usually takes about 1-2 hours, including drying time for the paint. Patience is key for the best results!
Why did my lantern not turn out as expected?
Common issues include not allowing the paint to dry fully or not securing the gems properly. Just take it slow and enjoy the process!
Can I use other kinds of lights?
Battery-operated fairy lights are best for safety. If you want to try others, ensure they won’t get too hot near the glass.
A Little Note Before You Go
Wrapping up your Glowing Crystal Mason Jar Lantern offers a world of possibilities. Enjoy the process of creating, playing with colors, and making it your own. Not only will you have a sparkling lantern to light up your space, but you’ll also have sweet memories of crafting together. Each glowing gem holds a little magic, just waiting to bring joy to your home. So gather your materials, ignite your creativity, and let the glow begin!
Follow us on social for more DIY ideas & inspiration!
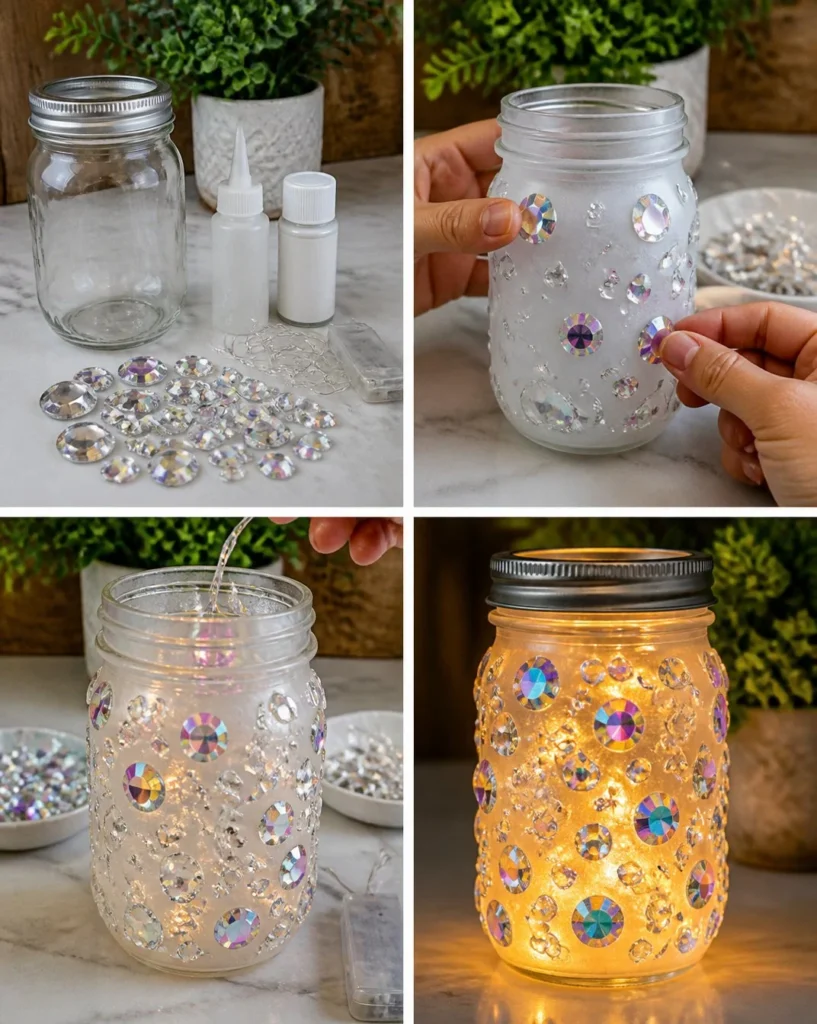
Glowing Crystal Mason Jar Lantern
Would you like to save this project?
By submitting you agree to receive this project and occasional emails. Unsubscribe anytime.
Materials
Craft Materials
- 1 jar mason jar (any size you like) Ensure it's clean and dry
- 25 pieces clear and iridescent acrylic gems Easy to find at craft stores
- 1 bottle clear glue Great for securing the gems
- 1 bottle frosted glass paint For a magical, soft finish
- 1 set micro LED fairy lights Battery-powered for safety
Directions
Preparation
- Clean and dry the mason jar thoroughly to ensure proper paint adhesion.
- Apply a light, even layer of frosted glass paint to the jar and let it dry according to the paint directions.
Gem Placement
- Arrange clear and iridescent acrylic gems in scattered clusters around the outside of the jar.
- Secure the gems with clear glue and allow the glue to cure completely.
Final Assembly
- Place battery-powered micro LED fairy lights inside the jar for a glowing crystal effect.
- Turn them on and enjoy the magical illumination.
Last Step: Don’t forget to leave a rating and comment below! It helps other readers find the best DIY projects — and it helps us too!