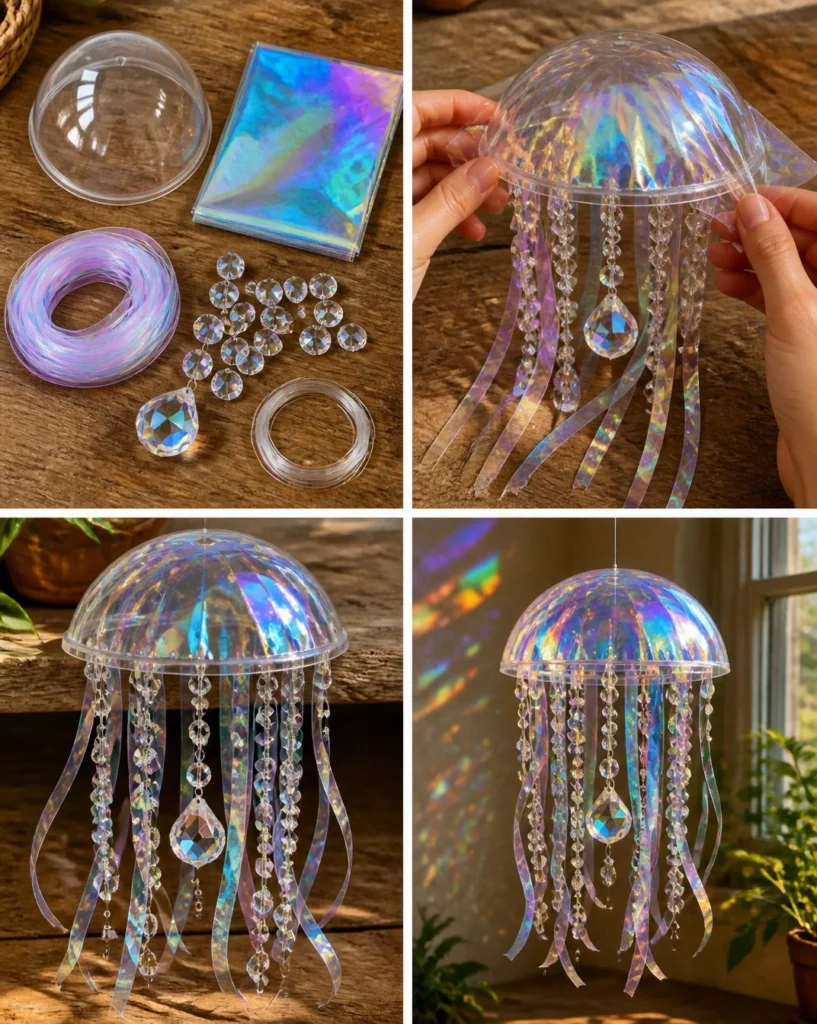
Creating a Holographic Jellyfish Crystal Light Ornament brings a dash of magic right into your home. Imagine hanging a beautiful, shimmering jellyfish, gliding gracefully in the sunlight, casting dance-like reflections all around the room. The colors shift and shimmer, and the texture catches every beam of light, transforming any space into a wonderland. This project celebrates not only creativity but also the excitement that comes from watching science and art blend harmoniously. Let’s explore how you can make your very own dazzling Holographic Jellyfish Crystal Light Ornament that will truly captivate both kids and adults alike.
Why Make This Holographic Jellyfish Crystal Light Ornament
Making a Holographic Jellyfish Crystal Light Ornament is not just about crafting; it’s an experience filled with joy and wonder. As families come together to create this delightful piece, they share moments of laughter, curiosity, and accomplishment. This project activates the senses, encouraging kids to explore colors, shapes, and textures while diving into a little science. The translucent finish and playful sparkles invite everyone to admire the craftsmanship and the beautiful transformation of everyday materials into something extraordinary. This enchanting ornament aligns with the spirit of DIYGlow making magic happen at the kitchen table.
A Quick Look at How It Works
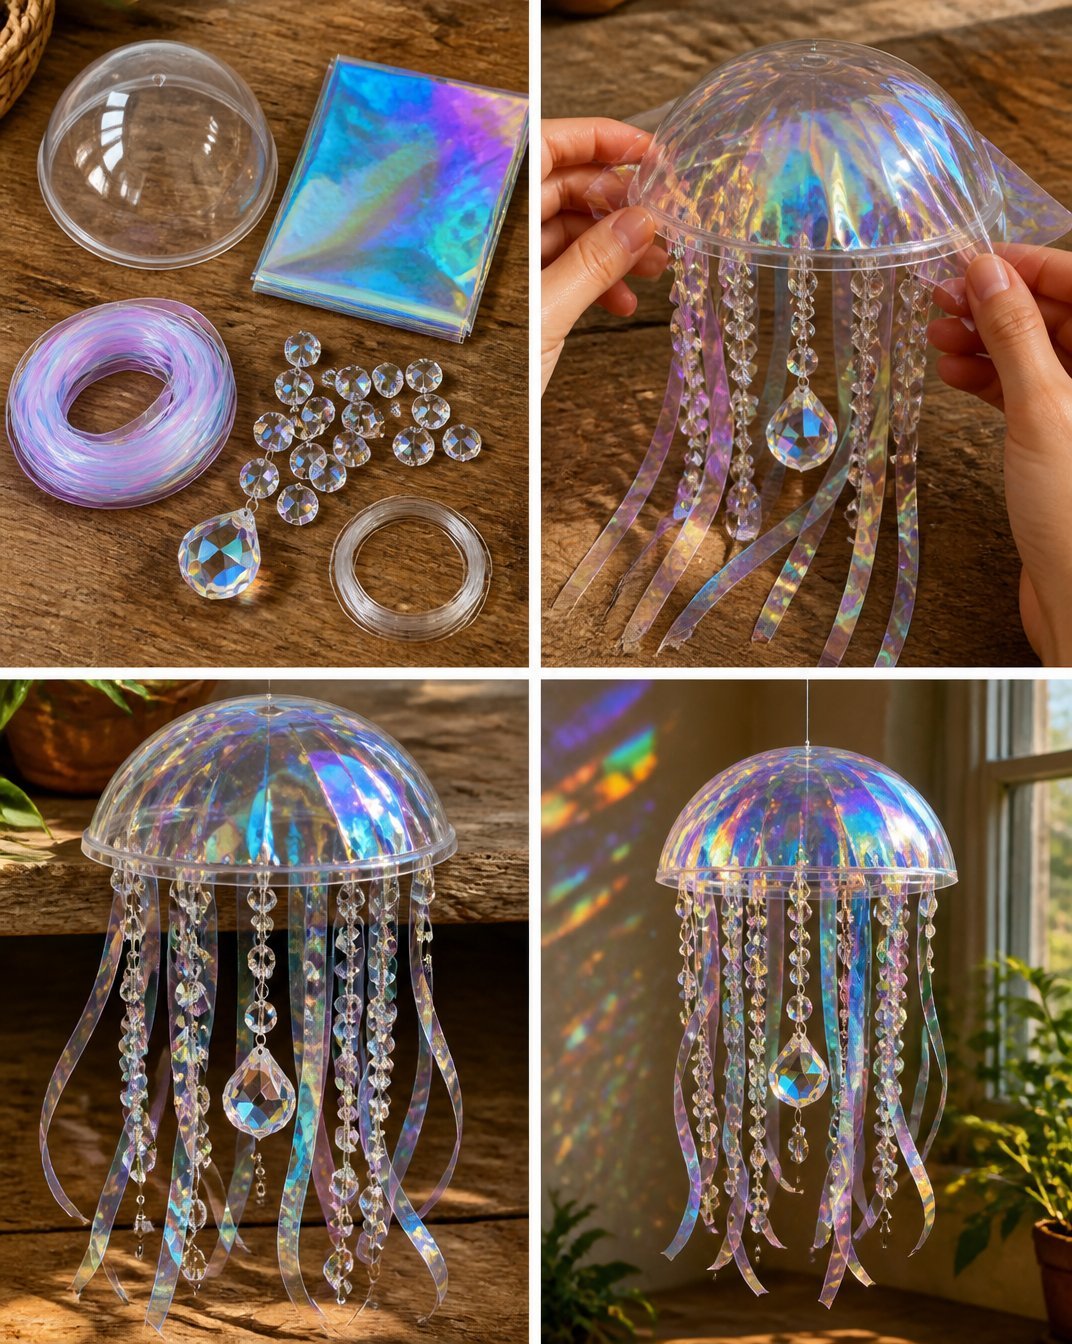
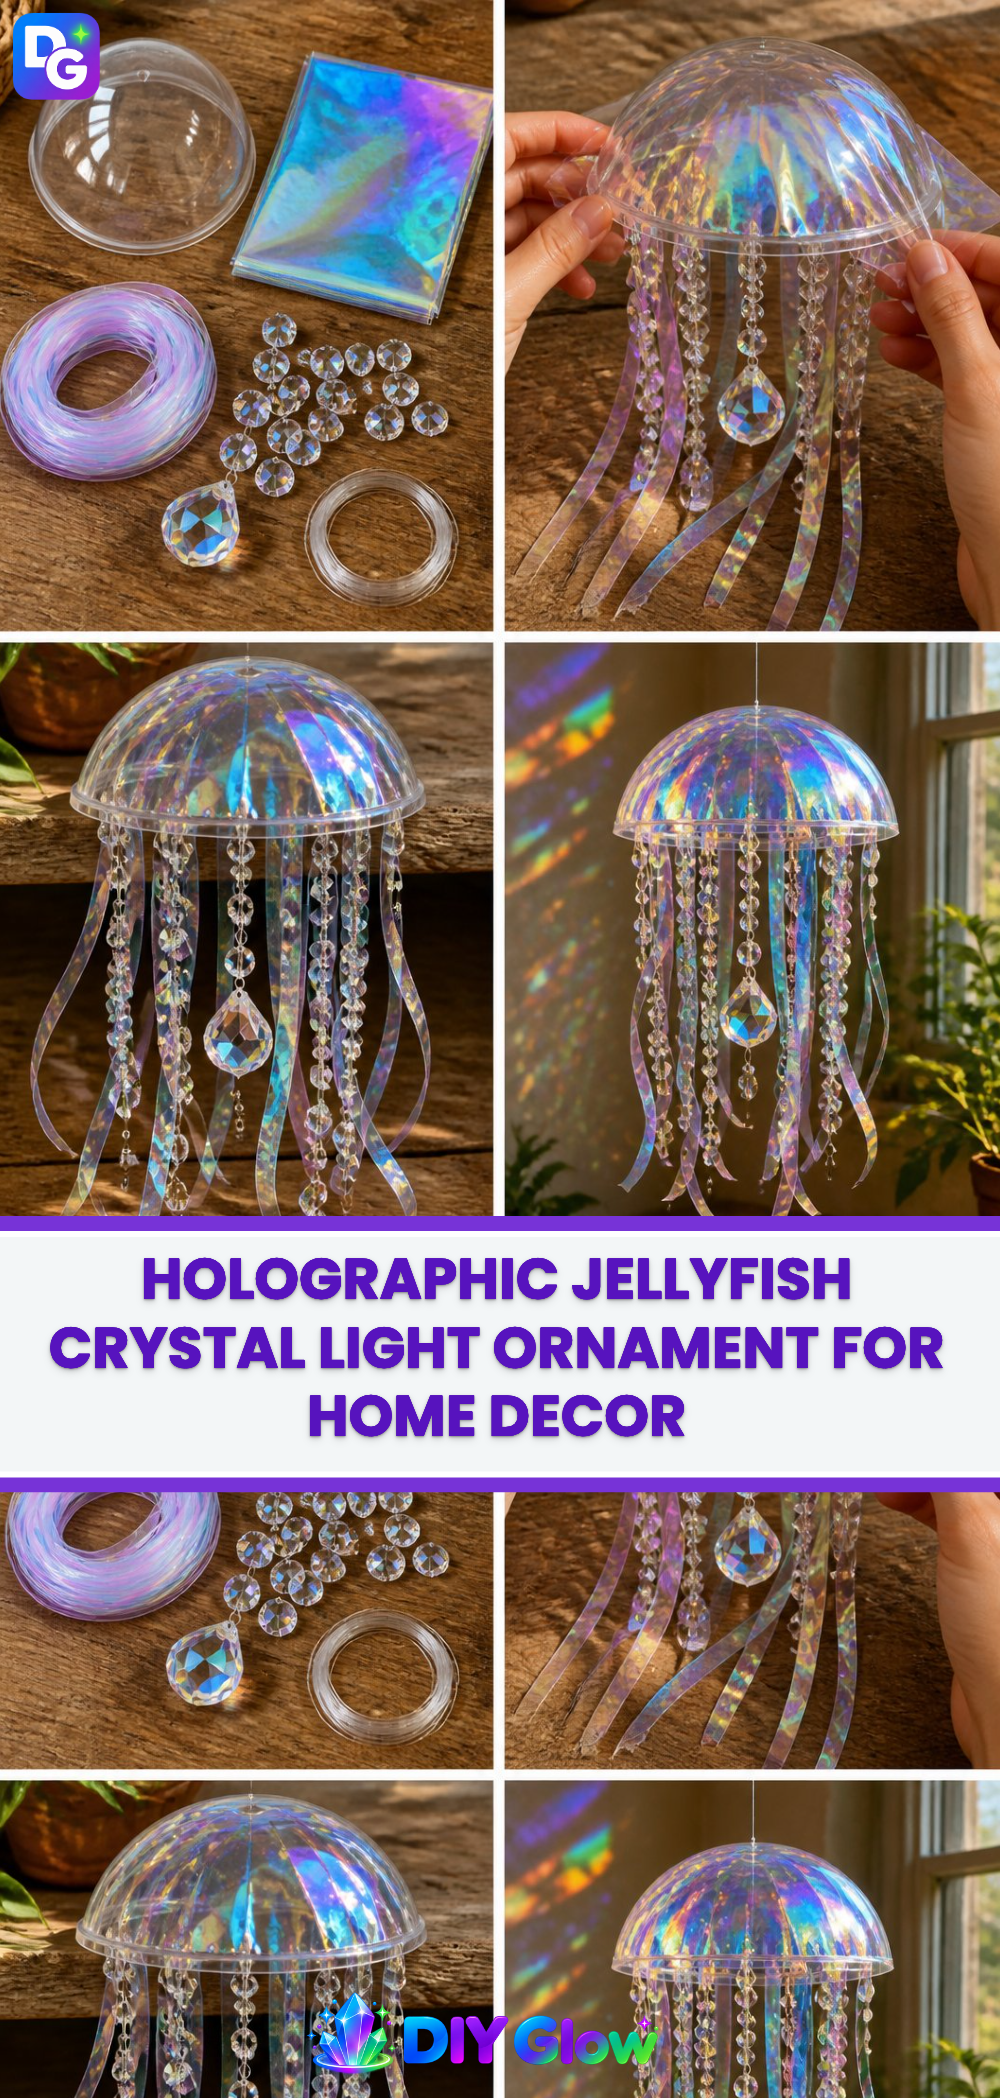
This captivating project comes together through the simple steps of layering and assembling various materials that reflect light brilliantly. You start with a clear dome and add holographic film for glimmering effects, followed by ribbons and sparkling beads that dangle under it. A prism at the center captures light and disperses it into colorful rainbows. The joy not only lies in the finished piece but in the anticipation and wonder as the colors shift and dance with every movement. The science here is about light refraction and reflection, creating a sparkle that will mesmerize anyone near it.
Materials You Will Need
Gathering your materials is an exciting part of this project. Here’s what you need to create your stunning holographic jellyfish:
- Clear plastic dome or lid (this will be the base of your jellyfish)
- Holographic cellophane (to catch and reflect light)
- Iridescent ribbon (to create movement and color)
- Crystal-style beads (for added sparkle)
- 1 small prism (to refract light beautifully)
- Fishing line (for hanging)
Most of these items are easy to find, either at craft stores or online. You can even use recycled materials to personalize your project get creative!
Step-by-Step Directions
Step-by-Step Directions
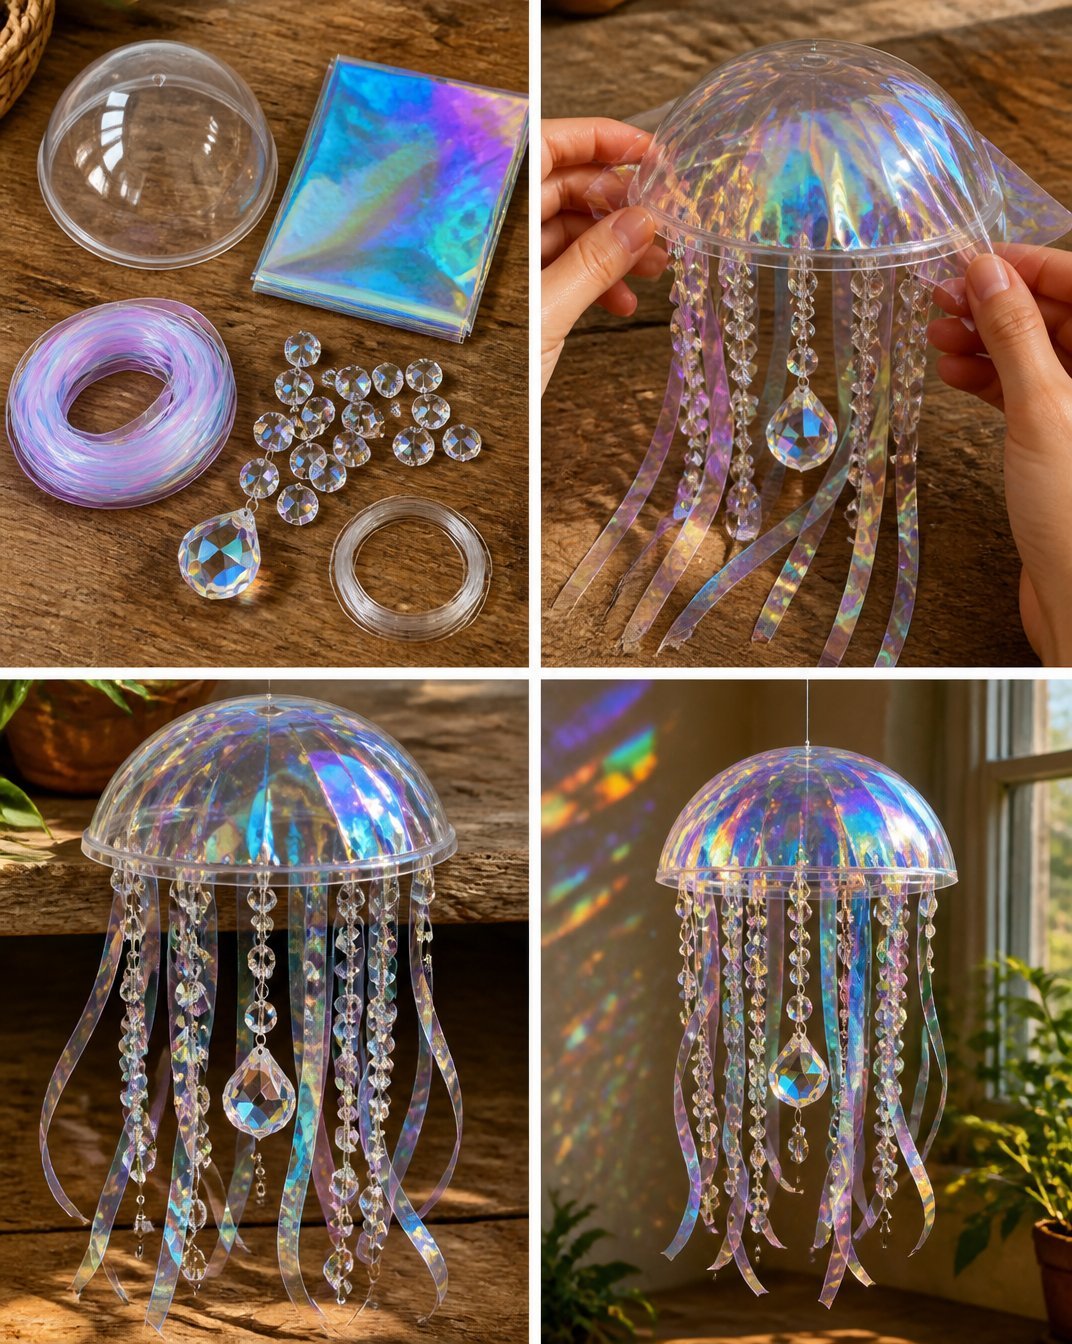
Cover the dome with holographic film: Start by wrapping the clear dome with the holographic film. This will give it a shiny, iridescent finish. Secure the edges with glue if needed and trim any excess. Watch how the colors come alive as you twist and turn it.
Add cascading iridescent ribbons and crystal beads underneath: Take your iridescent ribbons and cut them into varying lengths. Glue them to the underside of the dome, letting them cascade down. Add crystal beads to the end of each ribbon for a touch of sparkle. As you glue them, feel the texture and see the colors come together beautifully.
Suspend a prism in the center: Using fishing line, suspend your prism right in the middle of the dome. This step is crucial as it allows the light to play with colors as it enters the prism. Hang the ornament near a bright window or a sunny spot, and prepare to be amazed as the sunlight transforms your ornament into a colorful light show.
Safety Tip: Always ensure that small parts are handled carefully, and adult supervision is recommended for gluing and cutting.
Displaying Your Finished Holographic Jellyfish Crystal Light Ornament
Now that your Holographic Jellyfish Crystal Light Ornament is complete, it’s time to showcase your creation! Find a bright window where sunlight streams in to get the full effect of your beautiful colors. You can hang it in kids’ rooms, living spaces, or any spot that could use a splash of enchantment.
Consider wrapping the ornament up as a special gift, or even creating a few to share with friends or family. Each ornament will shine in its own unique way, reflecting the personality of its maker.
Keeping Your Holographic Jellyfish Crystal Light Ornament Looking Great
To keep your ornament shining bright, store it in a safe place when not in use. Avoid areas with high heat or moisture to prevent any warping or fading. If dust collects on it, a gentle wipe with a soft cloth will keep it looking fresh. If you used glue for any components, ensure they are secure before hanging it again.
This ornament can last for years, but handling it gently will help preserve its charm and beauty.
Fun Tips and Colorful Variations
Here are a few fun ideas to take your Holographic Jellyfish Crystal Light Ornament to the next level:
Experiment with colors: Try using different colored holographic films or additional decorations in varying shades. This way, each jellyfish will reflect a unique personality.
Seasonal themes: Create jellyfish ornaments that match the seasons muted colors for autumn or bright pastels for spring, adding a festive touch to your decor.
Glow-in-the-dark options: Incorporate glow-in-the-dark elements for a shimmering effect at night. Your jellyfish can be a beacon of light after sunset.
Increase size: Scale up your design. A larger dome can create a more dramatic effect with longer ribbons and more beads.
Jellyfish Family: Make several jellyfish of various sizes and colors. Hang them together for a dazzling display that will captivate everyone.
FAQs About Holographic Jellyfish Crystal Light Ornament
Will it work?
Yes! Following the steps carefully will help ensure you create a beautiful ornament. The transformation happens as you layer and assemble your materials.
Is it safe for kids?
As long as an adult supervises the project, it’s perfectly safe for kids to help with the crafting. Just keep an eye on small parts and any tools required.
How long does it take to make?
The whole process typically takes about an hour, with some time needed for drying. You can make it more enjoyable by spreading the steps out over a couple of days.
Why did mine not turn out?
Sometimes, the materials may not catch light just as you imagined. Ensure the prism is positioned correctly, and make sure your holographic film is securely attached.
Can I reuse the materials?
Absolutely! If you take care when assembling, your materials can be reused for future projects.
A Little Note Before You Go
As you embark on your journey to create the Holographic Jellyfish Crystal Light Ornament, remember the process is just as magical as the final product. Enjoy each moment as you explore colors and textures, experiment with designs, and share joy with your family. Let this crafting adventure spark creativity and inspire many more delightful projects. Dive into creativity and let your imagination shine!
Follow us on social for more DIY ideas & inspiration!
Holographic Jellyfish Crystal Light Ornament
Would you like to save this project?
By submitting you agree to receive this project and occasional emails. Unsubscribe anytime.
Materials
For the ornament base
- 1 piece Clear plastic dome or lid This will be the base of your jellyfish.
- 1 roll Holographic cellophane To catch and reflect light.
For decoration
- 1 roll Iridescent ribbon Creates movement and color.
- 5 pieces Crystal-style beads For added sparkle.
- 1 piece Small prism To refract light beautifully.
- 1 length Fishing line For hanging the ornament.
Directions
Preparation
- Cover the dome with holographic film: Start by wrapping the clear dome with the holographic film. Secure the edges with glue if needed and trim any excess.
- Add cascading iridescent ribbons and crystal beads underneath: Cut the iridescent ribbons into varying lengths. Glue them to the underside of the dome, letting them cascade down. Add crystal beads to the end of each ribbon.
- Suspend a prism in the center: Using fishing line, suspend your prism right in the middle of the dome.
Finishing Touches
- Hang the ornament near a bright window or a sunny spot to see the colorful light show.
- Ensure small parts are handled carefully, and adult supervision is recommended for gluing and cutting.
Last Step: Don’t forget to leave a rating and comment below! It helps other readers find the best DIY projects — and it helps us too!