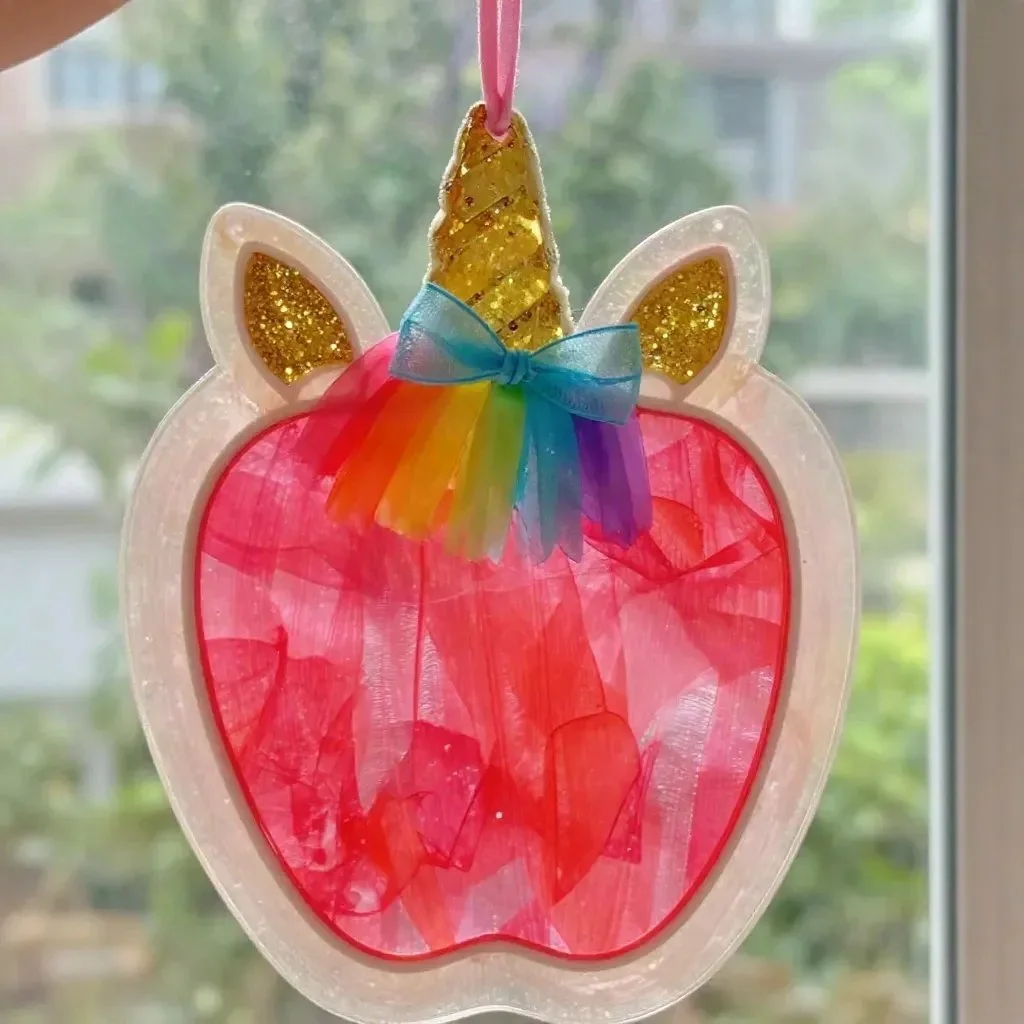
Crafting a Clear Pink Unicorn Apple Teacher Suncatcher transforms the ordinary into something bright and colorful. As you fill the apple shape with vibrant materials, you’ll watch it come alive. This DIY project not only brings a touch of magic to any space but also allows for creativity and fun. You may also find Clear Glue Mosaic Suncatcher useful.
What Makes This Work
The beauty of this suncatcher lies in its layered textures and vibrant colors. Using transparent materials like red tissue paper and clear pink cellophane creates a stunning mosaic effect. The light shining through these layers enhances the colors, making the final piece sparkle and glow. You may also find Clear Glue Suncatcher Craft Becomes Cozy useful.
Materials
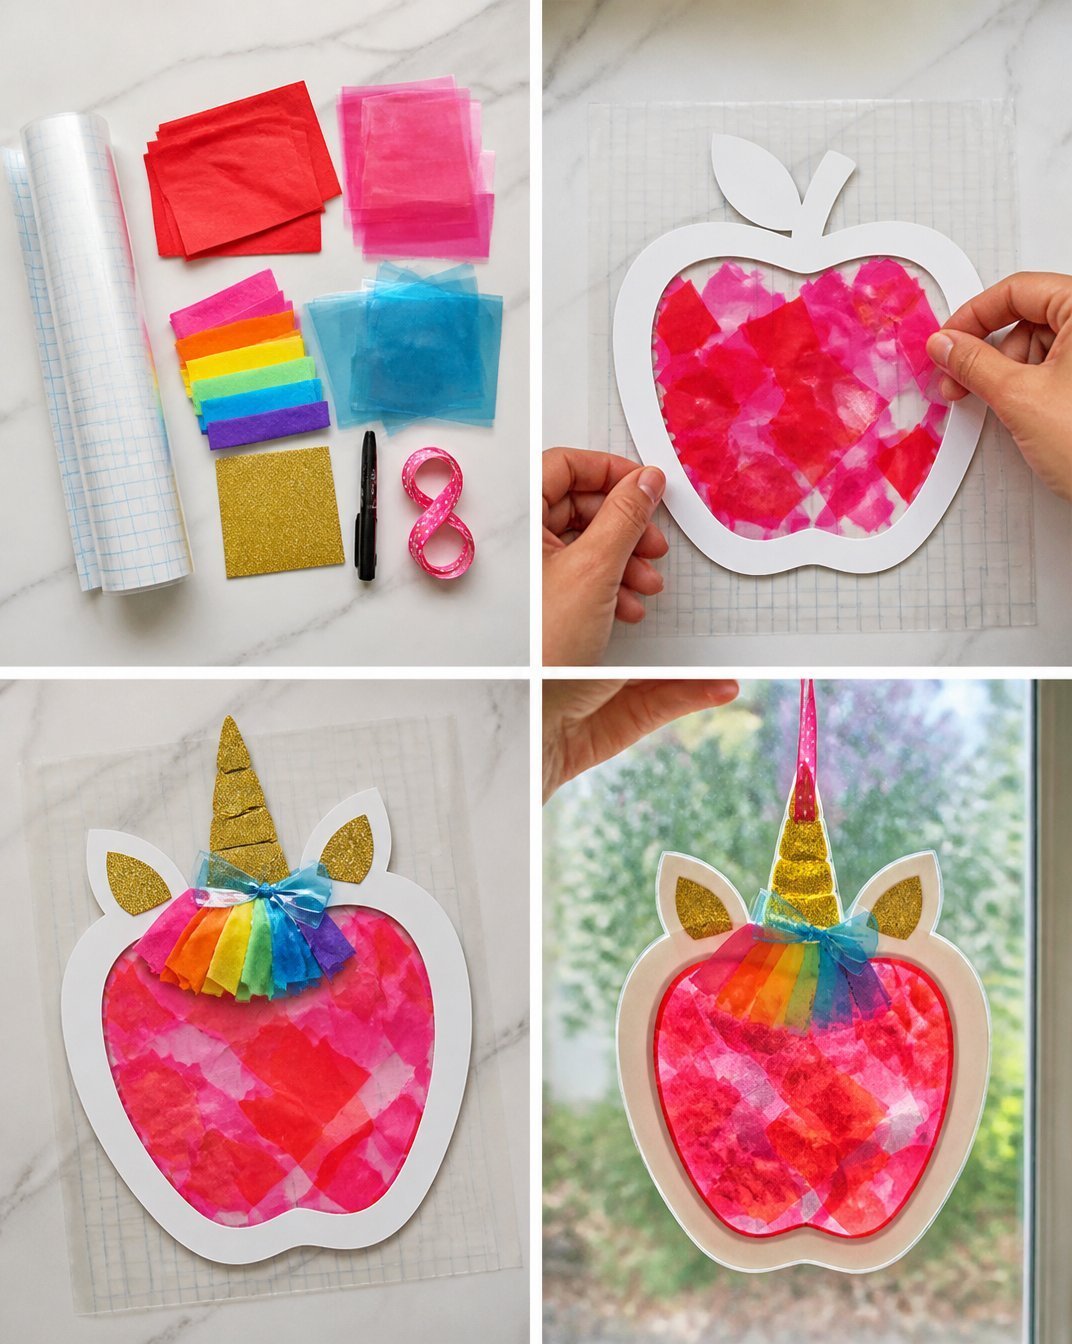
To create your Clear Pink Unicorn Apple Teacher Suncatcher, you’ll need the following supplies: You may also find Clear Glue Suncatcher Home Decor useful.
- Clear contact paper
- Red tissue paper
- Clear pink cellophane
- Clear blue cellophane
- Rainbow tissue paper
- Gold cardstock
- Black marker
- Ribbon
You may also find Clear Glue Suncatchers Cozy useful.
Steps
1. Create the Apple Frame
Start by cutting a large apple shape out of gold cardstock. The golden color provides a shiny frame for the vibrant materials you’ll add later. Next, place the apple on a piece of clear contact paper with the sticky side facing up, ensuring it sticks well as you fill it.
2. Filling the Apple
Use red tissue paper and clear pink cellophane to fill the apple shape, creating a mosaic effect. Look for the richness in color change as you layer the materials, ensuring they overlap for a fuller appearance. The clear pink cellophane will allow light to shine through, enhancing the overall look of the suncatcher.
3. Add the Unicorn Features
Cut out a horn and ears from gold cardstock and attach them to the top of the apple. These features will give your suncatcher its unique unicorn touch. The metallic shine of the gold adds to the whimsy, playing nicely against the colorful interior.
4. Craft the Rainbow Mane
Cut rainbow tissue paper into strips and layer them along the top of the unicorn’s head, securing them in place. The varied colors will contrast beautifully with the apple frame. Finish off with a clear blue bow made from your blue cellophane, which will look stunning when the sunlight hits it.
5. Seal and Hang
To protect your creation, place another piece of clear contact paper over the top to seal everything in. Trim any excess paper off the edges, punch a hole at the top, and add a ribbon for hanging. As you complete this step, take note of how the suncatcher has transformed, gaining a polished finish ready for display.
What Goes Wrong and How to Fix It
Sometimes, the layers may not stick together well. If you notice this, simply press firmly and ensure the contact paper adheres properly. If some materials look uneven, feel free to lift and adjust them as needed. The beauty of crafting is that it’s okay to make adjustments as you go.
Where to Display It
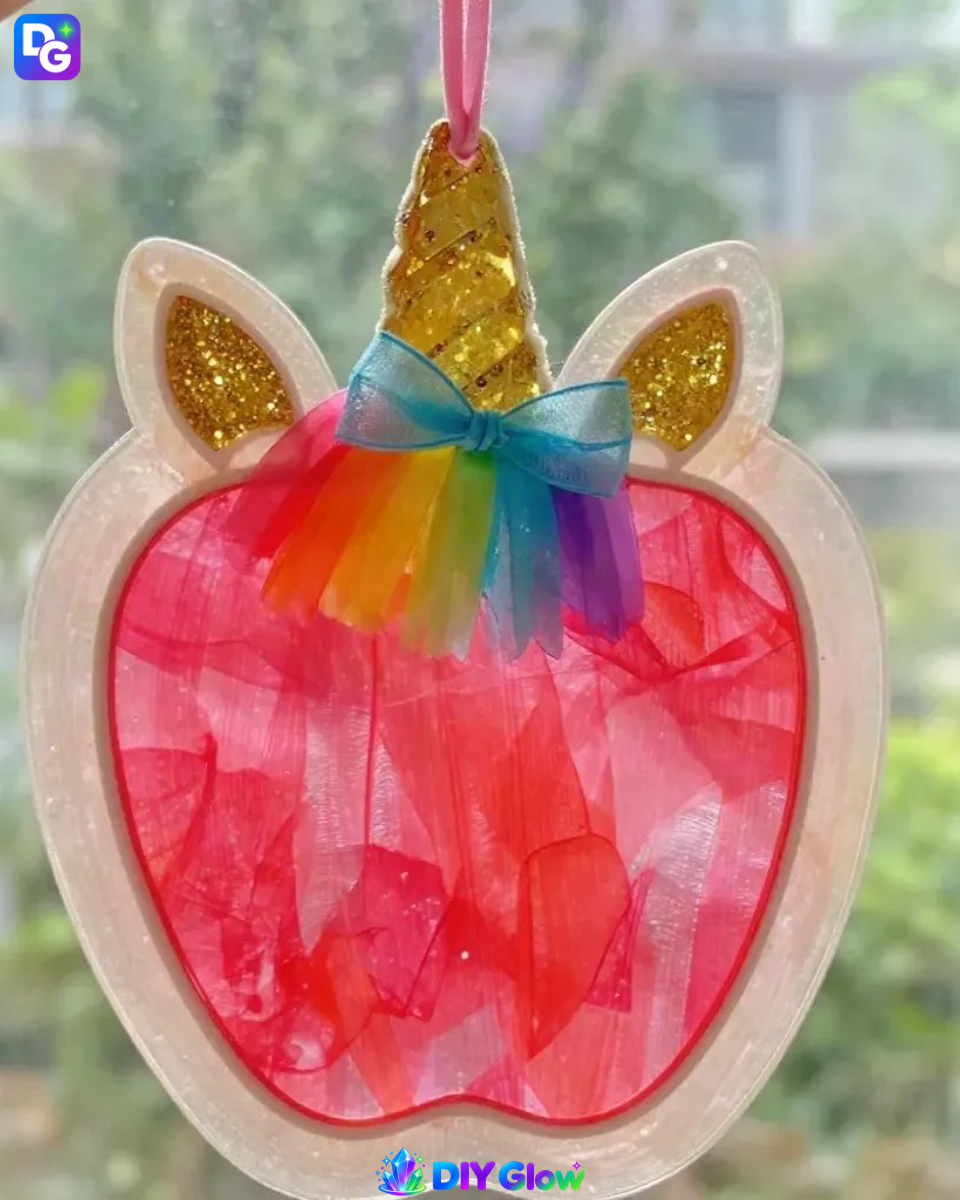
This suncatcher can brighten any spot in your home. Hang it in a window to catch the sunlight, or display it in a child’s room as a cheerful decor piece. The way it captures light will give an enchanting touch to any area.
Variations
Feel free to experiment with different shapes or colors. Instead of just an apple, how about a pear or a star? You can even change the color scheme to include pastels or vibrant colors that fit the season. For another fun idea, explore creating similar projects like a clear glue suncatcher that uses different materials for unique textures.
FAQs
Can I use other colors of tissue paper?
Yes, any color can work! Just make sure the colors you choose complement each other.
How long does it take to make the suncatcher?
The process should take about an hour, depending on how detailed you’d like to be with your designs.
Do I need an adult to help?
It’s helpful for an adult to assist with cutting materials and sealing the final project, especially if you have younger children helping.
Can this project be stored for later use?
Yes, if done properly, the suncatcher can be stored and reused. Just keep it in a safe place to prevent tearing.
What should I do if the colors don’t look vibrant?
If the colors seem dull, make sure you’re using light-catching materials like clear cellophane, which enhance color brightness.
Is it safe for my kids to use these materials?
All of the materials listed are safe for kids. Just supervise any cutting or sharp edges during crafting.
Conclusion
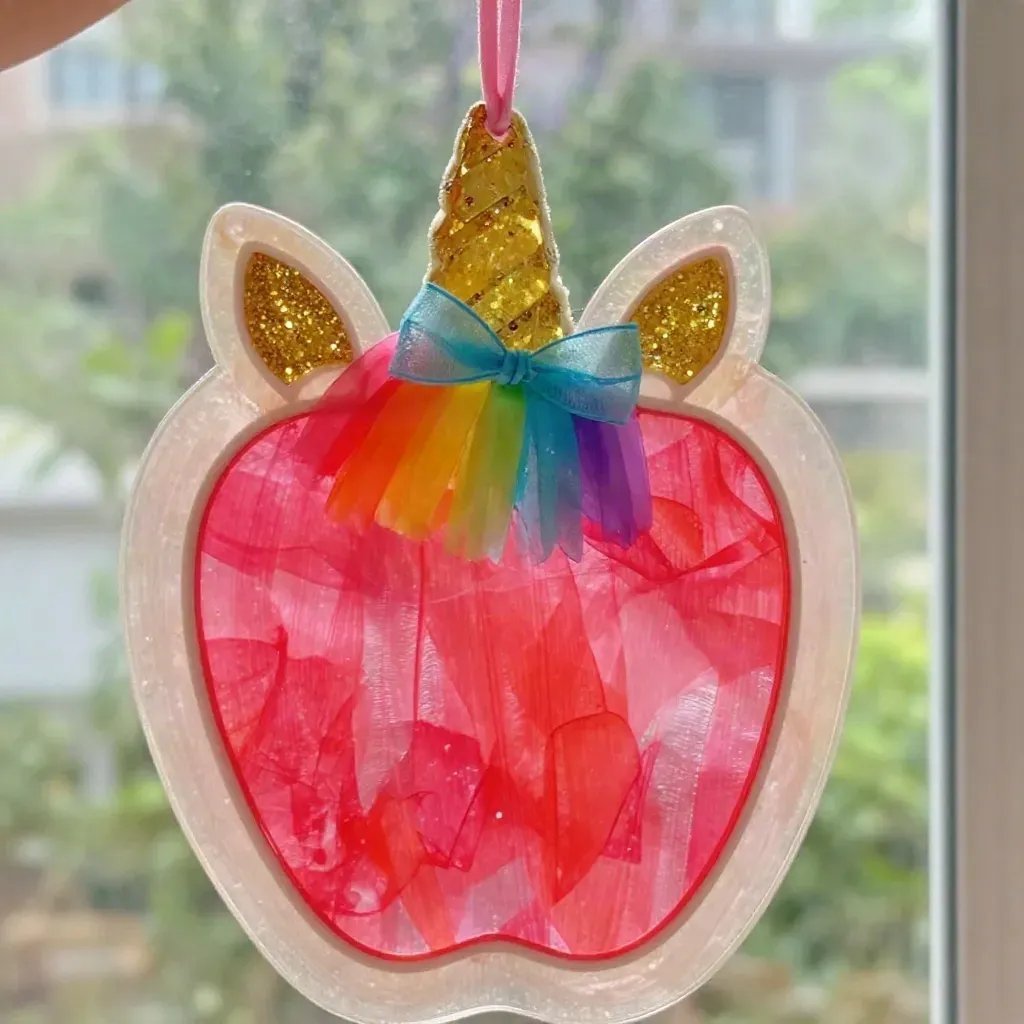
Crafting a Clear Pink Unicorn Apple Teacher Suncatcher can be a delightful activity that brings together creativity and color. For those looking to add more craft supplies, consider checking out the VHALE Glossy Clear Self-Adhesive Overlay Laminating Sheet for sealing your projects or visit Sparkling Gems Craft Studio for additional inspiring craft ideas. Enjoy your crafting!
Follow us on social for more DIY ideas & inspiration!
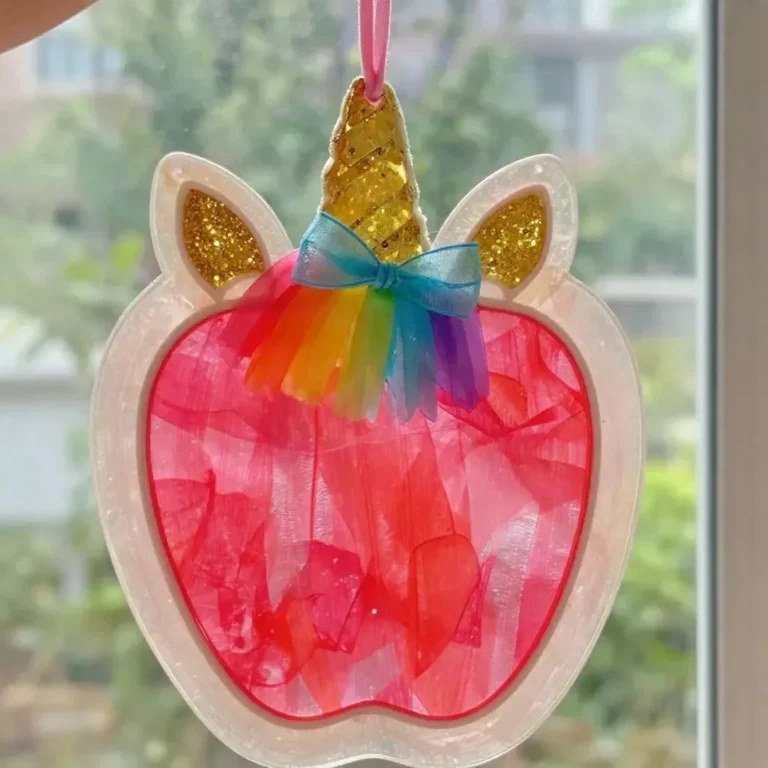
Clear Pink Unicorn Apple Teacher Suncatcher
Would you like to save this project?
By submitting you agree to receive this project and occasional emails. Unsubscribe anytime.
Materials
Materials
- 1 piece Clear contact paper
- 1 sheet Red tissue paper
- 1 sheet Clear pink cellophane
- 1 sheet Clear blue cellophane
- 1 sheet Rainbow tissue paper
- 1 piece Gold cardstock For the apple frame and unicorn features
- 1 piece Black marker For details on the apple
- 1 piece Ribbon For hanging the suncatcher
Directions
Preparation
- Cut a large apple shape out of gold cardstock.
- Place the apple on a piece of clear contact paper with the sticky side facing up.
Filling the Apple
- Use red tissue paper and clear pink cellophane to fill the apple shape.
- Ensure the materials overlap for a fuller appearance.
Adding Unicorn Features
- Cut out a horn and ears from gold cardstock and attach them to the top of the apple.
Crafting the Rainbow Mane
- Cut rainbow tissue paper into strips and layer them along the top of the unicorn’s head.
- Finish with a clear blue bow made from blue cellophane.
Sealing and Hanging
- Seal everything with another piece of clear contact paper over the top.
- Trim any excess paper, punch a hole at the top, and add a ribbon for hanging.
Last Step: Don’t forget to leave a rating and comment below! It helps other readers find the best DIY projects — and it helps us too!