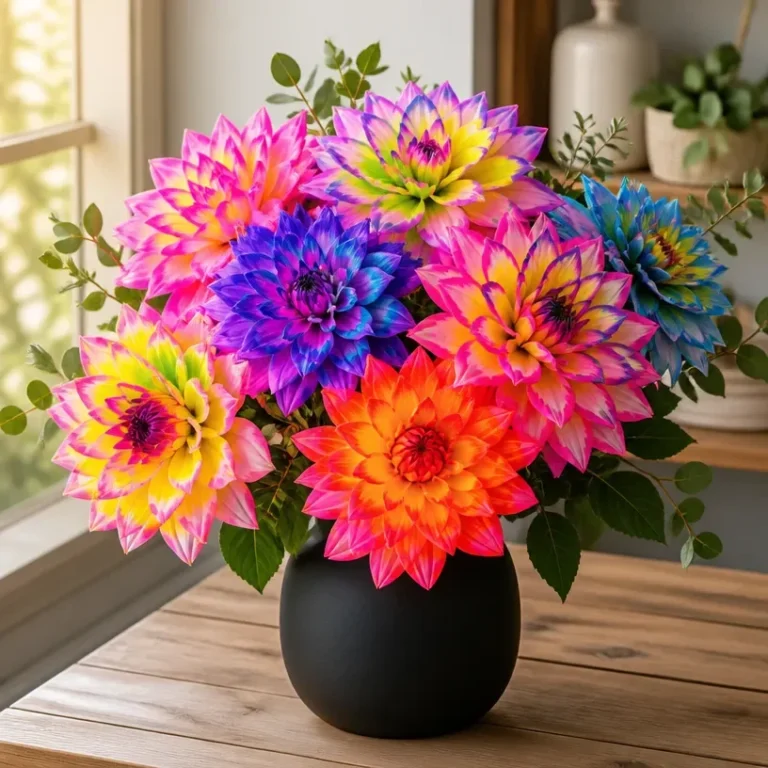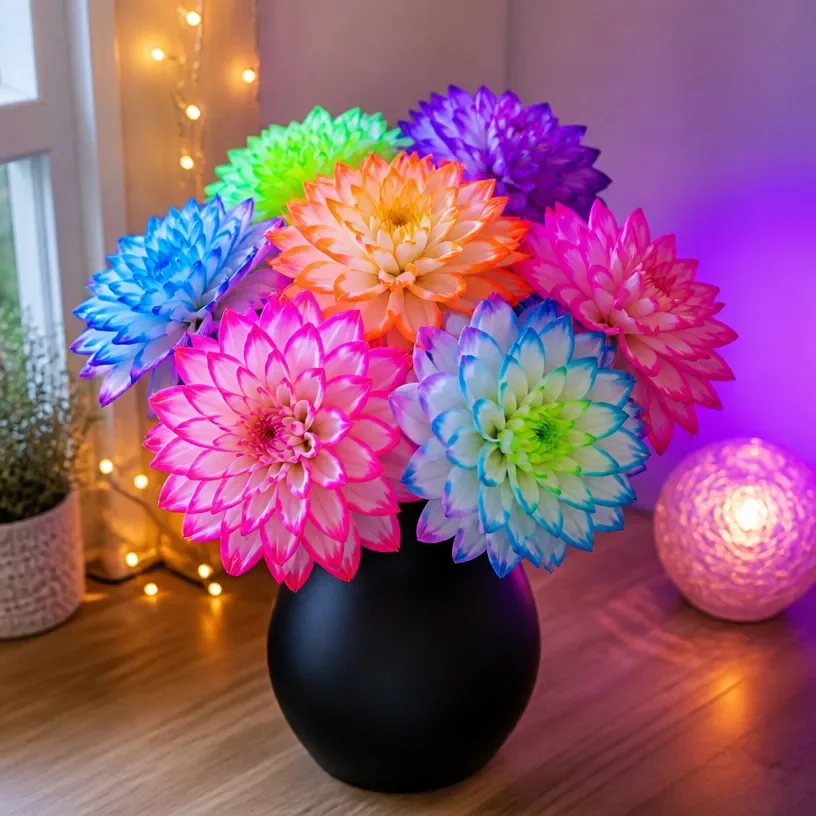
Creating neon-glow dahlias is an exciting project that brings vibrant colors to your home. As you work through the steps, you will witness a transformation, making these flowers truly mesmerizing. This tutorial on how to create neon-glow dahlias will guide you every step of the way, resulting in a stunning centerpiece for any space. You may also find How To Grow A Crystal Star At Home Diy Tutorial useful.
What Makes This Work
The combination of materials used in making neon-glow dahlias contributes to their beautiful appearance. The paint used for these flowers reacts under black light, creating a bright, luminous effect that catches the eye. This project involves painting and assembling the flowers in a manner that enhances their glow when displayed in daylight or under UV light. To understand the glowing effect better, it’s beneficial to have prior experience with similar projects like DIY blue crayon suncatchers.
Materials
Here’s what you’ll need for your neon-glow dahlias: You may also find How To Make Baking Soda Growing Tree Diy useful.
- Neon paint in various colors
- Craft foam sheets
- Scissors
- Hot glue gun
- Floral wire
- Black light (for displaying)
- Optional: Glitter for added sparkle
The neon paint is crucial as it contains phosphorescent materials that glow under UV light. It’s recommended to choose non-toxic paint, especially if children will be assisting in the project. You may also find How To Make Diy Crystal Seashells Easy useful.

You may also find How To Make Diy Crystal Seashells useful.
Steps
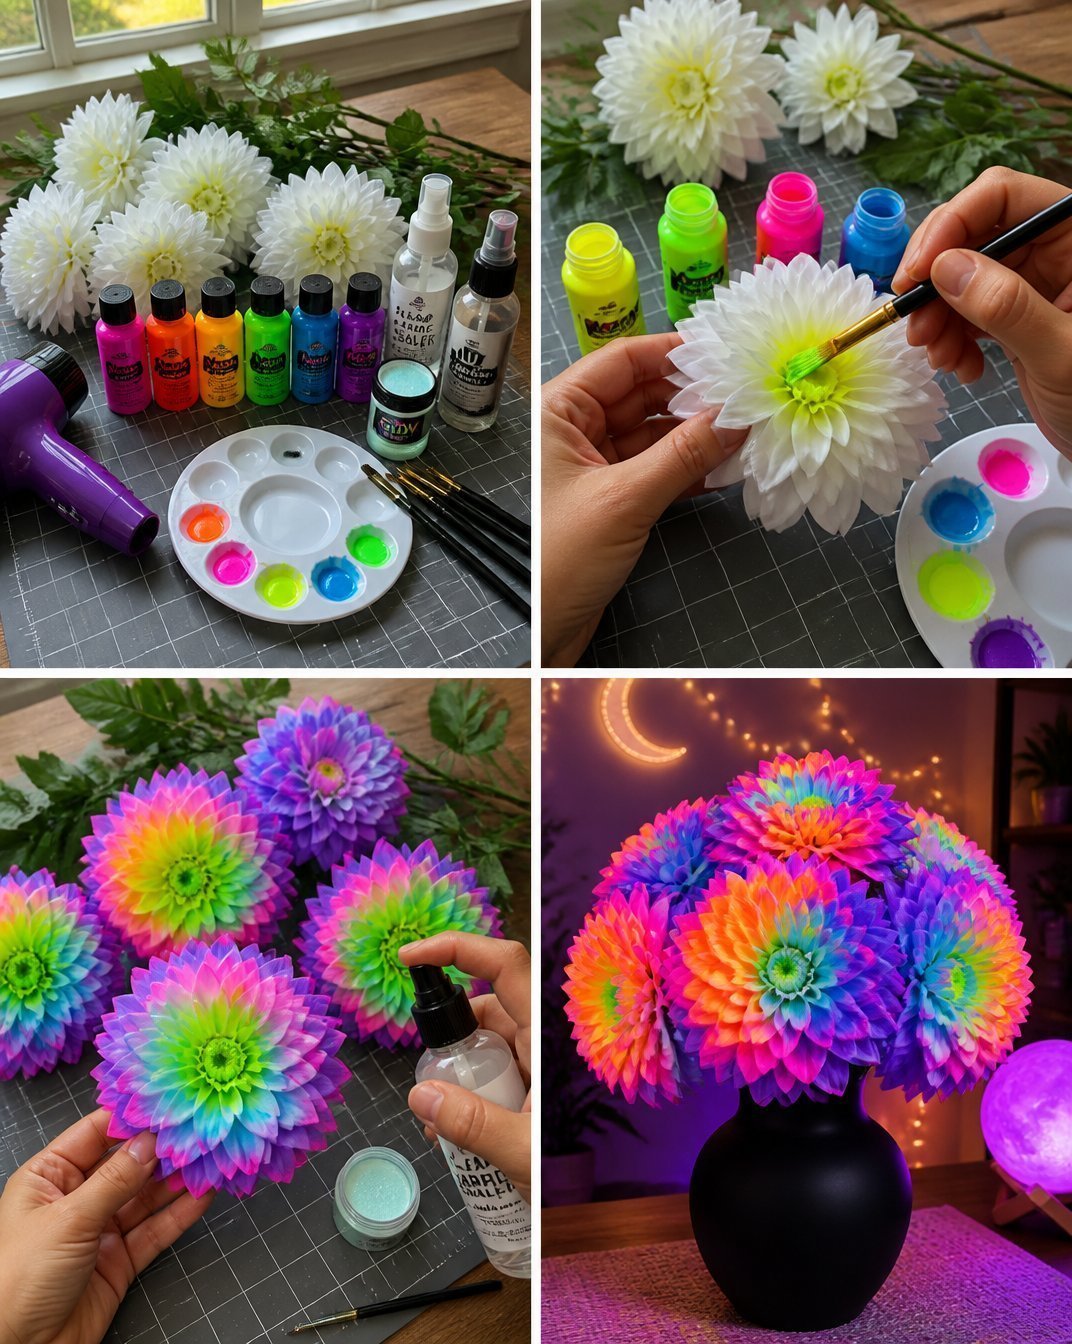
Cut the Foam Sheets: Start by cutting the foam sheets into petal shapes. You can use a template to ensure consistency. Look for smooth edges and the right sizes for your gahlia petals; this will affect how they layer.
Paint the Petals: Apply the neon paint to both sides of each foam petal. Ensure an even coat, and check if the first coat needs a second layer for brightness. Look for a uniform color saturation, as this will enhance the glow later on.
Shape Each Petal: While the paint is still wet, curve the petals slightly to create a natural look. This will help capture light more effectively, adding dimension to your blooms.
Assemble the Flowers: Once all the petals are dry, use floral wire to secure the petals together. Start with the smaller pieces and layer them to form a full flower. Verify that each layer is secured tightly to maintain the shape.
Add a Center: To finish off your dahlias, make a small ball from foam or paper and paint it in a contrasting color. This bright center will draw attention and complete the flower. Remember to glue it securely in place.
Display Your Flowers: Position your neon-glow dahlias in a spot where sunlight or a black light can shine on them for the best effect. Confirm the area is safe if you’ll be using white glue or hot glue.
What Goes Wrong and How to Fix It
If your petals don’t stick together, check the glue and apply more if necessary. Also, ensure that the paint has fully dried before assembly. If the petals appear too flat, try to re-shape them while the paint is slightly tacky. If you find the colors are not vibrant, a second layer of neon paint can help.
Where to Display It
These dahlias look fantastic in a sunny window, where they can catch natural light and highlight their colors. You might also consider displaying them under black light for an electrifying glow. For more creative display ideas, you could explore projects like DIY crystal seashells that could complement your decor.
Variations
Consider experimenting with different colors or shapes of the petals. You could also mix in some glitter for added sparkle and shine. Creating mini size versions can give a delightful arrangement effect as well. Each variation can change the overall appearance and mood of your project, making it unique.
FAQs
How do I make sure the paint adheres well?
To ensure the paint adheres well, clean the foam surfaces before painting. Dust or oils can prevent the paint from sticking properly.
What if I used the wrong colors?
You can paint over the original colors once they dry. Just apply a new layer of paint to achieve your desired color.
Can kids help with this project?
Yes! Children can assist with cutting, painting, or assembling, but adult supervision is advised for using the glue gun.
How long do they last?
The durability of your dahlias depends on the materials used. Displaying them indoors will help them last longer.
Can I use different types of paint?
While acrylic neon paint is the best option, you can experiment with other non-toxic paints. Just test a small area first to see if they glow effectively.
What should I do if my project doesn’t glow?
If the project doesn’t glow, ensure that you are exposing it to UV light or check the paint used as not all paints will react to black light.
Conclusion
Creating neon-glow dahlias adds vibrancy and creativity to your living spaces. These flowers make excellent decorations that are sure to impress. If you’re looking for more fun DIY projects, check out 25+ Neon DIY Projects for inspiration, or explore how to grow old-fashioned flowers with tips from Floret Flowers. Enjoy your crafting!
Follow us on social for more DIY ideas & inspiration!

Neon-Glow Dahlias
Would you like to save this project?
By submitting you agree to receive this project and occasional emails. Unsubscribe anytime.
Materials
Materials Needed
- Neon paint in various colors Choose non-toxic paint especially if children will assist.
- Craft foam sheets
- Scissors
- Hot glue gun
- Floral wire
- Black light (for displaying)
- Optional: Glitter for added sparkle
Directions
Preparation Steps
- Cut the foam sheets into petal shapes, using a template for consistency.
- Apply neon paint to both sides of each foam petal, ensuring an even coat.
- While the paint is still wet, curve the petals slightly to create a natural look.
- Once all petals are dry, use floral wire to secure the petals together, layering them to form a full flower.
- Create a central ball from foam or paper, paint it in a contrasting color, and glue it securely in place.
- Display the flowers in a location with sunlight or under a black light for the best effect.
Last Step: Don’t forget to leave a rating and comment below! It helps other readers find the best DIY projects — and it helps us too!