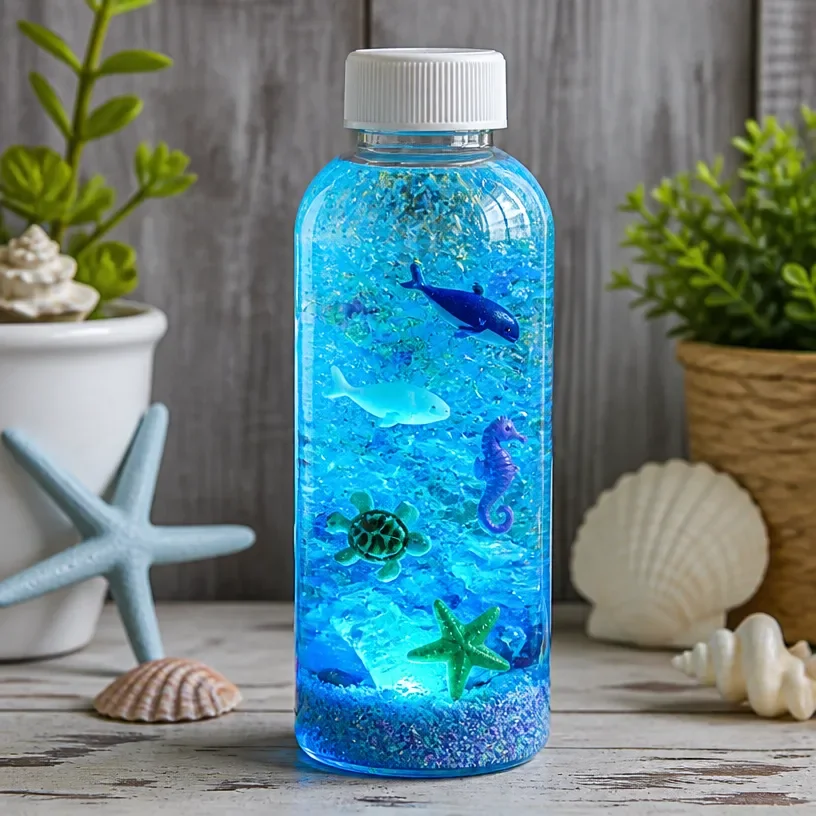
When you create a glow-in-the-dark ocean discovery bottle, the mesmerizing colors and the glow effect transform the appearance of the project. You’ll enjoy watching this captivating craft come to life, especially once it starts to glow in the dark. This project is ideal for families and introduces fun scientific concepts while being visually stunning. You may also find How To Make Glowing Firefly Bottle Lights A Diy Guide useful.
What Makes This Work
The glow-in-the-dark materials in your bottle absorb light and then emit it slowly in the dark. The lighter the surface, the more effective it is at showing off the glow. This means colors and textures play a key role in the overall effect. You may also find How To Make A Suncatcher Cozy useful.
Materials
To make your ocean discovery bottle, you will need the following materials:
- An empty plastic bottle with a cap
- Glow-in-the-dark paint or powder
- Water
- Food coloring (blue and green are recommended)
- Small ocean-themed items (shells, toy fish, etc.)
- A funnel
- A mixing stick
- Glitter (optional)
Remember, while using some of these materials, you should be careful with small parts that may not be suitable for younger children.
Steps
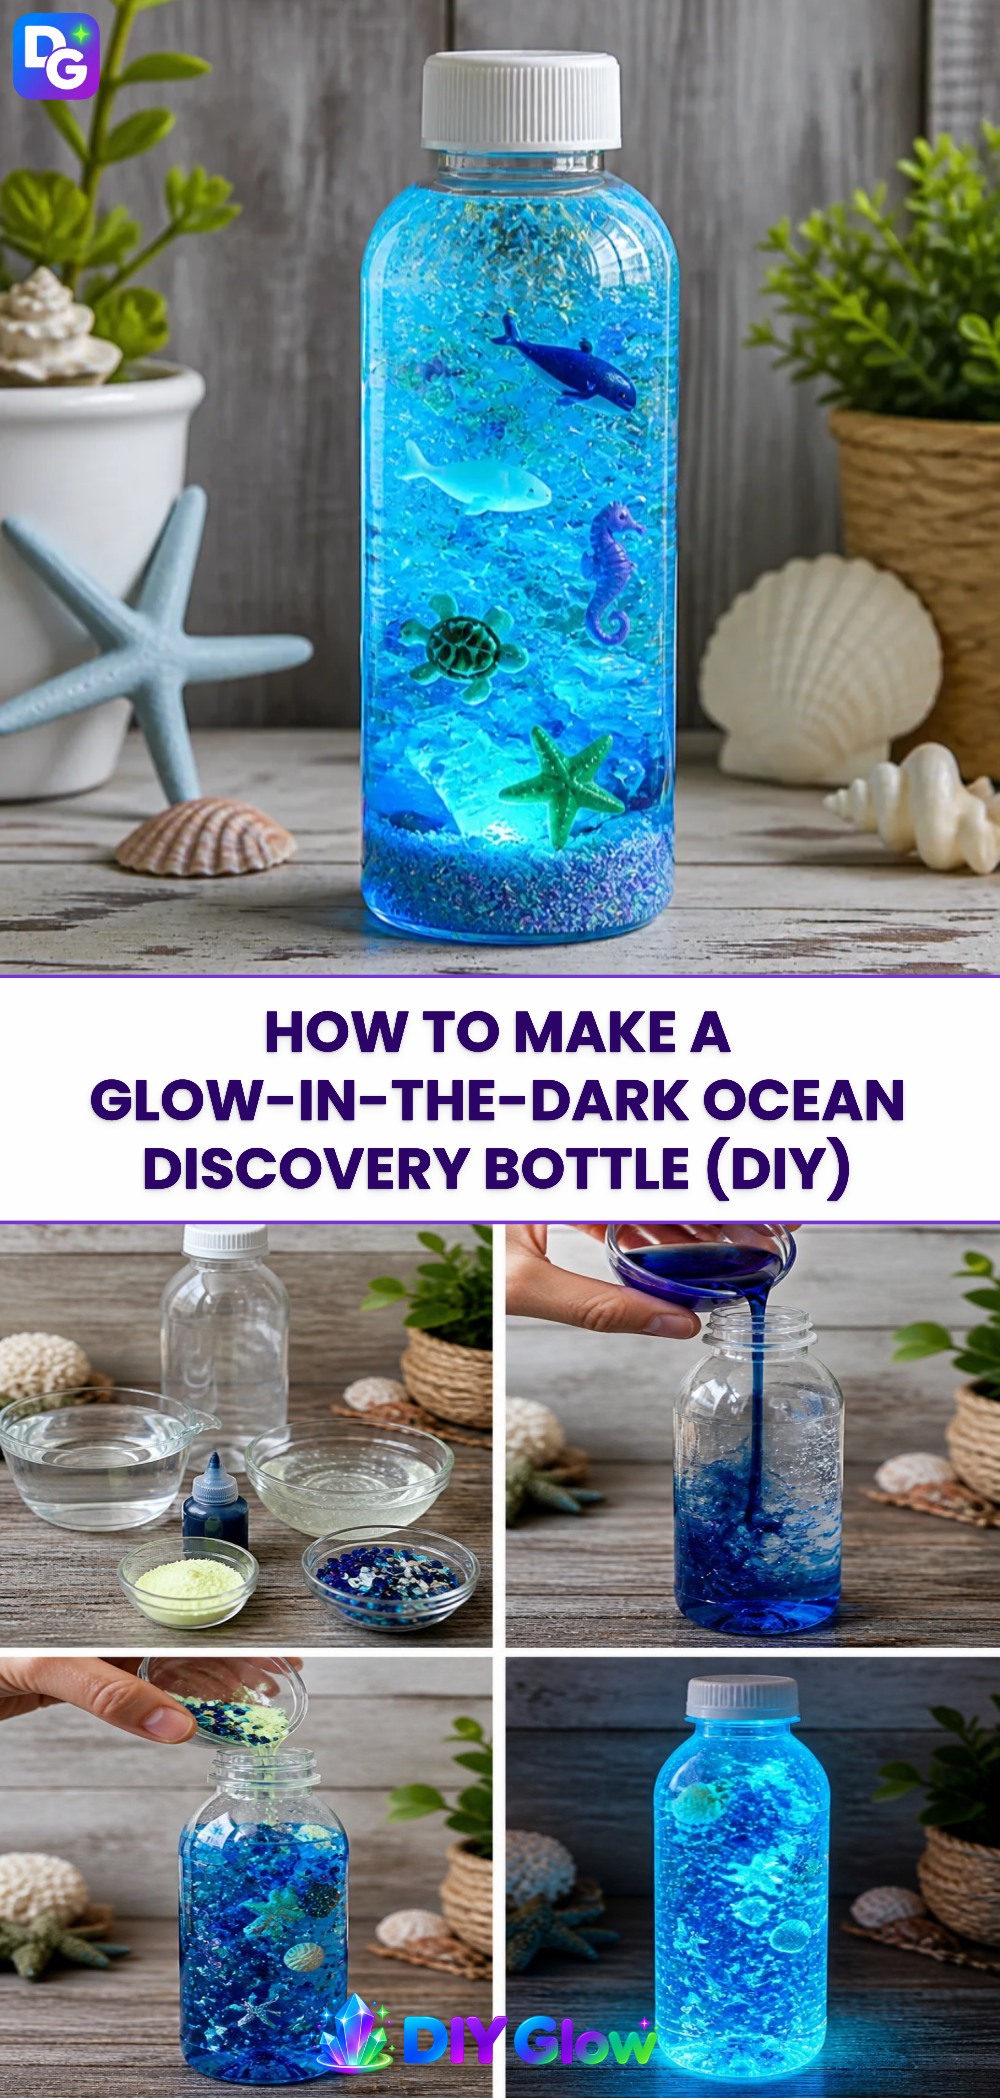
Prep Your Bottle: Begin by cleaning and drying your empty plastic bottle. Make sure there are no labels on it.
Create Your Ocean Mixture: Using a funnel, add water to your bottle, filling it about 1/3 full. This will create the base for your ocean.
Mix in Glow Powder or Paint: Add your glow-in-the-dark paint or powder. The more you add, the brighter the glow will be. Stir well with a mixing stick. The mixture will take on a chalky texture.
Add Color: Drip in a few drops of blue and green food coloring. These colors will create the ocean effect. Swirl to mix, but not too much; you want to see swirls of color.
Incorporate Small Items: Carefully place your small ocean-themed items into the bottle. This could include tiny fish, shells, or any objects you find fascinating.
Finish the Bottle: Fill the rest of the bottle with water, leaving a small air gap. This will minimize air bubbles.
Seal It Up: Securely screw on the cap. If you want extra security, consider hot gluing around the edge of the cap to prevent it from leaking.
Let It Absorb Light: Place your newly created ocean bottle near a light source for some time. The glow will be more effective if it has charged under a light.
What Goes Wrong and How to Fix It
Sometimes the glow may not be as bright as expected. If this happens, consider adding more glow powder or paint, ensuring that you mix it well. If the colors aren’t vivid, ensure you’ve added enough food coloring.
Where to Display It
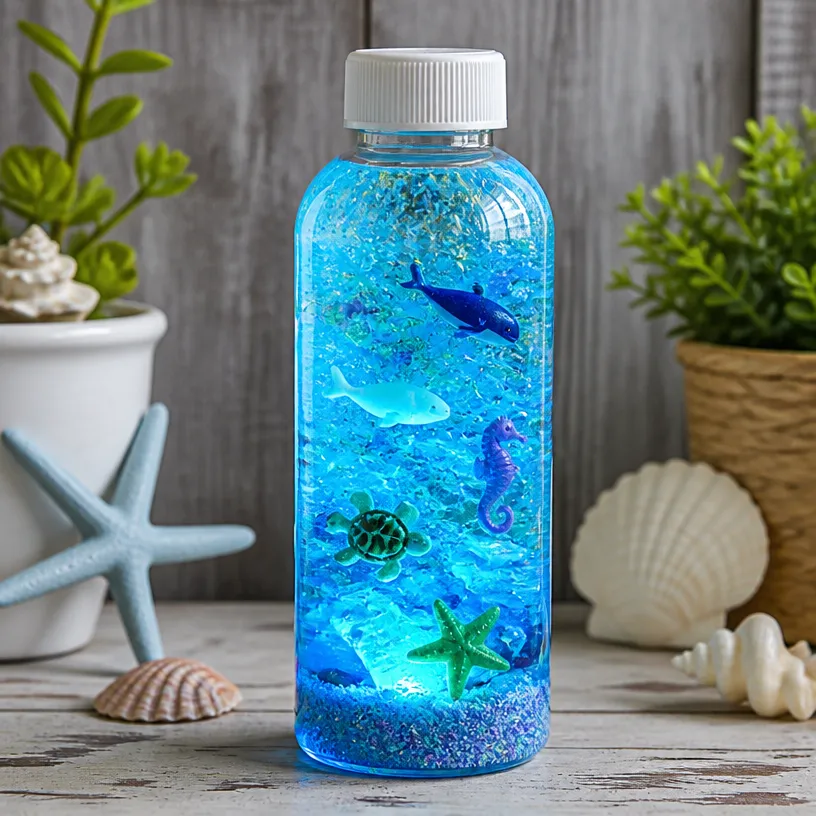
This enchanting project can be displayed on a shelf or in a window, making it an eye-catching addition to any room. The glow effect will be enhanced in a darker space, where the colors can shine through. If you’re curious about more craft ideas, look into making firefly bottle lights to enhance your glow collection.
Variations
Feel free to get creative with this project. You can change the colors, use different themes like a space bottle with stars, or even add different glitter shapes. You might also consider creating a themed cozy for your finished product. Check out how to make a cozy for a bouncy ball project here to spark your creativity.
FAQs
1. What should I do if my glow-in-the-dark paint is not glowing?
Make sure your paint is charged with light properly. If it still doesn’t glow well, consider adding more glow powder.
2. Can I use other colors besides blue and green?
Yes, you can experiment with other colors, but blue and green typically give a better ocean effect.
3. How long does it usually take to make this project?
Setting up the ocean bottle can take about 30 minutes, but allow some time for it to charge under light for optimal glow.
4. Can my kids help with this project?
Absolutely! Just supervise them when using small items or any sharp tools while assembling.
5. Will this glow last for a long time?
The glow will last for a few hours after charging. You can recharge it again by placing it back under light.
6. What are some substitutes for glow-in-the-dark paint?
You can use glow sticks or other phosphorescent materials, but keep in mind the final effect may vary.
Conclusion
Creating a glow-in-the-dark ocean discovery bottle can be an engaging and educational craft. For more exciting glow-in-the-dark ideas, check out this calming glow-in-the-dark ocean bottle that adds a serene touch to your space. Or if you’re interested in an adventurous activity, explore floating word discovery bottles that combine learning and fun!
Follow us on social for more DIY ideas & inspiration!
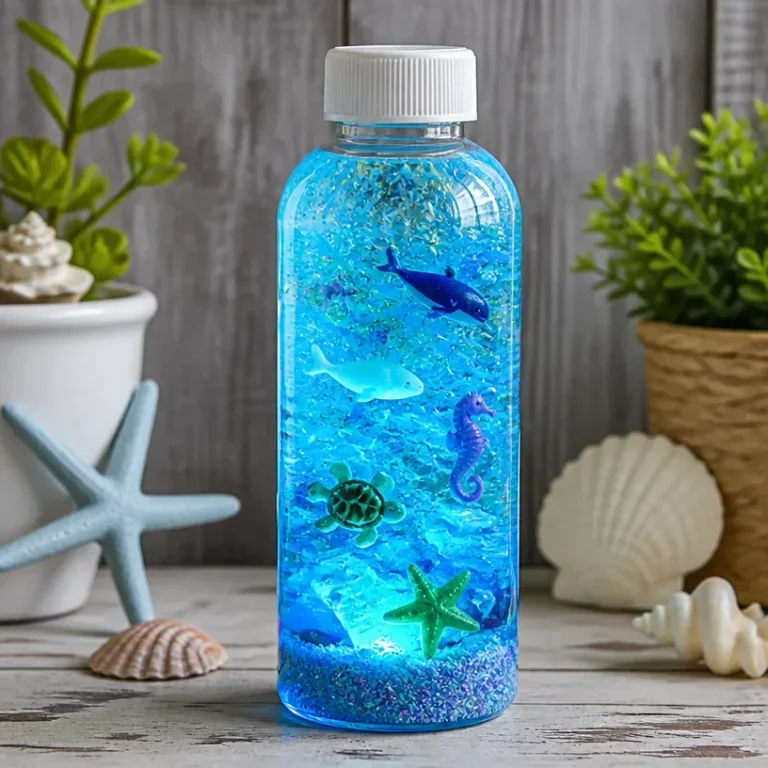
Glow-in-the-Dark Ocean Discovery Bottle
Would you like to save this project?
By submitting you agree to receive this project and occasional emails. Unsubscribe anytime.
Materials
Materials
- 1 bottle An empty plastic bottle with a cap Make sure the bottle is clean and dry.
- 1 pack Glow-in-the-dark paint or powder The more you add, the brighter the glow will be.
- 1/3 full Water This forms the base for your ocean.
- a few drops drops Blue and green food coloring These colors create the ocean effect.
- several pieces Small ocean-themed items (shells, toy fish, etc.) Choose any small objects you find fascinating.
- 1 unit A funnel For easy pouring of ingredients.
- 1 stick A mixing stick To stir the ingredients.
- optional amount Glitter For extra sparkle.
Directions
Preparation
- Begin by cleaning and drying your empty plastic bottle. Make sure there are no labels on it.
- Using a funnel, add water to your bottle, filling it about 1/3 full.
- Add your glow-in-the-dark paint or powder. Stir well with a mixing stick to ensure an even mixture.
- Drip in a few drops of blue and green food coloring and swirl to mix lightly.
- Carefully place your small ocean-themed items into the bottle.
- Fill the rest of the bottle with water, leaving a small air gap.
- Securely screw on the cap and consider hot gluing around the edge for extra security.
- Place your bottle near a light source to charge the glow-in-the-dark materials.
Last Step: Don’t forget to leave a rating and comment below! It helps other readers find the best DIY projects — and it helps us too!