Iridescent Rainbow Slime: Glow-In-The-Dark Monster Slime Guide You may also find Iridescent Rainbow Flower Vase Holographic Decor useful.
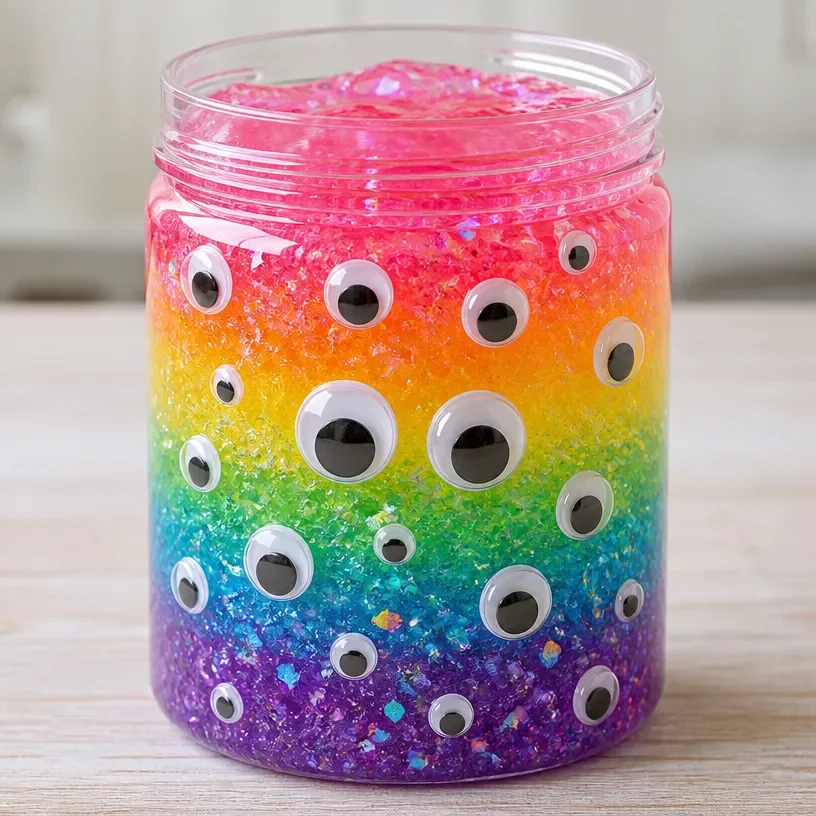
Creating Iridescent Rainbow Slime: Glow-In-The-Dark Monster Slime will transform your crafting experience by introducing vibrant colors and an exciting texture. This slime will not only glow in the dark but will also shimmer with an iridescent finish that captures light beautifully. As you mix and mold, watch the slime change and come to life before your eyes. You may also find Rainbow Monster Pencil Holders useful.
What Makes This Work
This slime works due to the unique combination of ingredients that interact with each other to create a stretchy, fun substance. The glue provides the base, while the addition of protective agents helps it to maintain elasticity. When you utilize glowing elements, the slime can shine brightly, especially in dimmed environments. You may also find Iridescent Rainbow Flower Vase Holographic Home Decor useful.
To start this project, gather your materials from our craft supply guide. Ensuring your materials are ready before you begin will make the steps flow more smoothly.
Materials
Here’s what you will need: You may also find Rainbow Cupcake Liner Halloween Monster Wreath useful.
- White school glue
- Borax
- Water
- Baking soda
- Glow-in-the-dark powder or paint
- Food coloring (optional)
- A mixing bowl
- A smaller bowl for the borax solution
- Measuring cups and spoons
Steps
Step 1: Prepare the Borax Solution
In a separate bowl, mix 1 teaspoon of borax with 1 cup of warm water until fully dissolved. The dissolved borax will help activate the glue, turning it into slime. Always handle the borax with care, and make sure an adult supervises children during this process.
Step 2: Combine the Base
In a mixing bowl, add 1 cup of white school glue and 1/2 cup of water. Stir until the mixture is uniform. The glue provides the needed stickiness, while the water adjusts its thickness. When the mixture is smooth, check for any lumps.
Step 3: Add Color and Glow
Stir in a teaspoon of baking soda to the glue mixture for a thicker texture. This ingredient is key to ensuring the slime becomes stretchy. Next, add a few scoops of glow-in-the-dark powder and any food coloring you desire. Watch as the color blends into the glue, shifting the slime to a vibrant hue.
Step 4: Mix Together
Now, slowly pour the borax solution into the glue mixture, stirring constantly. The slime will start to pull away from the sides of the bowl. You’ll feel the consistency change; it should be tacky at first but will become more solid.
Step 5: Knead the Slime
Once you can handle the slime, take it out and knead it with your hands. This action introduces air and helps in developing elasticity. As you knead, you may notice the slime becoming less sticky; that’s what you want to achieve!
Step 6: What to Look For
Check for a smooth, non-tacky surface. If you still feel stickiness, add a tiny bit of your borax solution while kneading again. Adjusting the consistency often will ensure a glassy finish.
What Goes Wrong and How to Fix It
If your slime is too runny, this could indicate insufficient borax was added. You can fix this by gradually adding more of the borax solution and kneading until the right texture is achieved. If the slime is too tough, it means too much borax was used. Mix in a little warm water to soften it.
Where to Display It
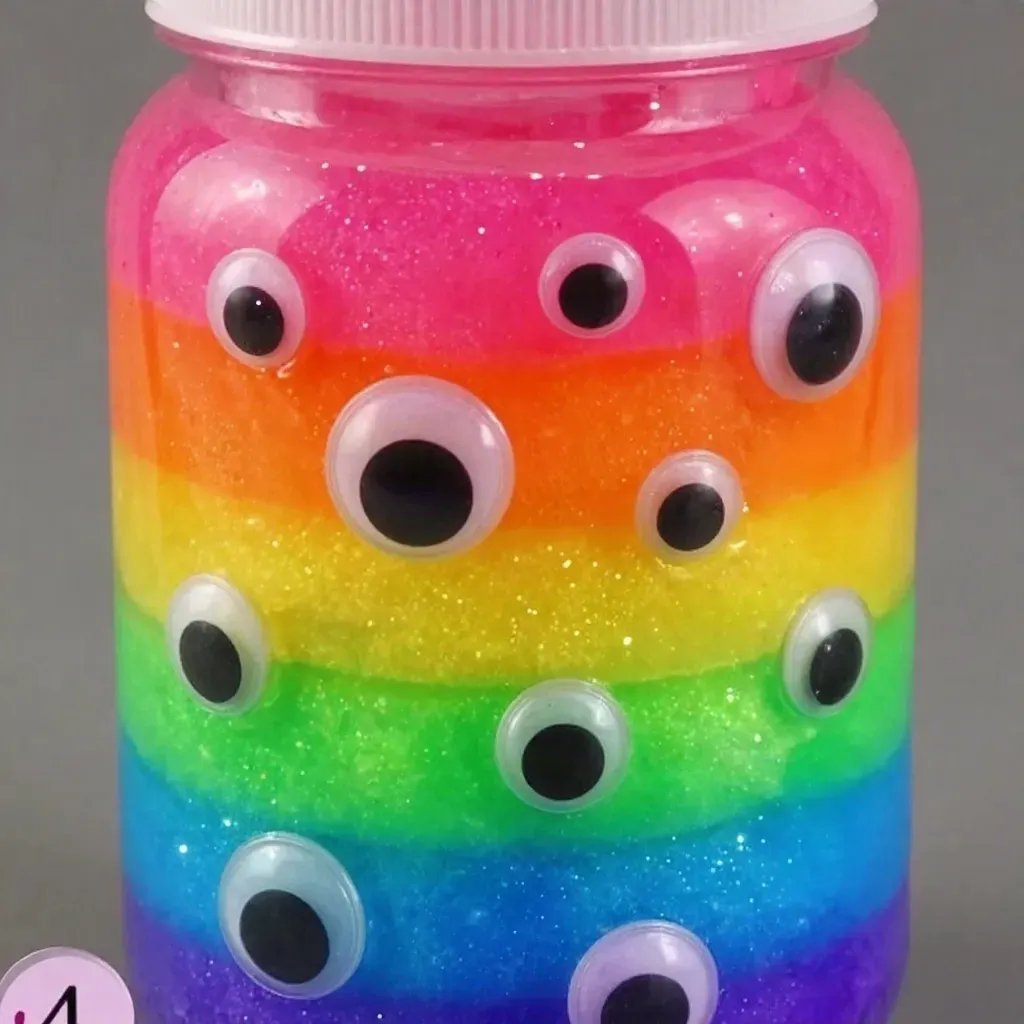
Once completed, you might want to showcase your slime creation. Store the slime in an airtight container to maintain its glow and texture. Consider placing it in a clear jar with a lid, allowing the iridescent colors to shine. This can also serve as a decorative piece on your desk or a fun project for a holographic home decor display.
Variations
To add a unique twist to your slime, consider the following variations:
- Use different color combinations for a marbled effect.
- Experiment with various glow-in-the-dark products; some are more vibrant than others.
- Incorporate fun textures by adding small foam balls or glitter.
These variations can produce a range of slime types that look great in your DIY projects.
FAQs
How do I make slime without borax?
You can substitute the borax with alternatives like liquid starch or laundry detergent. Mix equal parts of glue and your chosen alternative while following the same blending steps.
Why did my slime not glow?
Insufficient glow-in-the-dark powder can result in a lackluster glow. Ensure you have enough product mixed in and let the slime charge under a light source before testing its brightness.
How do I prevent my slime from drying out?
To keep your slime looking fresh, always store it in a sealed container. A little baby oil or Vaseline can also be added if you notice it begins to dry out.
How long does this slime last?
When stored properly in an airtight container, the slime can last for several weeks. If it shows signs of drying or hardening, add a few drops of warm water and knead it back to life.
Can kids help make this slime?
Absolutely! This project is perfect for children, especially when an adult is supervising. Kids will love getting involved in the color selection and mixing.
What can I do if my slime is too sticky?
If the slime remains sticky after following the steps, it likely requires more borax solution. Just follow the final steps to knead it until you achieve your desired texture.
Conclusion
Creating Iridescent Rainbow Slime: Glow-In-The-Dark Monster Slime provides a fun and colorful activity that families can enjoy together. For more creative projects, check out this Halloween Rainbow Slime craft activity guide and the Galaxy Monster Tutorial by LusentSoul for even more crafty inspiration!
Follow us on social for more DIY ideas & inspiration!
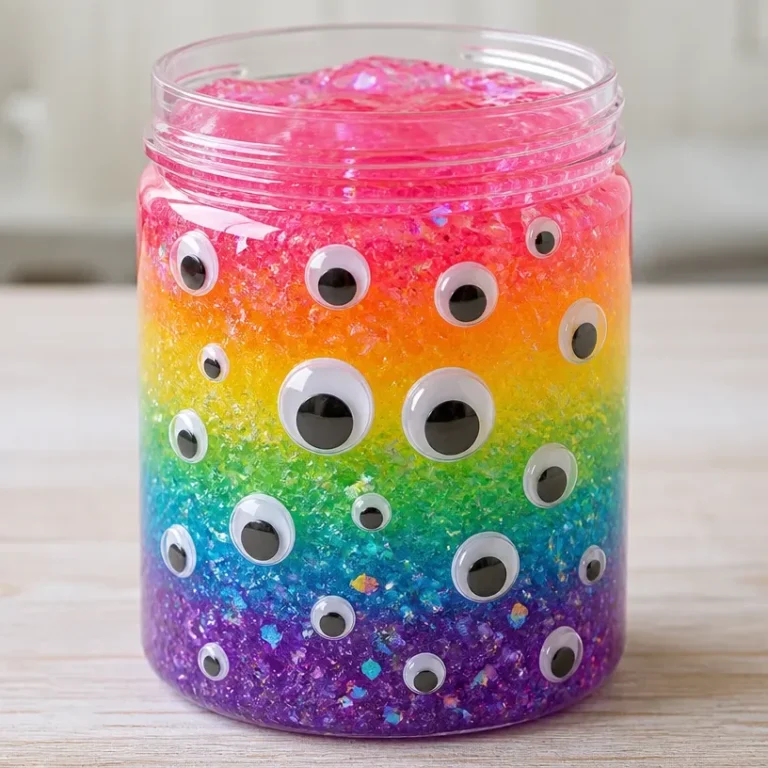
Iridescent Rainbow Slime
Would you like to save this project?
By submitting you agree to receive this project and occasional emails. Unsubscribe anytime.
Materials
Slime Base Ingredients
- 1 cup white school glue Provides the sticky base for the slime.
- 1/2 cup water Used to adjust the thickness of the glue.
- 1 teaspoon baking soda Helps achieve a thicker texture.
- to taste scoops glow-in-the-dark powder or paint The key ingredient for the glow effect.
- optional food coloring Used to color the slime as desired.
Borax Solution Ingredients
- 1 teaspoon borax Will activate the glue to form slime.
- 1 cup warm water Used to dissolve the borax.
Tools Required
- 1 mixing bowl For combining glue and water.
- 1 smaller bowl For the borax solution.
- 1 set each measuring cups and spoons For accurate measurement of ingredients.
Directions
Preparation
- In a separate bowl, mix 1 teaspoon of borax with 1 cup of warm water until fully dissolved.
- In a mixing bowl, combine 1 cup of white school glue and 1/2 cup of water. Stir until smooth.
Combine Ingredients
- Add 1 teaspoon of baking soda to the glue mixture and stir to combine.
- Add scoops of glow-in-the-dark powder and food coloring as desired. Mix until well blended.
Mix and Knead
- Slowly pour the borax solution into the glue mixture while stirring constantly.
- Once the slime starts to form and pull away from the sides, take it out and knead with your hands.
- Knead until the slime reaches a non-tacky, smooth texture.
Final Touch
- If the slime is too sticky, add more borax solution while kneading.
- Store the slime in an airtight container or clear jar with a lid to maintain its glow.
Last Step: Don’t forget to leave a rating and comment below! It helps other readers find the best DIY projects — and it helps us too!