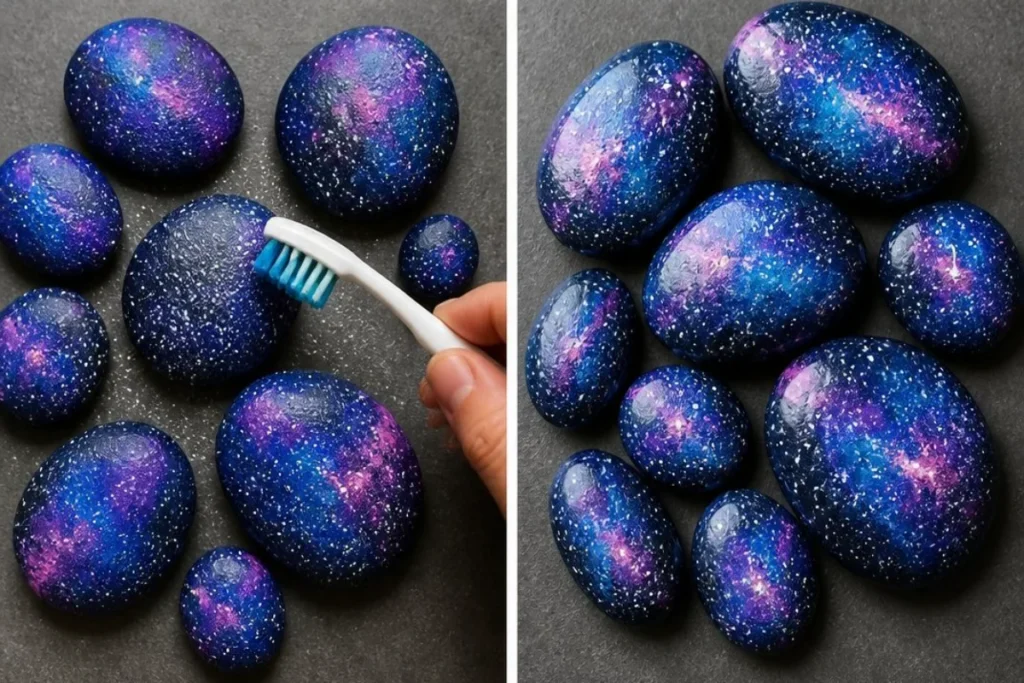
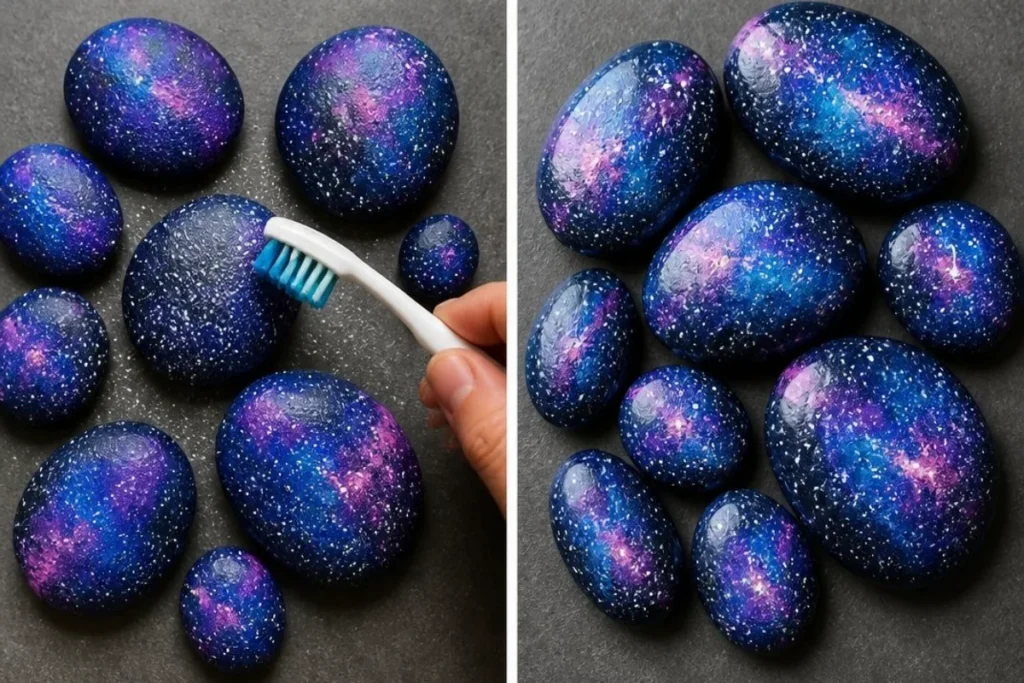
Galaxy Painted Pebbles transform ordinary smooth stones into stunning decorative pieces that resemble a galaxy. The vivid colors and unique textures bring these stones to life, making them perfect for display in homes or gardens. As you create these delightful crafts, you’ll notice how the colors blend and change, creating a magical effect that captures the beauty of the universe. You may also find Baking Soda Painted Easter Eggs useful.
What Makes This Work
This project combines simple painting techniques to achieve a cosmic look. Each layer of colors adds depth and texture, giving the illusion of stars and swirling nebulae. By starting with a dark base coat, you provide a solid foundation that makes the colors pop. The key is in the layering each step reveals more beauty as the project progresses. You may also find Galaxy Crystal Seashells Diy useful.
Materials
To create your Galaxy Painted Pebbles, gather the following materials: You may also find Galaxy Crystal Seashells Sparkling Colors useful.
- Smooth stones
- Black or navy acrylic paint
- Purple acrylic paint
- Blue acrylic paint
- Pink acrylic paint
- White acrylic paint
- Sponge
- Toothbrush
- Clear sealer
Once you have these materials, you’re ready to start your cosmic journey. Ensure that each item is clean and ready for use to get the best results.
Steps
Starting your Galaxy Painted Pebbles is easy and fun. Follow these steps for great results.
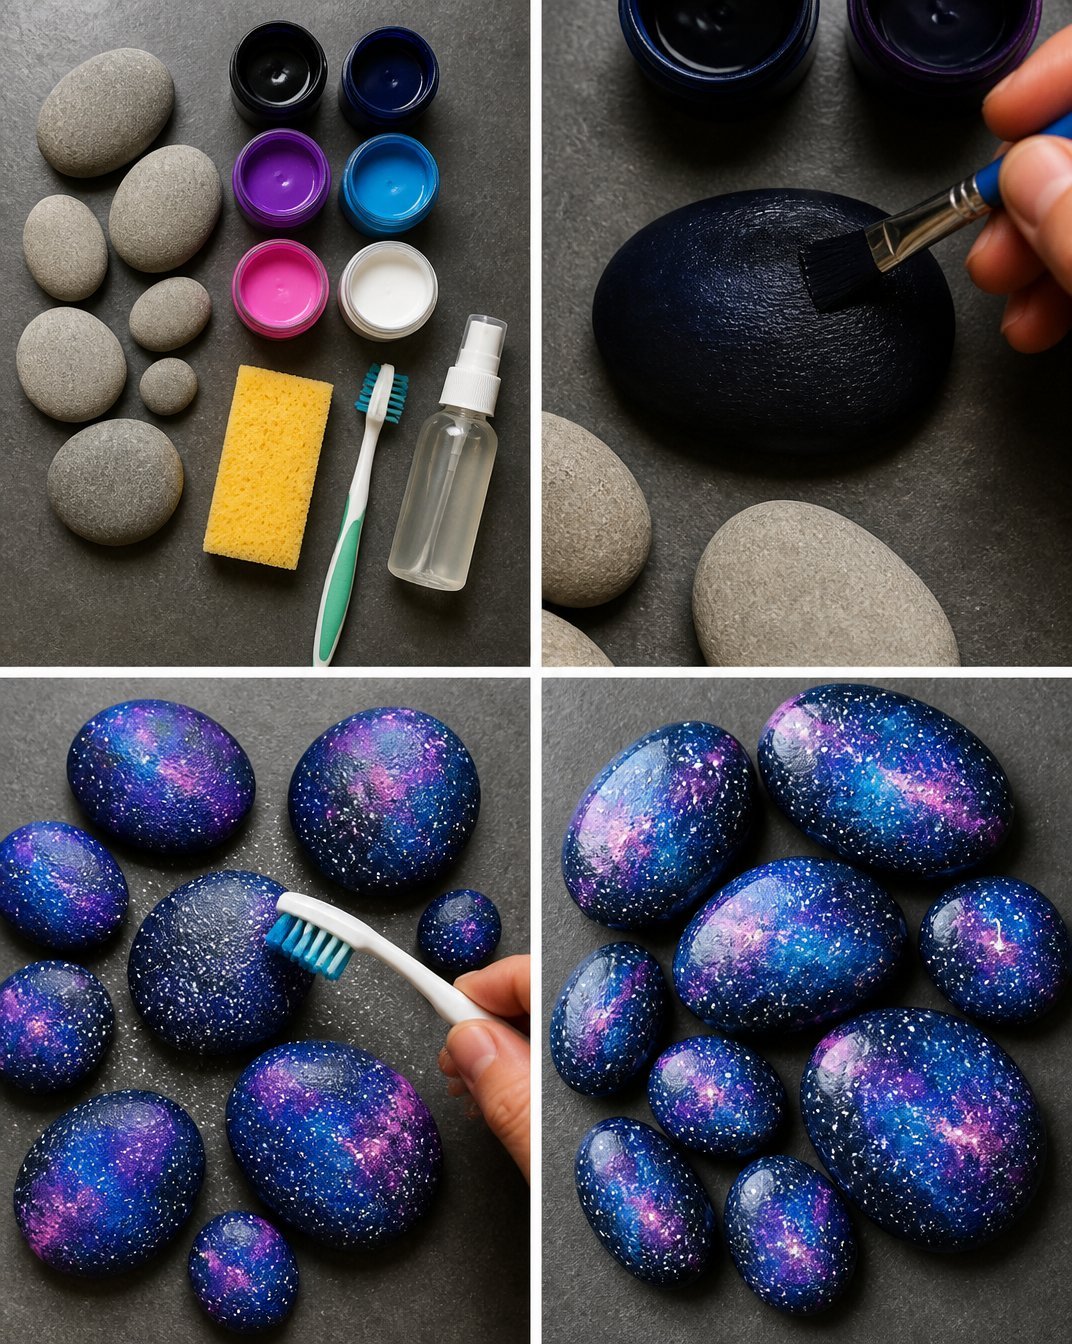
Start by painting the stones with dark paint and let them dry completely. The dark base establishes the depth of space. Look for a smooth, non-tacky surface before proceeding to the next step.
Use a sponge to dab on purple, blue, and pink patches gently. This step adds color and texture. The colors should blend together slightly, resembling galactic swirls. Ensure that the colors dry before moving on to the next step.
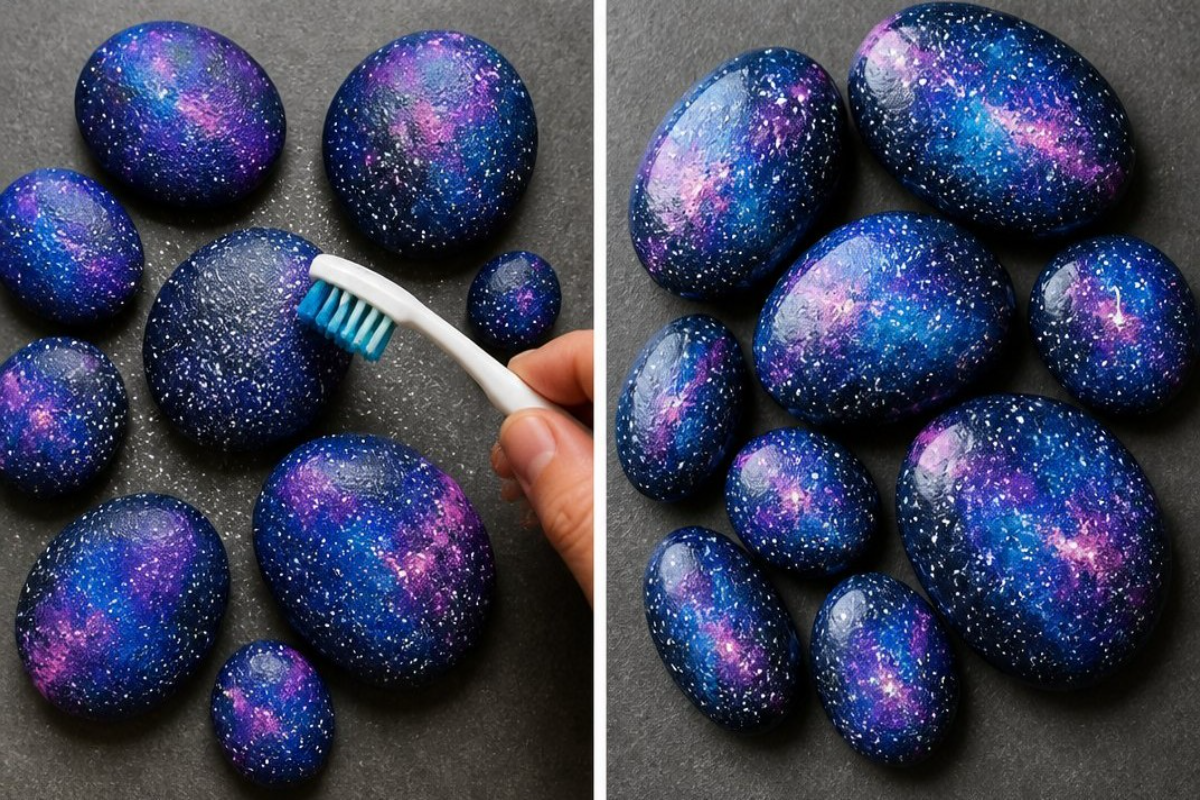
To add stars, flick tiny white paint with a toothbrush for a fun sprinkle effect. This technique mimics starry skies. The tiny dots of white create a sense of depth, transforming your stone into a celestial masterpiece.
With a fine brush, add a few larger stars, let everything dry, and then seal it for a beautiful finish. The larger stars stand out more prominently, enhancing the galactic effect. Once the paint is completely dry, applying a clear sealer protects your art and enhances its shine.
For more vibrant color inspiration, consider exploring other colorful DIY projects such as easy galaxy crystal seashells that can beautifully complement your pebbles.
What Goes Wrong and How to Fix It
Sometimes, the colors might mix more than expected, leading to muddy results. If this happens, you can either let the layer dry completely before adding new colors or carefully wipe it off and start again. If your stars aren’t as noticeable, adding a second layer of white paint can help them stand out more.
Where to Display It
Once you’ve completed your Galaxy Painted Pebbles, find the perfect spot to showcase them. Consider displaying them on shelves, garden paths, or as centerpieces on tables. Their sparkly appearance catches the light beautifully, whether indoors or outdoors. They work great as decorative accents or unique gifts.
Variations
Explore variations of this project by experimenting with different colors or using larger stones. You could create a series of pebbles, each resembling a different galaxy by varying the color combinations. For those looking for other galaxy-inspired crafts, check out this guide on galaxy crystal seashells to further inspire your creativity.
FAQs
Can I use other types of paint?
Yes, you can use other acrylic paints, but ensure they dry well and adhere properly to the stones.
How long will these painted stones last?
With proper sealing and care, these painted stones can last a long time. The sealant helps protect the paint from the elements.
Can kids help with this project?
Absolutely! Galaxy painted pebbles are a fun project for kids under adult supervision. Ensure that they handle materials safely.
What if I don’t have a clear sealer?
If you cannot find a clear sealer, you can use a clear varnish or spray as an alternative to protect your artwork.
Help! My colors are too dark!
If the colors appear too dark, try adding lighter shades during the layering process. More white paint for stars can also brighten overall appearance.
How should I clean my pebbles before painting?
Simply wash your pebbles with soap and water to remove any dirt or dust. Let them dry completely before starting your painting.
Conclusion
Making Galaxy Painted Pebbles is a delightful way to engage with creativity. For more insights into similar projects, you can check out how to make galaxy painted rocks for step-by-step instructions. If you’re looking for a quick alternative to traditional painting, explore how to make easy galaxy painted rocks (without painting!) for a fuss-free approach that the whole family can enjoy.
Follow us on social for more DIY ideas & inspiration!
Galaxy Painted Pebbles
Would you like to save this project?
By submitting you agree to receive this project and occasional emails. Unsubscribe anytime.
Materials
Crafting Materials
- 5 pieces Smooth stones Ensure they are clean and dry.
- 1 bottle Black or navy acrylic paint This is the base coat.
- 1 bottle Purple acrylic paint For adding galactic colors.
- 1 bottle Blue acrylic paint For adding galactic colors.
- 1 bottle Pink acrylic paint For adding galactic colors.
- 1 bottle White acrylic paint For creating stars.
- 1 piece Sponge For applying colors.
- 1 piece Toothbrush For flicking paint to create stars.
- 1 bottle Clear sealer To protect and finish the painted stones.
Directions
Preparation
- Start by painting the stones with dark paint and let them dry completely.
- Use a sponge to dab on purple, blue, and pink patches gently for a galactic swirl effect.
- Once the colors are blended and dry, flick tiny white paint using a toothbrush to add stars.
- With a fine brush, add larger stars, let everything dry, and then apply a clear sealer.
Last Step: Don’t forget to leave a rating and comment below! It helps other readers find the best DIY projects — and it helps us too!