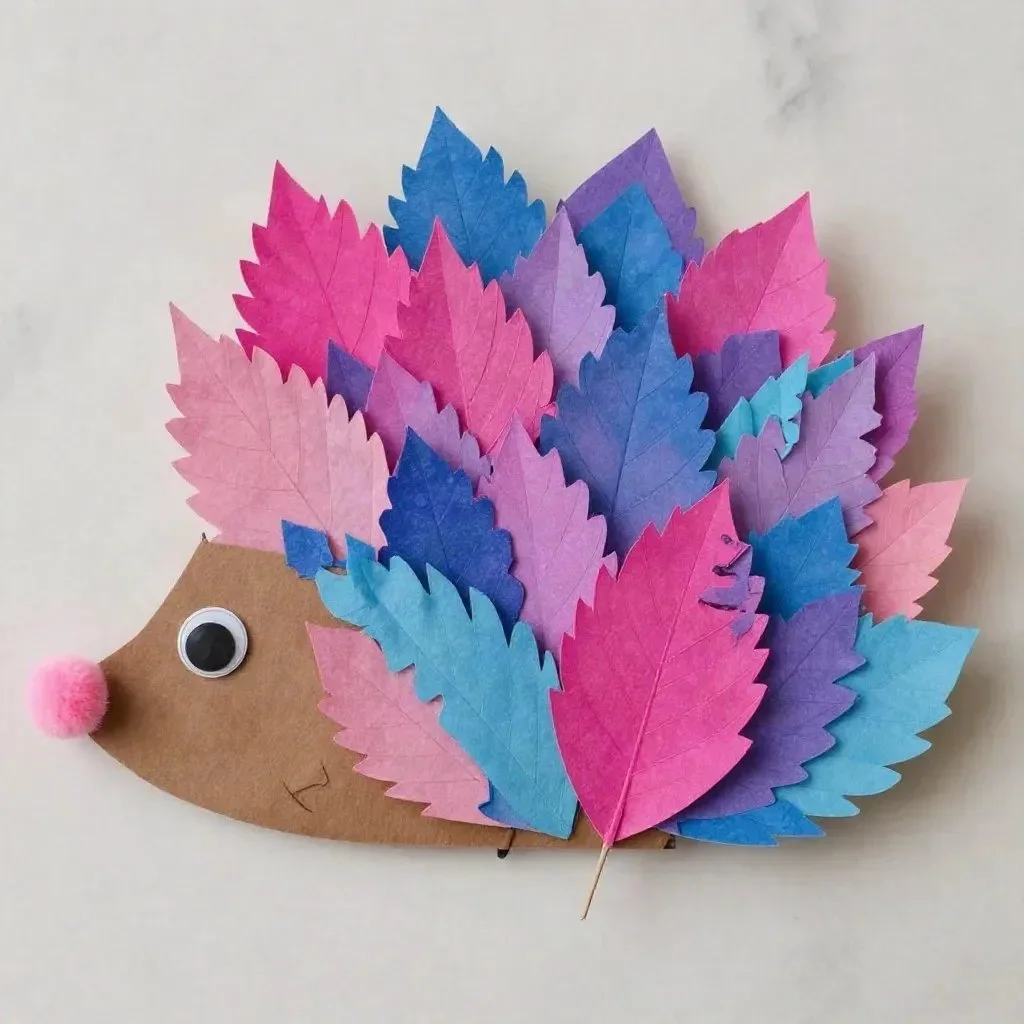
The vibrant colors of the Rainbow Watercolor Leaf Hedgehog Craft for Kids create a delightful transformation that captures attention. This project showcases how simple materials can yield a beautiful piece of art for your home. The process of painting leaves and arranging them into a hedgehog shape delivers a fun hands-on experience, allowing kids to explore colors and textures. You may also find Baking Soda Rainbow Crystal Forest Rainbow Crystals useful.
Materials
For this colorful craft, gather the following supplies: You may also find Diy Flowers Salt Painting For Kids Cozy useful.
- Cardstock
- Leaves
- Rainbow/pink/blue watercolor
- Brown cardstock
- Googly eyes or crafted eyes
- Pom-pom
- Glue
Make sure to select a variety of leaves to create interesting textures and shapes for your hedgehog.
Steps
Paint the Leaves
Start by painting each leaf with rainbow, pink, or blue watercolor paint. Ensure that every leaf is covered and allow them to dry completely. The wet paint will appear darker, so watch for the moment they look vibrant before they dry.Arrange the Leaves
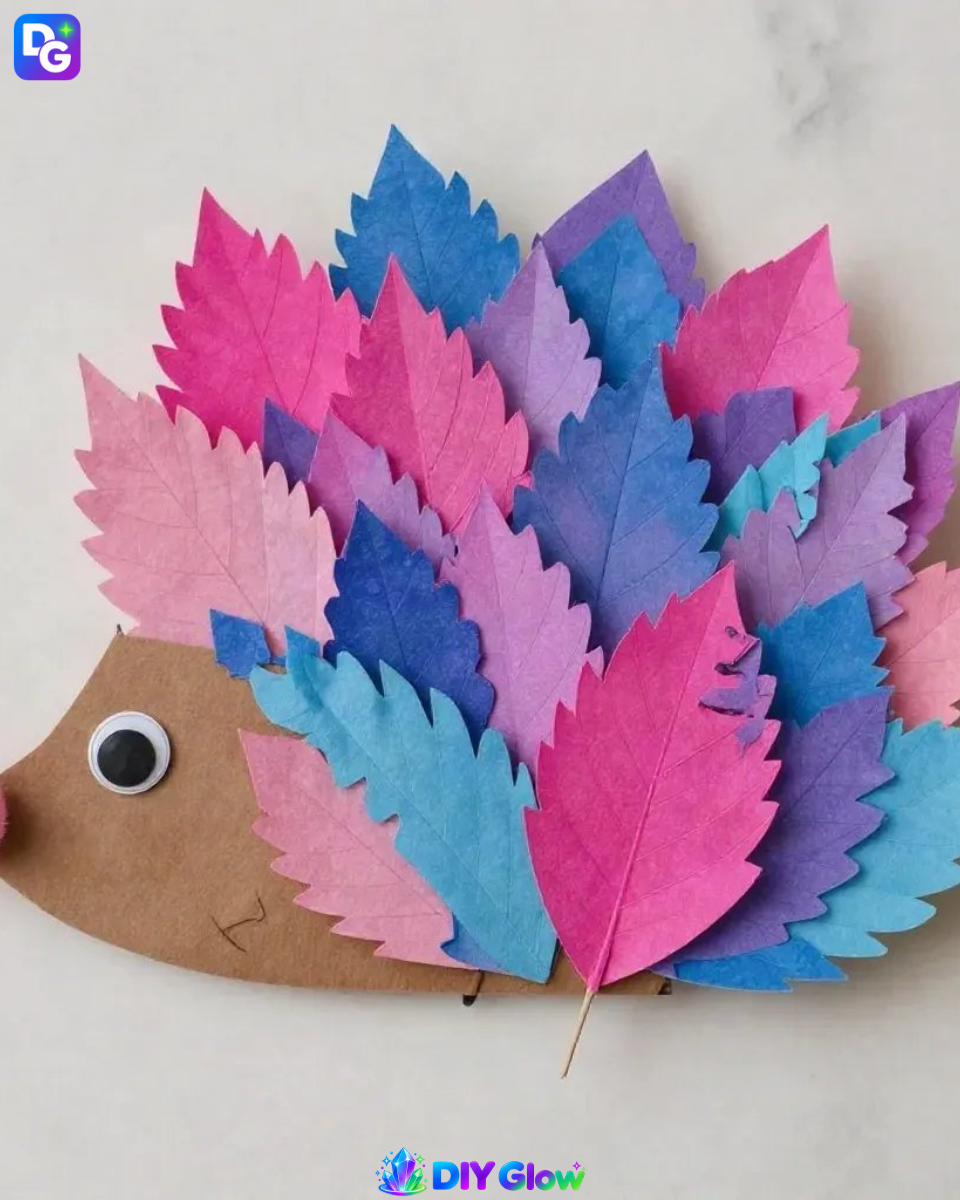
Once dry, use the leaves as spikes and arrange them on a sturdy piece of cardstock cut into a hedgehog shape. Look for the way the leaves catch light, adding a sparkle to your artwork.Create the Body
Cut out a larger piece of brown cardstock for the hedgehog’s body and secure it under the leaves. The brown color contrasts beautifully with the colorful spikes, making the hedgehog stand out.Final Touches
Affix a pom-pom for the nose and glue on a googly eye or create one from cardstock. This adds character to your hedgehog, giving it life with just a few final details.
When working on this craft, it’s essential to make sure children are supervised while using glue and scissors. This hands-on activity encourages art exploration while providing a fun learning experience.
What Goes Wrong and How to Fix It
Sometimes, the leaves may not stick properly to the cardstock or might curl. If this happens, apply more glue and press them down firmly. Additionally, if the watercolor paint runs due to excessive wetness, let the leaves dry completely before applying too much glue. Small issues can often lead to unique designs!
Where to Display It
This colorful hedgehog makes a wonderful display piece for a shelf or a window. The vibrant colors can enhance the beauty of any room. Consider placing it in a child’s room or on a family gallery wall. If you’re looking for inspiration for more colorful crafts, check out this fun flower salt painting project.
Variations
You can switch up the colors used to paint the leaves based on the season. Try warm autumn colors for a fall theme or bright pastels for spring. You could also create a series by making different animals using the same method, like a turtle or a fish. For a unique twist, kids can use these painted leaves in a craft that incorporates baking soda and vinegar for a refreshing science experiment in their next project! Explore the details here: Baking Soda Rainbow Crystals.
FAQs
What if my leaves don’t hold the paint well?
If the leaves don’t hold the paint as expected, try using a thicker brush or more paint on the leaves. Alternatively, using less water in the paint will help with color retention.
How long will the hedgehog last?
The hedgehog can last for years if it is kept in a dry place away from direct sunlight. If displayed in a moist environment, it may degrade more quickly.
Can I use other materials instead of cardstock?
Yes! You can use other sturdy materials like thin cardboard or even heavy-duty paper. Be sure it can support the leaves securely.
How do I make more games with this craft?
To extend the fun beyond this project, involve children in making a story around the hedgehog or invite them to create a small habitat around it with more crafts. For more engaging activities, check out this bubble snake craft.
Is this project suitable for younger kids?
Yes, with adult supervision, younger kids can enjoy painting and arranging the leaves. Just ensure they are cautious with the glue and scissors.
How long does this take to complete?
The entire process, including drying time for the paint, can take around two to three hours. Planning breaks while waiting for paint to dry can enhance the experience!
Conclusion
Crafting the Rainbow Watercolor Leaf Hedgehog offers a creative way for families to bond over art. Emphasizing hands-on techniques encourages exploration and imagination in children, providing a joyful outlet for expression. To further expand your crafting adventures, check out this interesting wax and watercolor art project and explore various types of paper crafts for additional fun!
Follow us on social for more DIY ideas & inspiration!

Rainbow Watercolor Leaf Hedgehog
Would you like to save this project?
By submitting you agree to receive this project and occasional emails. Unsubscribe anytime.
Materials
Craft Materials
- 1 sheet Cardstock
- variety Leaves A selection of different leaves for texture
- various colors Rainbow/pink/blue watercolor
- 1 sheet Brown cardstock
- 1 Googly eyes or crafted eyes
- 1 Pom-pom
- as needed Glue Supervise children while using glue
Directions
Crafting Steps
- Start by painting each leaf with rainbow, pink, or blue watercolor paint. Ensure that every leaf is covered and allow them to dry completely.
- Once dry, arrange the leaves as spikes on a sturdy piece of cardstock cut into a hedgehog shape.
- Cut out a larger piece of brown cardstock for the hedgehog's body and secure it under the leaves.
- Affix a pom-pom for the nose and glue on a googly eye or create one from cardstock.
Troubleshooting
- If leaves do not stick properly, apply more glue and press down firmly.
- If watercolor runs, let the leaves dry completely before applying more glue.
Last Step: Don’t forget to leave a rating and comment below! It helps other readers find the best DIY projects — and it helps us too!