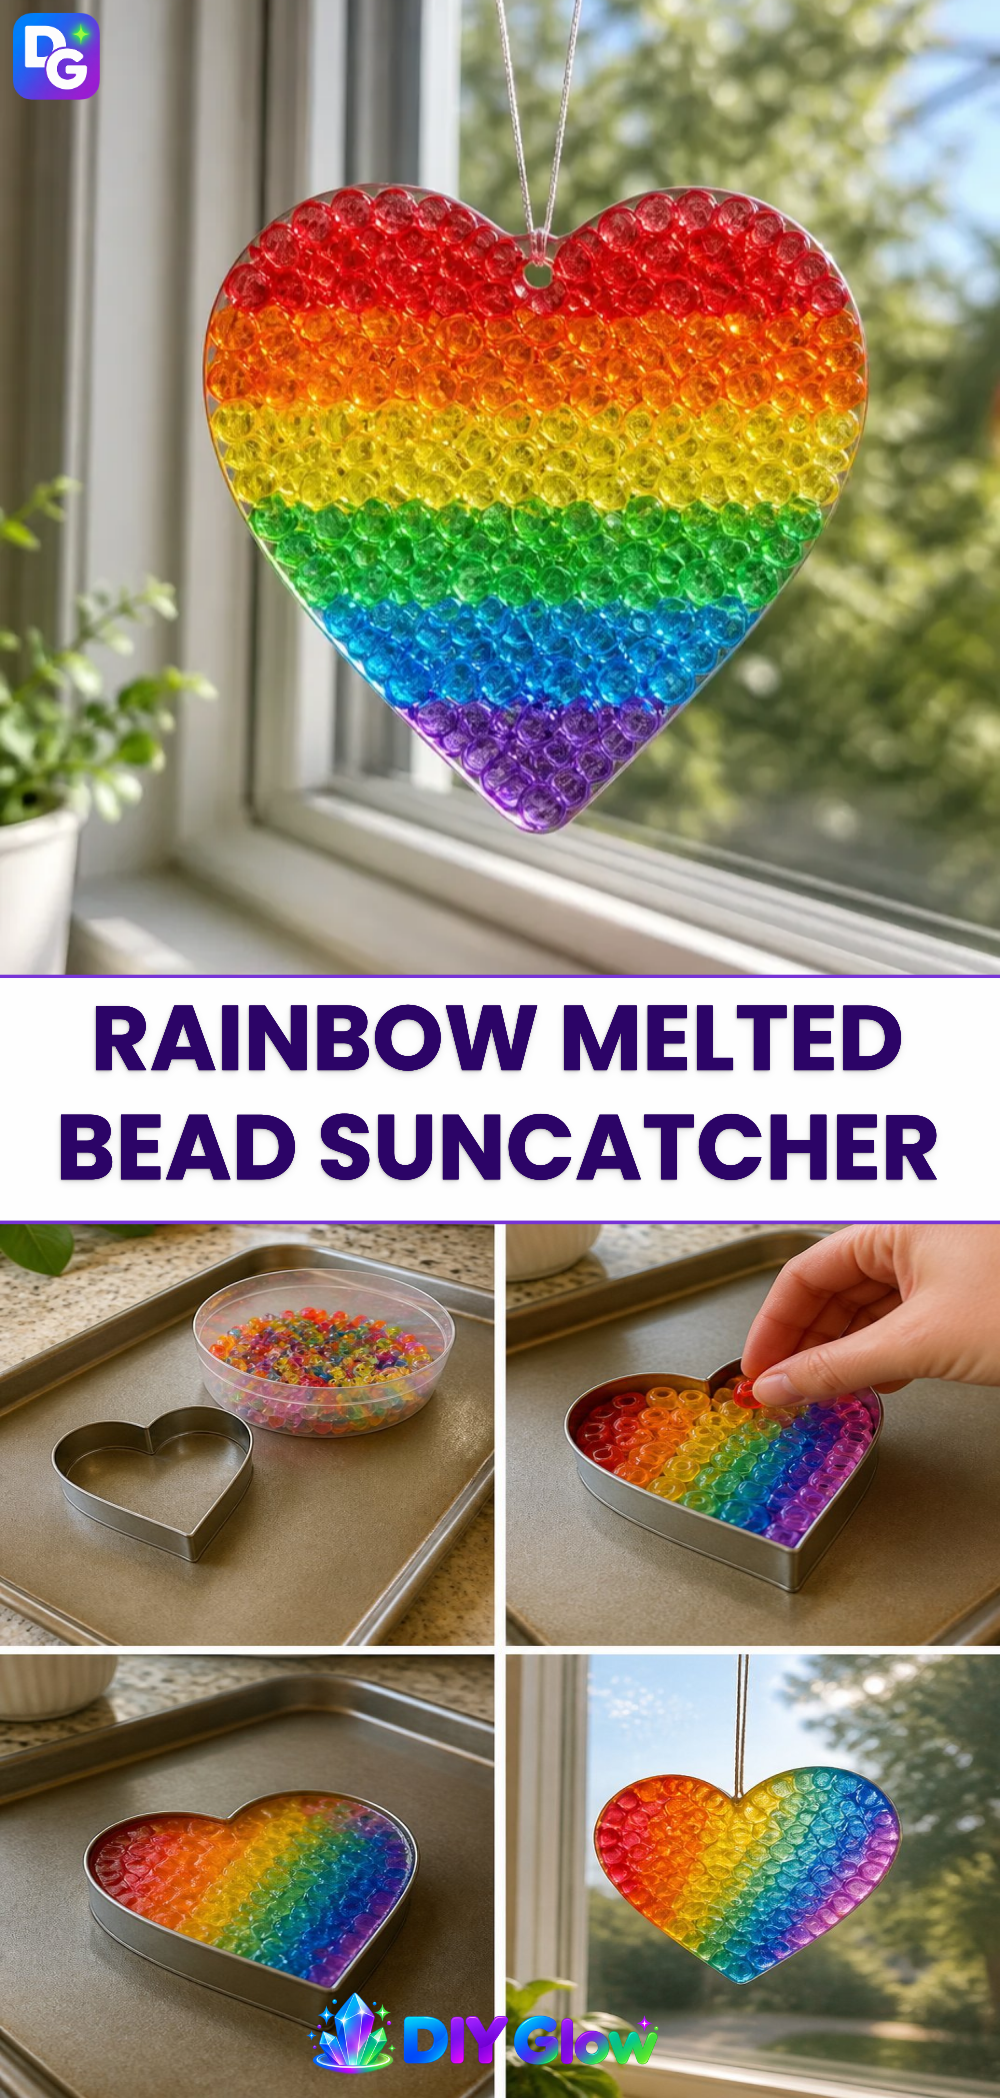
Creating a Rainbow Melted Bead Suncatcher is a delightful way to add a splash of color to any room. This project transforms simple materials into a vibrant piece that shines brightly when hung in a window. The melting beads create an array of patterns that catch the light, creating beautiful reflections. You may also find Melted Crayon Borax Pipe Cleaner Rainbow Heart Suncatcher useful.
What makes this work
When heated, beads made of plastic melt and fuse together, allowing them to take on fascinating shapes and designs. The key is to watch for the moment when the beads fully melt and mix together without burning. You may also find Borax Crystal Suncatcher Melted Crayon Mason Jar Rainbow useful.
Materials
To create your Rainbow Melted Bead Suncatcher, you will need the following materials: You may also find Diy Rainbow Crayon Melted Pumpkin Suncatcher useful.
- Plastic beads in various colors
- A muffin tin or other heat-safe mold
- Oven
- Baking sheet
- Parchment paper
- A string or ribbon for hanging
- Optional: sandpaper for smoothing edges
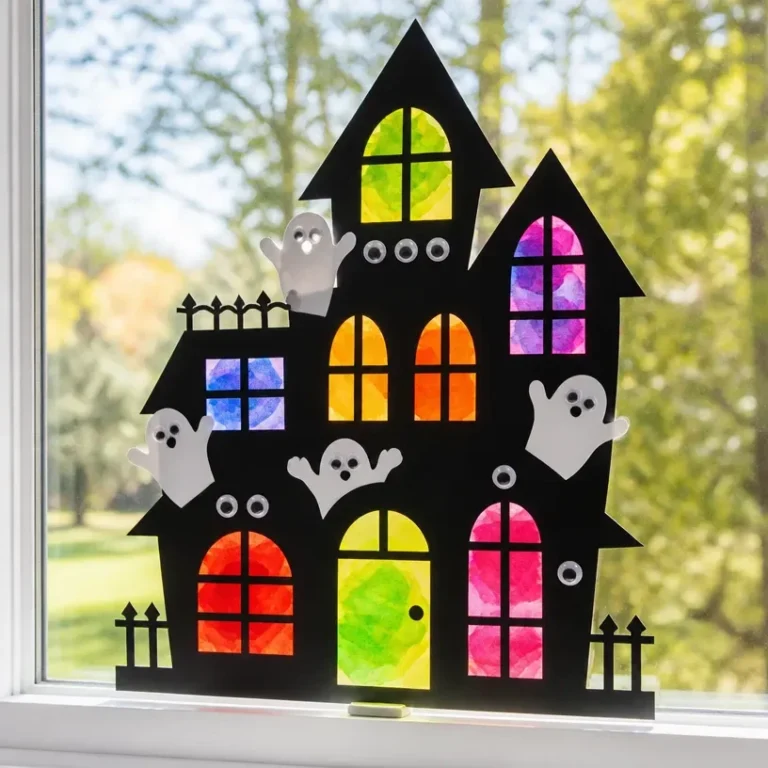
You may also find Melted Crayon Rainbow Haunted House Suncatcher useful.
Steps
Prepare Your Work Area: First, preheat your oven to 400°F (200°C). Next, lay parchment paper on a baking sheet to protect it from the melted plastic.
Arrange Your Beads: Use the muffin tin or mold to place the beads. Group the colors in a way that creates a gradient or rainbow effect. Press them down gently to ensure they are close together.
Melt the Beads: Carefully place the muffin tin in the oven and let the beads melt. This process usually takes about 15 to 20 minutes. Watch closely for the beads to completely melt and fill the spaces in the mold. If they bubble, remove them from the oven immediately.
Cool Down: Once the beads are fully melted and smooth, take them out of the oven and let them cool completely. They will harden as they cool.
Remove from Mold: Gently pop out your melted beads from the muffin tin. If any edges are sharp, use sandpaper to smooth them down.
Add a String: Finally, poke a small hole at the top of the suncatcher and thread a string or ribbon through it for hanging.
What goes wrong and how to fix it
Sometimes, beads may not melt evenly, resulting in uneven finishes. If this happens, you can reheat the project while checking closely for the melting process. If the beads burn, it’s best to start again with fresh beads.
Where to display it
Displaying your Rainbow Melted Bead Suncatcher is easy and rewarding. Hang it in a sunlit window where it can catch the light. You might also enjoy it in a child’s room or above a desk to add a touch of whimsy. For more ideas, check out another colorful project like the melted crayon butterfly suncatcher.

Variations
Consider experimenting with different shapes and sizes. For example, using cookie cutters instead of a muffin tin can create fun shapes, such as hearts or stars. Additionally, explore using clear or translucent beads alongside colored ones to see how they affect the light’s play on the suncatcher. Another idea is to incorporate elements from nature, like glitter or dried flowers, to make your design unique.
FAQs
How long does it take to make a Rainbow Melted Bead Suncatcher?
The entire process typically takes around 1 to 2 hours, including preparation, melting, and cooling time.
Can kids help with this project?
Yes, children can assist with sorting and placing the beads in the mold. However, they should not handle the hot oven or melted materials. An adult should always supervise to ensure safety.
What if my suncatcher doesn’t turn out as expected?
If your suncatcher doesn’t solidify properly, you may need to reheat it carefully. Monitor the melting closely to avoid burning.
Are there other materials I can use instead of plastic beads?
While traditional plastic beads work best, you can experiment with other materials like colored salt dough or melted crayons found in projects such as the heart suncatcher.
How should I care for my suncatcher?
To keep your suncatcher looking great, simply wipe it clean with a damp cloth. Avoid using harsh chemicals that might damage the surface.
Can I use different colored combinations?
Absolutely! Mixing and matching colors is part of the fun. You can create stunning designs by layering or grouping colors in various ways, so feel free to get creative.
Conclusion
Creating a Rainbow Melted Bead Suncatcher can spark creativity and brighten up your space. For more colorful projects, you might want to explore the Rainbow Melted Bead Salt Dough Suncatcher or check out other fun ideas at Fused Bead Rainbow Suncatchers. Enjoy the vibrant colors and the satisfaction of your lovely creation!
Follow us on social for more DIY ideas & inspiration!

Rainbow Melted Bead Suncatcher
Would you like to save this project?
By submitting you agree to receive this project and occasional emails. Unsubscribe anytime.
Materials
Materials
- 1 pack Plastic beads in various colors Choose a variety of colors for a rainbow effect.
- 1 mold Muffin tin or other heat-safe mold Can use silicone molds for easier popping out.
- 1 sheet Parchment paper Lay on baking sheet to protect from melted plastic.
- 1 piece String or ribbon for hanging Choose a color that complements your suncatcher.
- 1 optional Sandpaper For smoothing any sharp edges.
Directions
Preparation
- Preheat your oven to 400°F (200°C).
- Lay parchment paper on a baking sheet.
Molding
- Place the beads in the muffin tin, grouping colors to create a gradient effect.
- Press the beads down gently to ensure they stay close together.
Melting
- Carefully place the muffin tin in the oven.
- Let the beads melt for 15 to 20 minutes, watching closely.
- If the beads bubble, remove the tin immediately.
Cooling and Finishing
- Once melted, take the beads out and let them cool completely.
- Gently pop out the melted beads from the muffin tin.
- Use sandpaper to smooth down any sharp edges if necessary.
Hanging
- Poke a small hole at the top of the suncatcher.
- Thread a string or ribbon through the hole for hanging.
Last Step: Don’t forget to leave a rating and comment below! It helps other readers find the best DIY projects — and it helps us too!