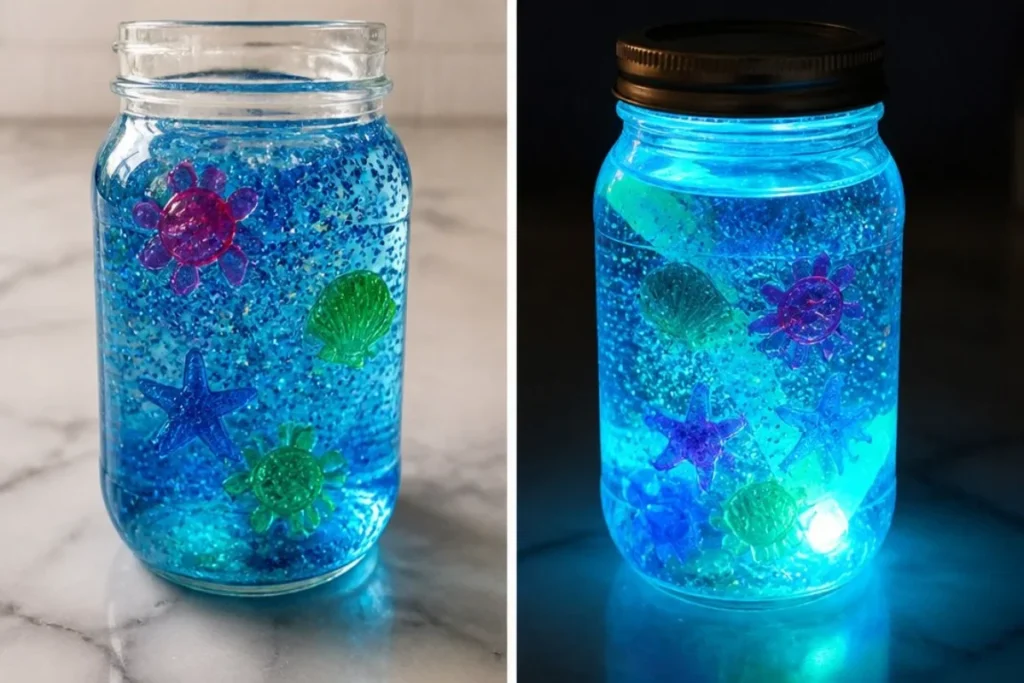
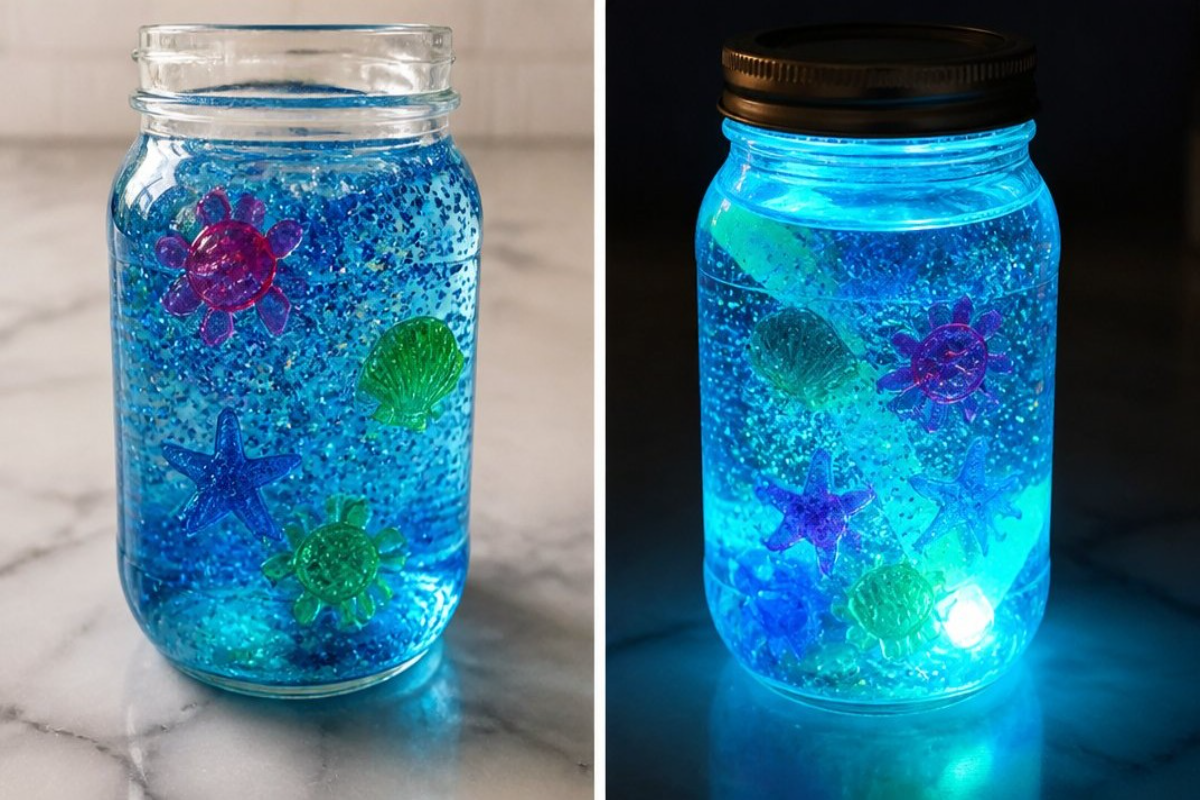
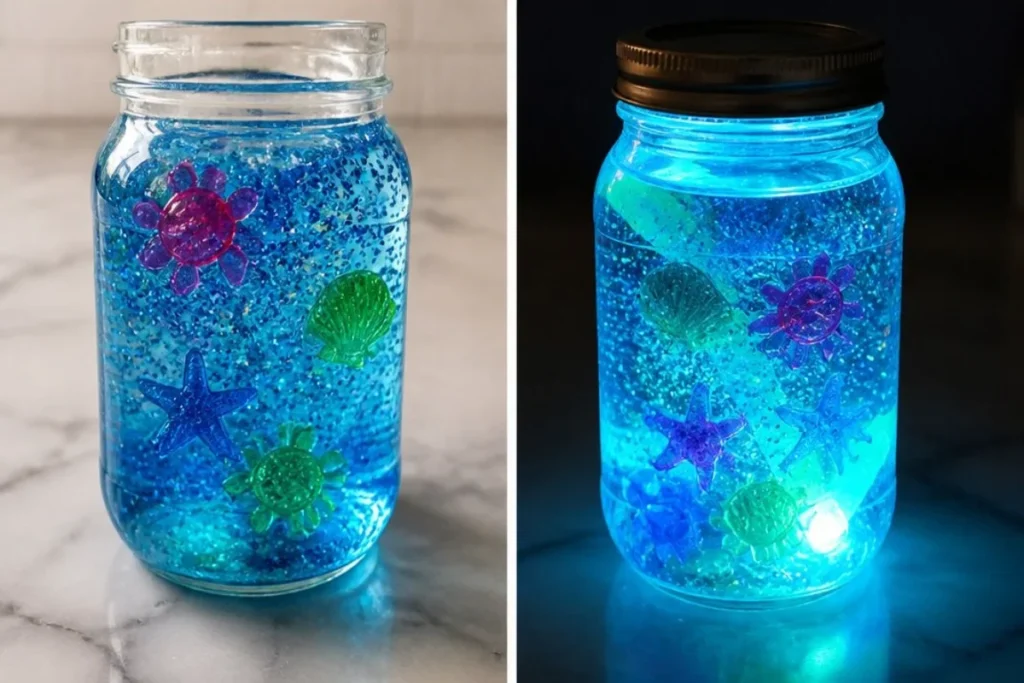
The Glowing Ocean Jar transforms under your hands, becoming a bright display of color and sparkles, perfect for lighting up a room or a playful, creative space. This project combines basic materials into a fun craft that showcases science and creativity, while resembling the beauty of the sea. The harmonious mix of colors, glitter, and light turns an ordinary jar into an impressive decoration. You may also find Diy Glowing Ocean Jar useful.
What Makes This Work
Creating a glowing ocean jar involves several materials that interact in interesting ways. When you mix water with clear gel or glycerin, you’ll see a change in texture, giving the jar a smooth, concentrated look that holds the colors well. The blue food coloring adds a beautiful hue representing the ocean, while glitter enhances the visual appeal by reflecting light. To make your jar glow, incorporating glow sticks or waterproof LED lights introduces fun, vibrant illumination. You may also find Glowing Ocean Jar Cozy useful.
Materials
- Clear jar with lid
- Water
- Blue food coloring
- Clear hair gel or glycerin
- Glitter
- Glow sticks or waterproof LED light
- Small plastic sea shapes
Before starting, it’s crucial to find a clean workspace to organize your materials effectively. This helps keep everything in order and makes the process smoother. You may also find Glowing Rainbow Potion Crystal Jar Enchanted Elixir useful.
Steps
- Gather your materials and find a clean workspace. Use this time to ensure you have everything at your fingertips.
- Fill the jar mostly with water, adding a bit of clear gel or glycerin. This mixture creates a smooth medium for the dye and glitter, making your final creation look fantastic.
- Mix in blue food coloring, glitter, and small sea shapes. The mixing process is where the magic happens. You will notice the color transforming the water and the glitter bringing a sparkly texture to it, mimicking the ocean’s surface.
- Place a glow stick or waterproof LED inside, close the jar tightly, and give it a gentle shake. This final step activates the glow of your creation. Watch as the colors and sparkles swirl together, creating an enchanting scene.
As you follow these steps, be careful while handling sharp objects or small parts, especially if children are involved. An adult should assist with placing the glow stick or LED to ensure safety. You may also find Glowing Rainbow Potion In Crystal Jar Enchanted Elixir useful.
What Goes Wrong and How to Fix It
Sometimes, craft projects may not turn out as expected. Common issues include the mixture being too thick or the colors not being vivid enough. If you find that your jar is too dense, adding more water can help achieve a better flow and visibility of the materials inside. If the colors are light, try adding a few more drops of food coloring. Remember, adjusting these elements is part of the creative process! You may also find 4Th Of July Fireworks Jar July Fireworks useful.
Another potential issue is glitter floating on the surface without fully distributing. If this happens, a gentle shake or stir after adding the ingredients should help evenly disperse it. You can always use different types of glitter to see which provides the most desired sparkle effect for your ocean jar.
Where to Display It
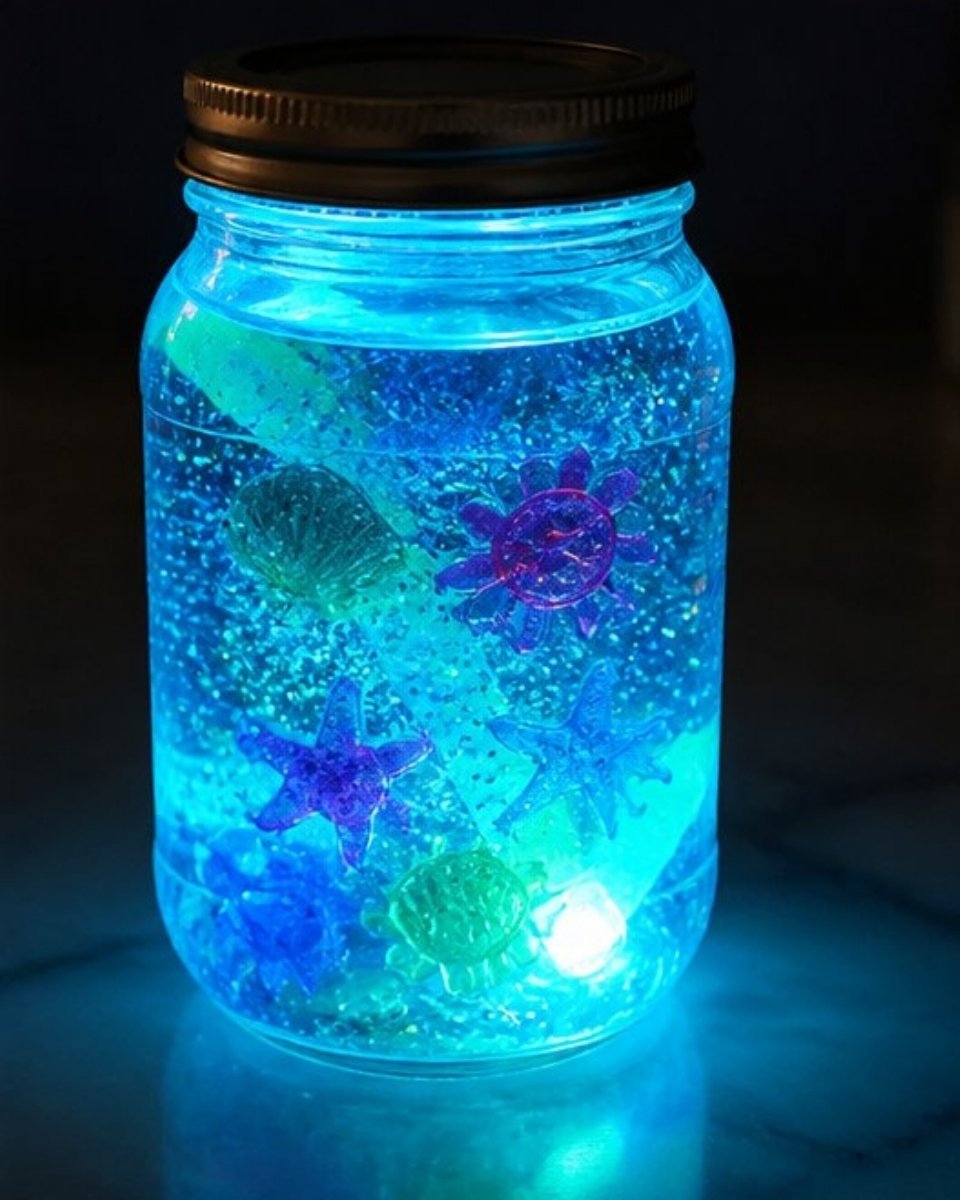
A glowing ocean jar can be a mesmerizing addition to various places in your home. It could sit on a child’s bedside table, giving off a soft light at night. You can also display it in a living room window to create a colorful light show at night. The sparkling effects can also be perfect for party decorations, providing an interactive centerpiece that fascinates guests.
When placing your jar, consider using a background that enhances its glow, such as placing it in front of a mirror or near other decorative lighting. This adds visual interest and makes the glow even more striking.
Variations
You can play around with different effects to create unique glowing ocean jars. For example, try using different color combinations for the food coloring to see how they transform the water. You may also experiment with different glitter shapes or sizes to change the way the light reflects inside the jar. Small seashells or sparkly stars might all add a delightful twist!
Additionally, if you want a themed jar, consider decorating the exterior of the jar with sea-inspired motifs using paint or markers. This adds another layer of creativity and customization to your project.
FAQs
How long does it take to make the glowing ocean jar?
Creating your glowing ocean jar can take about 30 minutes from start to finish. This includes gathering materials and letting any layers settle correctly.
Can I use different colors besides blue?
Absolutely! While blue gives an ocean feel, you can use any color for your project. Experiment with different hues to create a variety of aesthetic appearances.
What happens if the glow stick is too dim?
If your glow stick seems dim, it may not have been fully activated. Make sure to bend it carefully to ensure the chemicals inside mix well. Also, consider using a fresh glow stick for brighter results.
Why didn’t my glitter dissolve in the jar?
Usually, glitter won’t dissolve, but it should stay suspended. If it doesn’t mix well, try using a different type of glitter or adding a bit more gel to increase the weight of the mixture.
How can I make the jar glow brighter?
For a brighter glow, use multiple glow sticks or turn on the highest setting on a waterproof LED. You can also try placing the jar under direct light for a while before turning off the lights.
Are these materials safe for children?
Most materials used are safe, but adult supervision is recommended, especially when using small parts or sharp tools. Ensuring proper handling can keep every crafter safe.
Conclusion
Creating a glowing ocean jar offers a wonderful opportunity for families to bond through creativity and science. Each jar is a unique creation that blends imagination with color and light. To find more creative ideas, check out resources like this guide on luminous jars or explore the GloPals Sensory Under The Sea Glow Jar for additional inspiration. Enjoy the process and showcase your beautiful glowing ocean jar!
Follow us on social for more DIY ideas & inspiration!
Glowing Ocean Jar
Would you like to save this project?
By submitting you agree to receive this project and occasional emails. Unsubscribe anytime.
Materials
Main ingredients
- 1 jar Clear jar with lid Choose a size that fits your design.
- Water as needed Water Fill the jar mostly.
- 1 drop Blue food coloring Adjust to achieve desired color.
- 1 cup Clear hair gel or glycerin Helps create a smooth mixture.
- 1 tablespoon Glitter Add more for extra sparkle.
- 1 Glow sticks or waterproof LED light Choose based on brightness preference.
- as desired Small plastic sea shapes Enhances ocean theme.
Directions
Preparation and Mixing
- Gather your materials and find a clean workspace.
- Fill the jar mostly with water, adding a bit of clear gel or glycerin.
- Mix in blue food coloring, glitter, and small sea shapes.
- Place a glow stick or waterproof LED inside, close the jar tightly, and give it a gentle shake.
Last Step: Don’t forget to leave a rating and comment below! It helps other readers find the best DIY projects — and it helps us too!