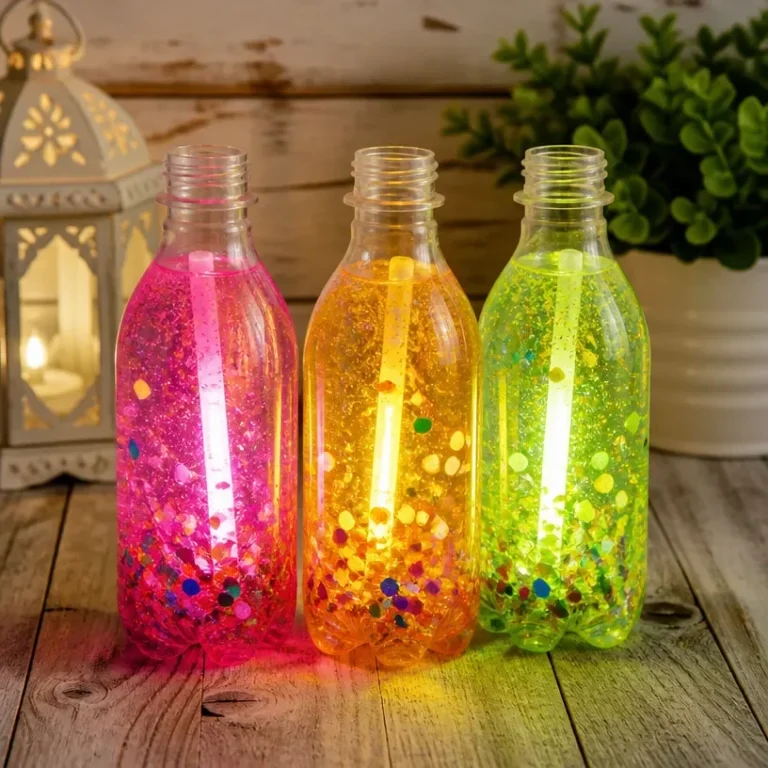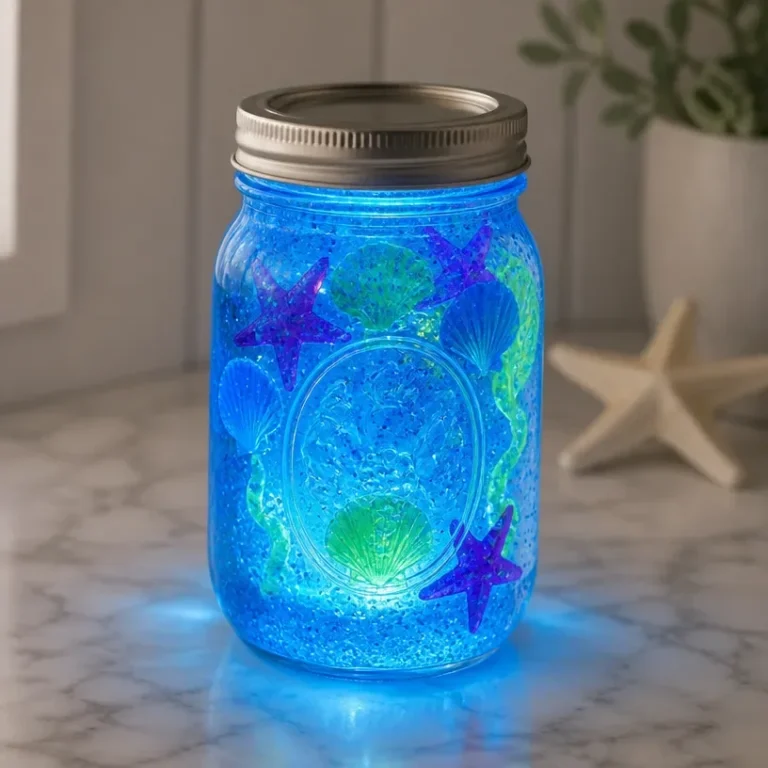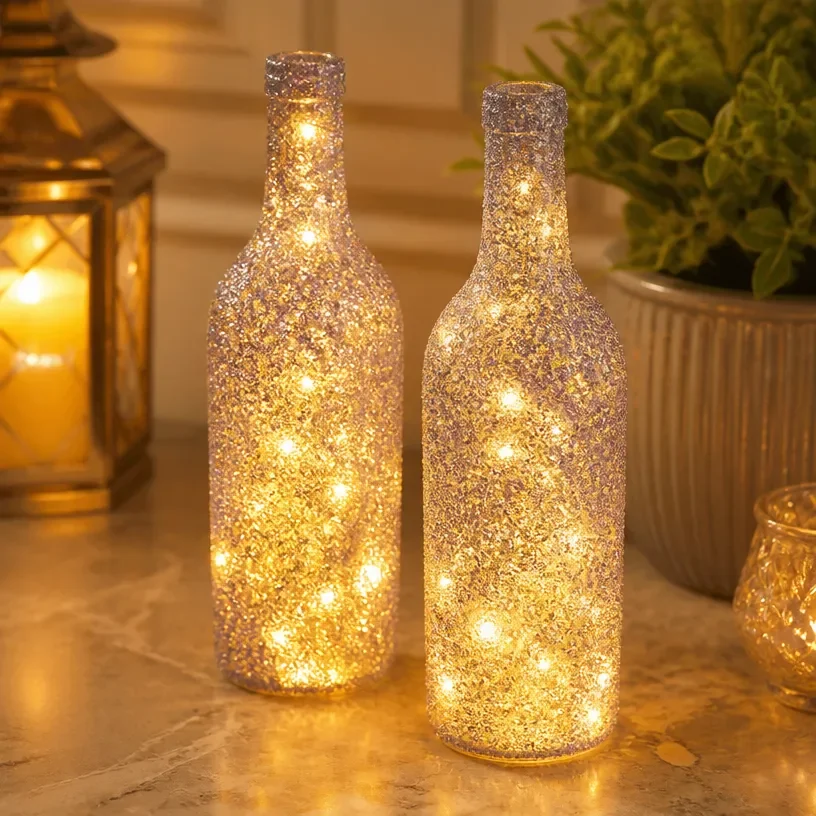
Glow Bottle Lanterns are captivating projects that can brighten up any space. As they shimmer on a shelf or in a window, they create a visually stunning experience. Making these lanterns can be simple and enjoyable, providing a fantastic opportunity to unleash creativity. In this article, you will learn the steps to create your own Glow Bottle Lantern, what materials are needed, and how to make it even more special. You may also find Diy Glowing Jellyfish Lanterns Cozy useful.
What Makes This Work
Glow Bottle Lanterns are designed using the properties of light and color. The combination of glowing materials with a vibrant container enhances the light’s effect. When finished, these lanterns can truly transform an ordinary room into a magical environment. You may also find Aurora Bottle Lantern Glowing Led Decor Light useful.
Materials
Before getting started, gather the following materials: You may also find Diy Glowing Jellyfish Lanterns Become Cozy useful.
- An empty glass or plastic bottle
- Non-toxic glow-in-the-dark paint or powder
- A paintbrush or sponge
- Water
- Optional: glitter, beads, or other decorative items
Make sure to have a clean working space and wear gloves if necessary, especially when using paint.
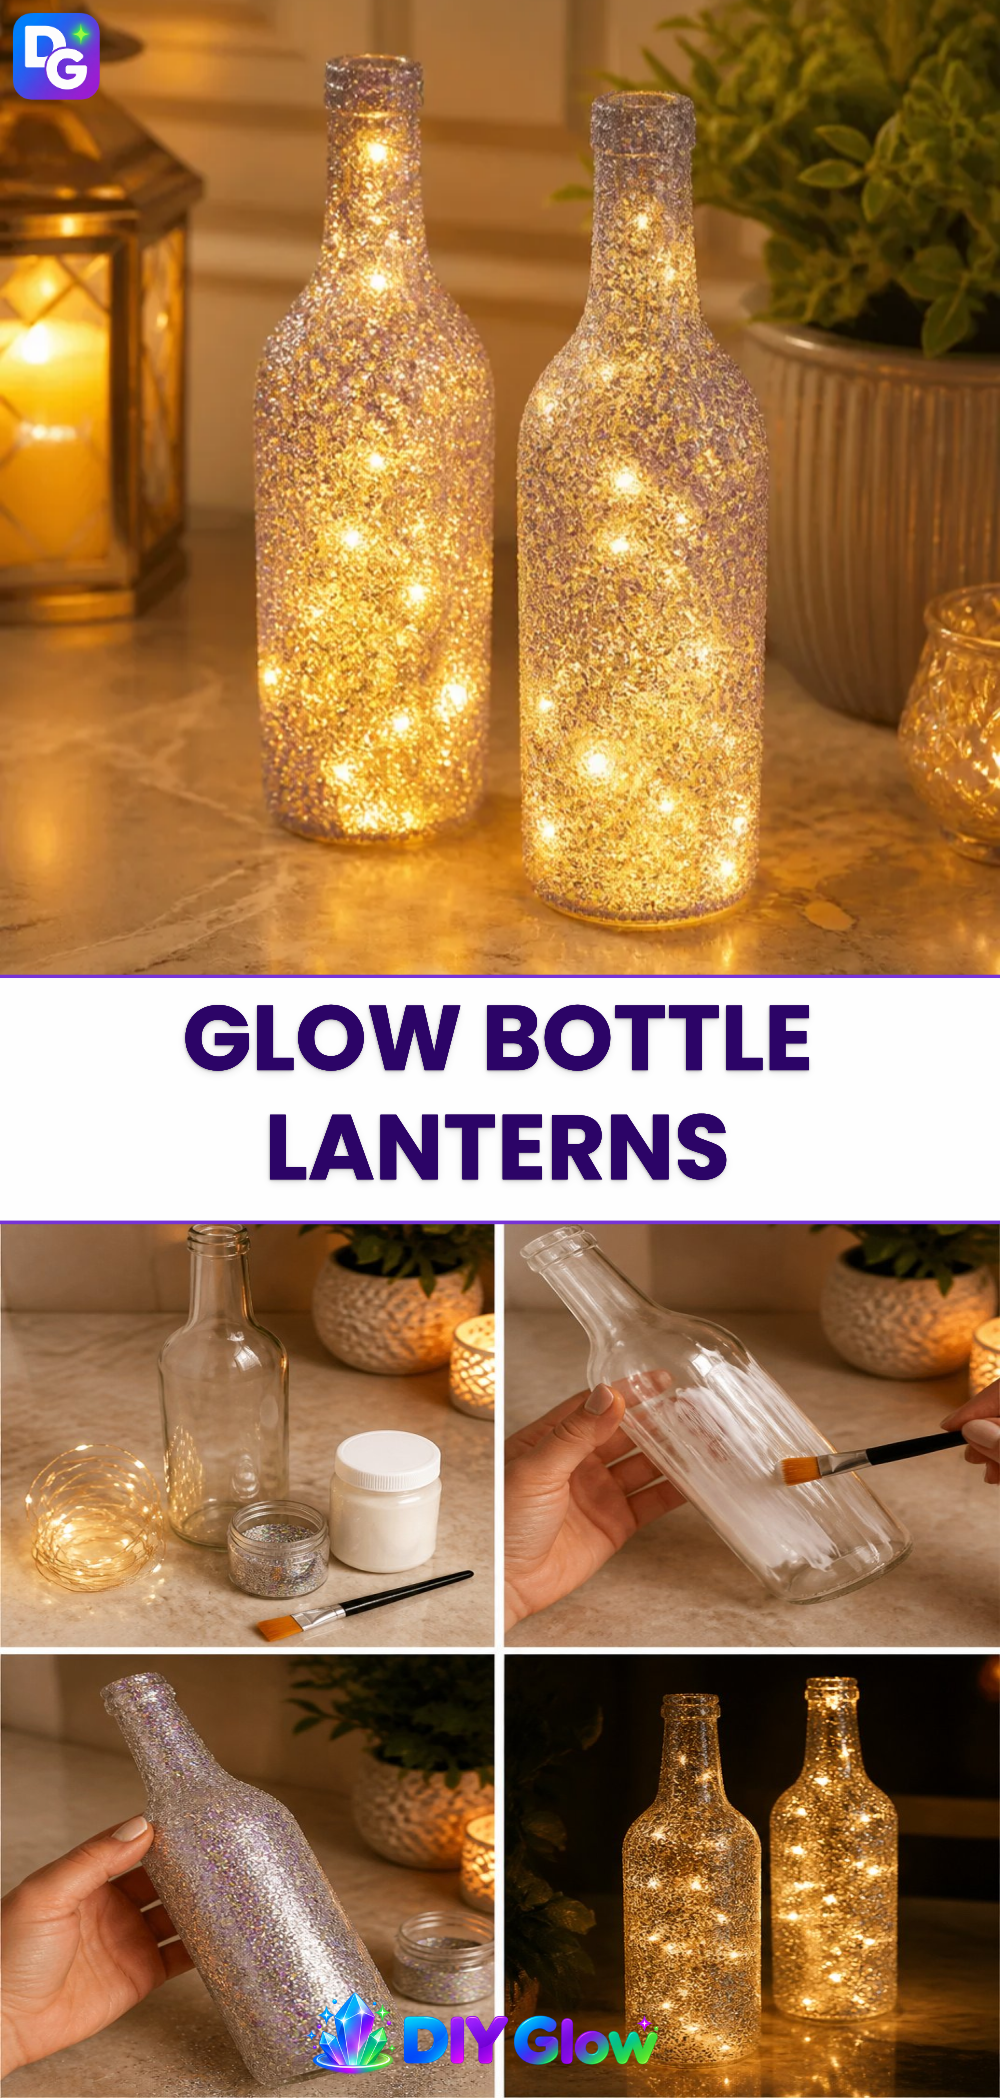
Steps
Clean the Bottle: Wash the bottle thoroughly to ensure it’s free from any dirt or residues. Allow it to dry completely.
Apply the Glow Paint: Use a paintbrush or sponge to apply a layer of glow paint inside and outside the bottle. Look for even coverage, and keep an eye out for any drips or pooling.
Add Water: For a more intense glow, mix the glow powder with a small amount of water. This step enhances the luminescence as the bottle sits in light.
Decorate: If desired, add decorative items like glitter or beads for an extra sparkle.
Seal It Up: After everything is dry, make sure to seal the bottle to hold the contents inside.
Charge in Light: Place your lantern in a bright location for a few hours. The glow paint needs to be “charged” by light to function effectively.
Enjoy the Glow: Once charged, turn off the lights and watch your Glow Bottle Lantern shine brightly!
As you proceed, be careful with sharp edges if you used glass bottles. Supervise children during the crafting process, especially when using paints.
What Goes Wrong and How to Fix It
Sometimes the glow may not be as bright as expected. This can happen if the glow paint did not receive enough light exposure. Make sure to charge your lantern under direct light for a significant amount of time. If the paint peels or chips off, ensure you apply it evenly and let it dry before sealing the bottle.
Where to Display It
Glow Bottle Lanterns look great on shelves, windowsills, or as part of a cozy family night setup. The unique glow creates a warm ambiance that can change the feel of a room. You might also like to check out some creative variations like glowing jellyfish designs to enhance your home decor even further.
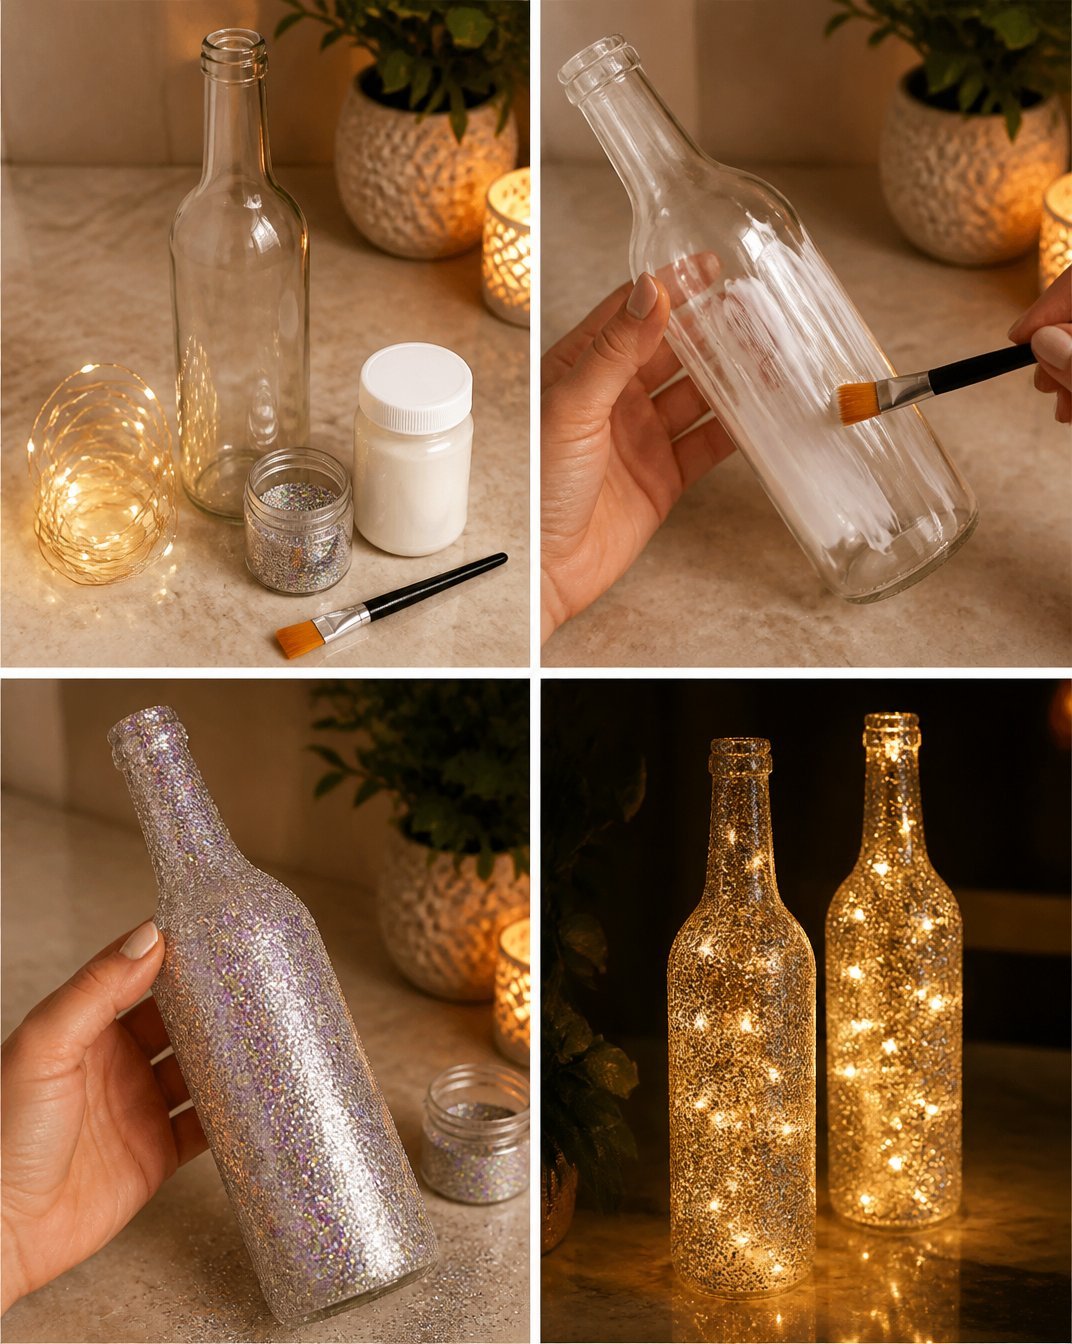
Variations
Consider trying different techniques or materials. For instance, using various colors of glow paint can create stunning effects. You can also use different bottle shapes for added interest. For whimsical touches, look at unique ideas for glowing firefly bottle lights here.
FAQs
How long does the glow last?
The glow can last from a few minutes to several hours, depending on the quality of the paint and how well it was charged.
Can I use plastic bottles?
Yes, plastic bottles can work just as well. Just ensure they are clean and dry before applying paint.
What should I do if the paint isn’t glowing?
Make sure the paint is fully charged by exposure to bright light. If necessary, apply a thicker layer of paint to enhance the glow.
How can I make this project suitable for kids?
You can supervise and assist with the painting process. Let the children choose colors and decorative items to personalize their lanterns.
How does glow-in-the-dark paint work?
Glow-in-the-dark paint contains phosphorescent materials that absorb light and then slowly release it, creating that lovely glow effect.
Are there any safety precautions I should take?
Always supervise children during crafting activities, especially with materials like paint. If using sharp glass, ensure safety with edges.
Conclusion
Creating your own Glow Bottle Lanterns is a fun and engaging craft for families. These glowing creations can light up your living space and provide opportunities for creativity. For more project ideas, check out the Painted Bottle Lanterns – Crafty Chica for inspiration or explore various lighting options here. Enjoy crafting your lanterns!
Follow me on social for more recipe ideas & inspiration!

Glow Bottle Lanterns
Would you like to save this recipe?
By submitting you agree to receive this recipe and occasional emails. Unsubscribe anytime.
Materials
Materials
- 1 piece Empty glass or plastic bottle Ensure it's clean and dry.
- 1 bottle Non-toxic glow-in-the-dark paint or powder Choose vibrant colors for best results.
- 1 item Paintbrush or sponge For applying the glow paint.
- 1 cup Water Used for mixing with glow powder for an intense glow.
- To taste various Glitter, beads, or other decorative items Optional for extra decoration.
Instructions
Preparation Steps
- Wash the bottle thoroughly to ensure it’s free from any dirt or residues. Allow it to dry completely.
- Use a paintbrush or sponge to apply a layer of glow paint inside and outside the bottle. Look for even coverage, and keep an eye out for any drips or pooling.
- For a more intense glow, mix the glow powder with a small amount of water before adding it to the bottle.
- Optional: Add decorative items like glitter or beads for an extra sparkle.
- After everything is dry, make sure to seal the bottle to hold the contents inside.
- Place your lantern in a bright location for a few hours to charge the glow paint.
- Turn off the lights and watch your Glow Bottle Lantern shine brightly!
Last Step: Don’t forget to leave a rating and comment below! It helps other readers find the best recipes — and it helps us too!
Tips & Notes:
Nutrition Information: Serving: 1 | Calories: | Carbohydrates: | Protein: | Fat: | Sodium: | Fiber: | Sugar:
Nutritional information is provided as a courtesy and calculated automatically. Values can vary depending on the brands and ingredients you use, so if you’re tracking closely, I recommend calculating with your own preferred tool.