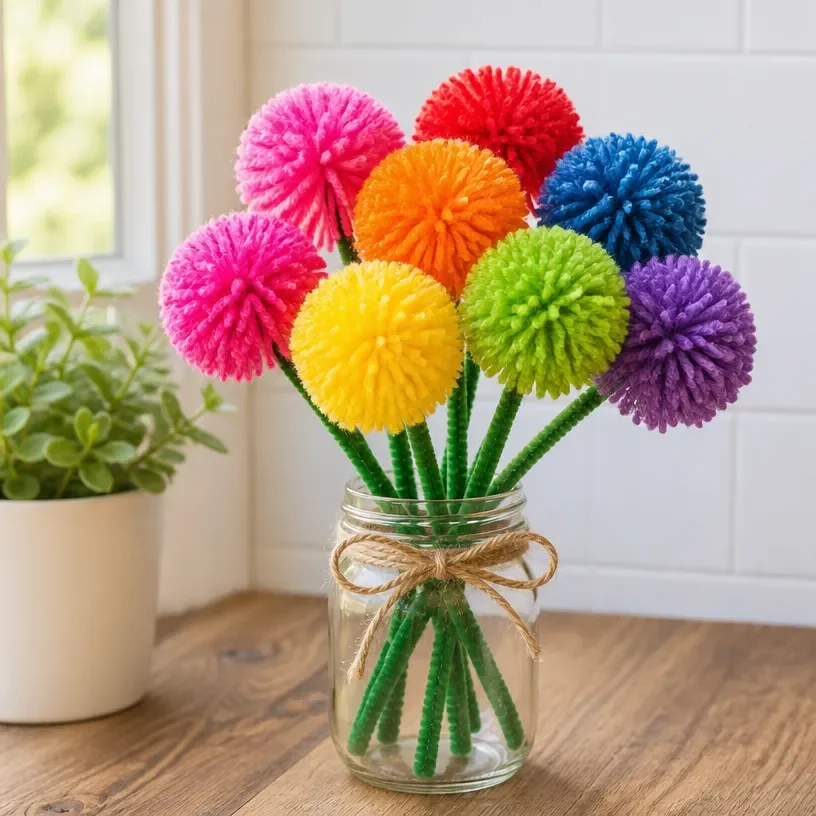
DIY Rainbow Wool Flowers create vibrant, textured pieces that can brighten up any space. As you craft these flowers, their colors shift and the fibers come together, transforming into something beautiful. This project is perfect for anyone looking to explore the art of wool crafting while enjoying a hands-on, sensory experience. You may also find Diy Cornstarch Glass Floral Hearts Flowers 2 useful.
What Makes This Work
The magic lies in the wool fibers and how they manipulate under pressure and moisture. As you twist and mold the wool, it felts together, creating a solid structure. The moisture from the materials activates the fibers, making them stick to each other, which reinforces the flower’s form. The result is a flexible but sturdy flower that retains its shape. You may also find Diy Cornstarch Glass Floral Hearts Flowers useful.
Materials
Gather the following materials to make your DIY Rainbow Wool Flowers: You may also find Diy Flowers Salt Painting For Kids Cozy useful.
- Wool roving in various colors
- Felting needle
- Felting mat
- Water and soap for wet felting (if needed)
- Scissors
- Optional: embellishments like beads or glitter
To gain inspiration and further enhance your crafting skills, check out this guide on recycling art supplies for colorful effects.
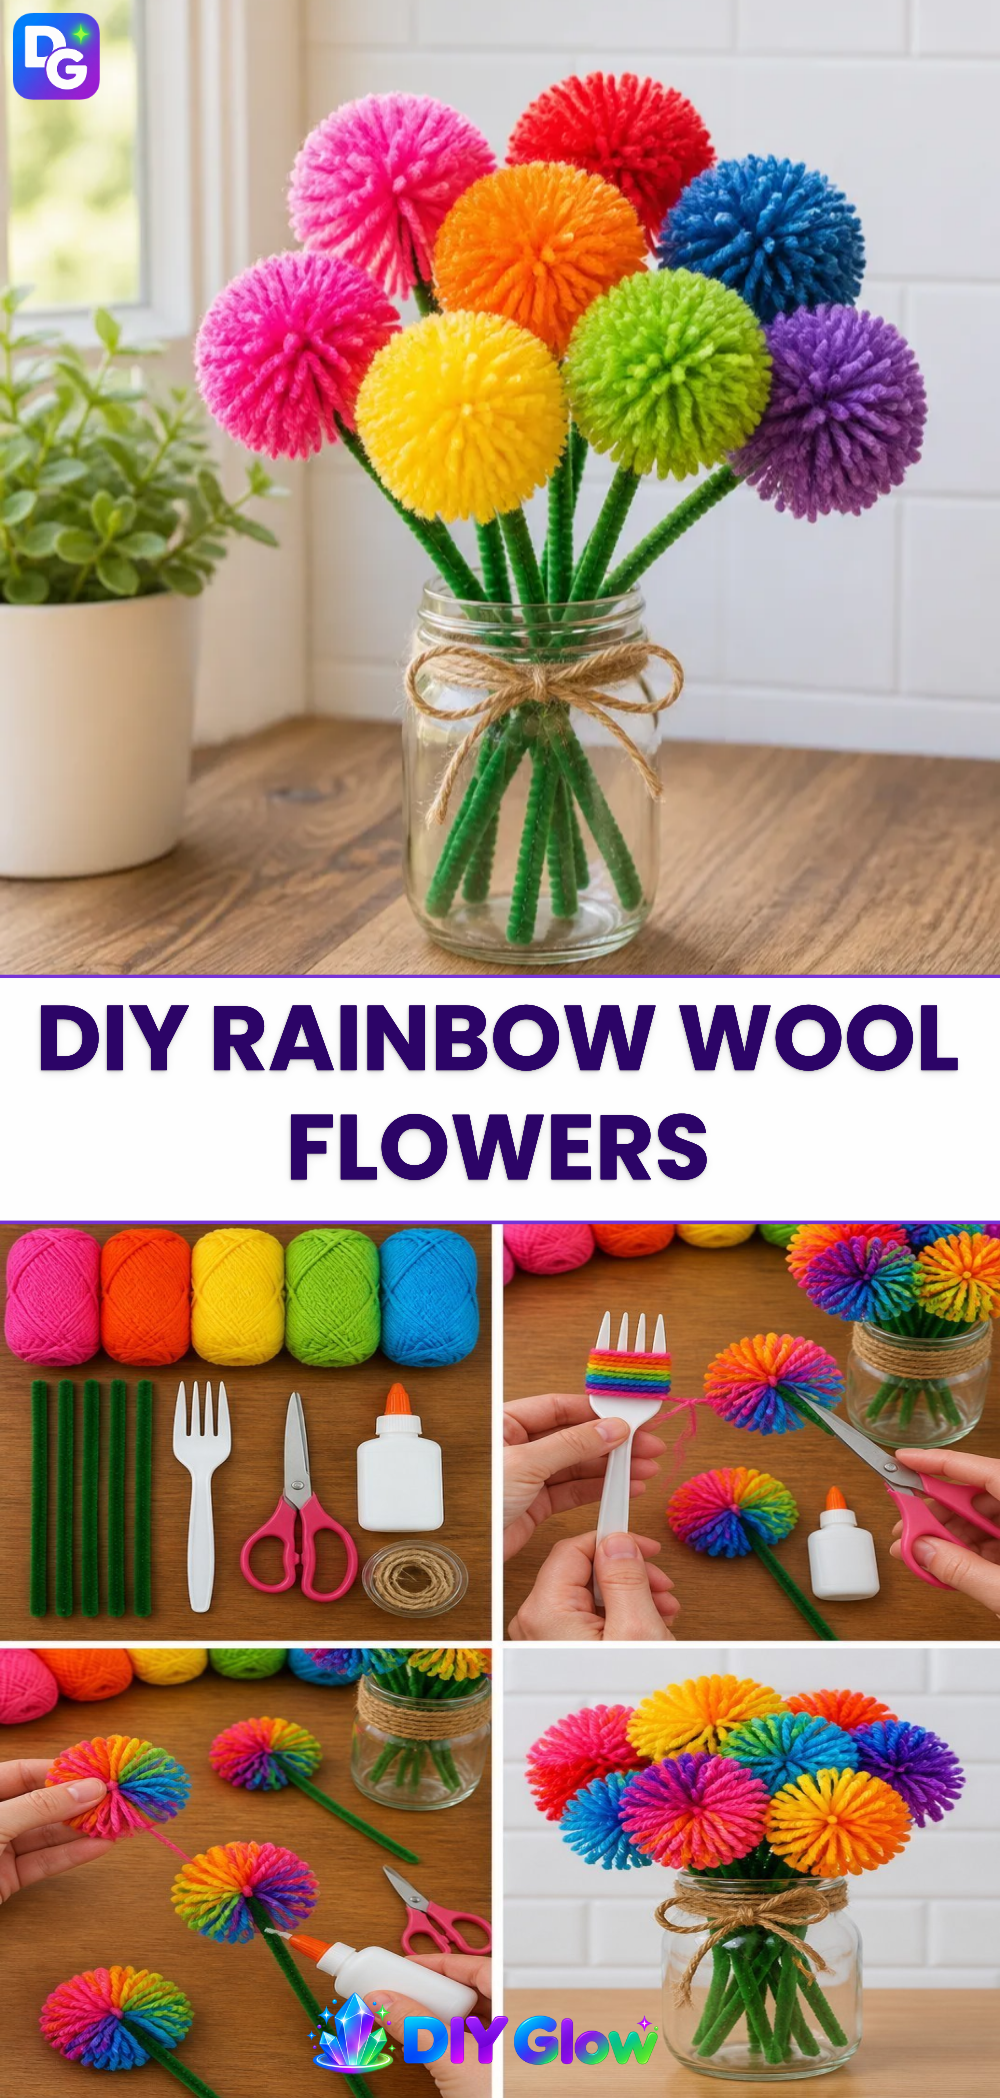
You may also find Diy Flowers Salt Painting For Kids useful.
Steps
Choosing your wool: Select a selection of colorful wool roving. The colors you choose will define the final appearance of your flowers.
Forming the petals: Take a small tuft of wool and shape it into a petal. Use your felting needle to poke the wool repeatedly, working until it is compact and holds its shape.
Creating the flower center: For the flower center, gather a contrasting color wool roving. Form a small ball and felt it until it’s firm.
Assembling the flower: Attach the petals around the flower center. Use the needle to felt the petals to the center and to each other, making sure they are secure.
Finishing touches: Add details like additional petals or embellishments if desired. You can use beads or glitter to make your flowers sparkle even more. Ensure everything is well secured.
Cleaning and rinsing: If you used wet felting, rinse the flower in cool water. This helps to set the felt and remove any soap residue.
Always supervise children during the felting stage, especially as the needles can be sharp.
What Goes Wrong and How to Fix It
If your flower shape isn’t holding, it likely means the felting process didn’t compact it enough. You can remedy this by adding more pressure and more felting needle pokes until it’s firmening up. If a petal separates, you can needle felt it back in place.
Where to Display It
Once you finish your flowers, display them in various settings around your home. They look lovely in windowsills, as part of centerpieces, or even gifted to friends. They serve as wonderful additions to your cozy home environment.

Variations
Feel free to experiment with sizes, shapes, and colors. You can mix different wool types or add embellishments like feathers for more textures. Additionally, you could try a smaller version for a bouquet look or a larger one to make a statement piece.
FAQs
How long does it take to make these flowers?
Creating your rainbow wool flowers usually takes about 1-2 hours, depending on the complexity and details you wish to add.
Can kids help with this project?
Yes, children can definitely help with shaping the petals and assembling the flowers, but adult supervision is needed during the needle felting stages.
Why did my wool not felt properly?
Improper felting usually occurs due to insufficient pressure or not enough time spent poking the wool with the needle. Keep experimenting with different techniques for better results.
Can I use different materials for this project?
Absolutely! You can mix synthetic fibers with wool for added durability or stiffness if desired. Just keep in mind it may alter the felting behavior.
How do I store my finished flowers?
Store your finished flowers in a dry, cool place, away from direct sunlight. Displaying them in a vase can keep them safe and beautiful.
What if I want to use different colors?
Incorporating a variety of colors can make your flowers pop! Mix and match colors to create unique patterns and styles.
Conclusion
DIY Rainbow Wool Flowers offer a fantastic way to bring color and creativity into your home. They are not only fun to make but can also become joyful decorations around your space. For additional crafting inspiration, check out this rainbow wool applique pincushion project or explore the adorable how to make rainbow DIY pom-pom flowers for more vibrant decor ideas. Remember, the journey of crafting these flowers can be as beautiful as the finished product!
Follow us on social for more DIY ideas & inspiration!
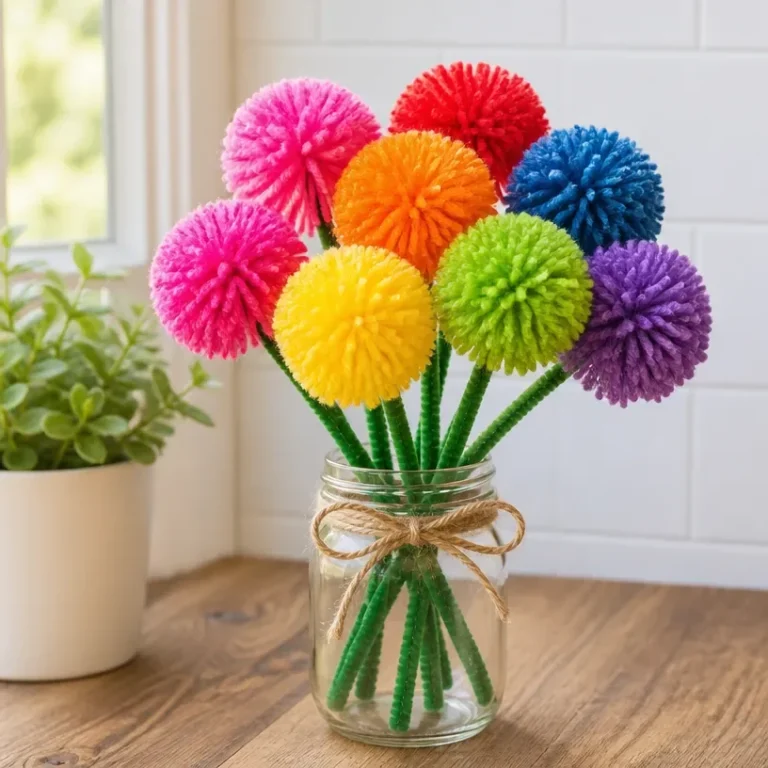
DIY Rainbow Wool Flowers
Would you like to save this project?
By submitting you agree to receive this project and occasional emails. Unsubscribe anytime.
Materials
Materials
- Various Wool roving in various colors Select colorful wool for desired flower appearance.
- 1 Felting needle For shaping and compacting the wool.
- 1 Felting mat Helps protect surfaces during felting.
- Water and soap for wet felting Water and soap for wet felting (if needed) Use only if wet felting is part of the process.
- 1 Scissors For trimming the wool as desired.
- Optional: embellishments like beads or glitter Add for extra decorative touches.
Directions
Steps
- Choose a selection of colorful wool roving.
- Take a small tuft of wool and shape it into a petal, using a felting needle to compact it.
- For the center, gather contrasting color wool roving and form a small ball, felting it until firm.
- Attach the petals around the center, felting them together securely.
- Add any additional petals or embellishments as desired, securing everything well.
- If wet felting was used, rinse the flower in cool water to set and remove soap residue.
Last Step: Don’t forget to leave a rating and comment below! It helps other readers find the best DIY projects — and it helps us too!