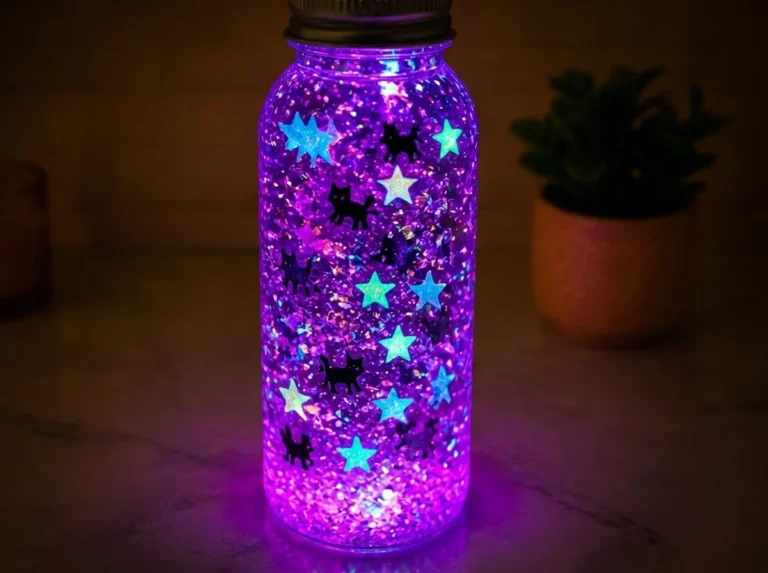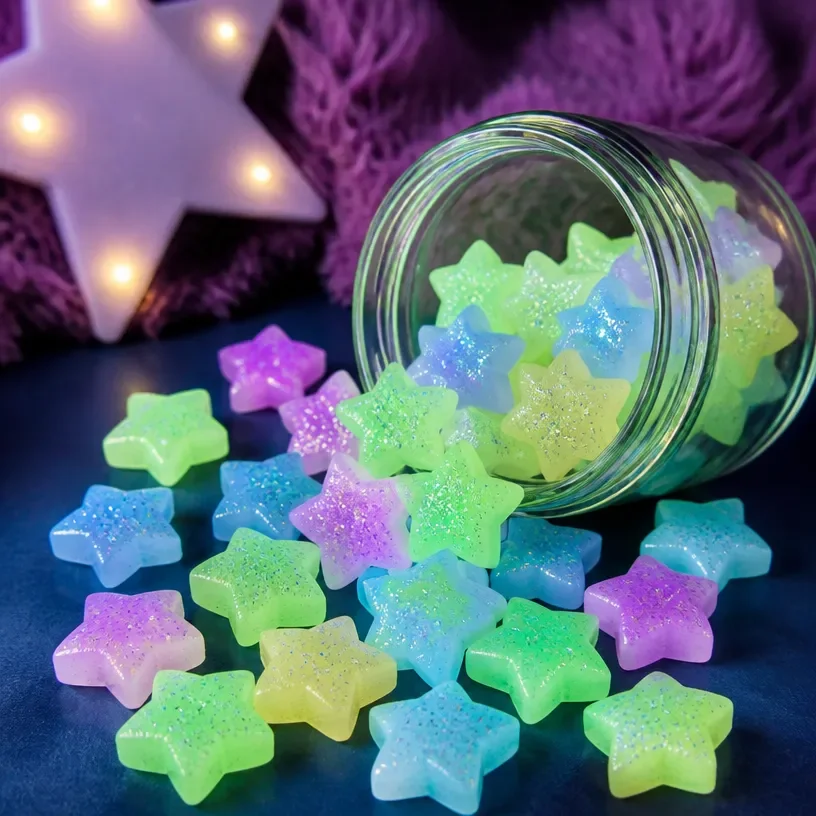
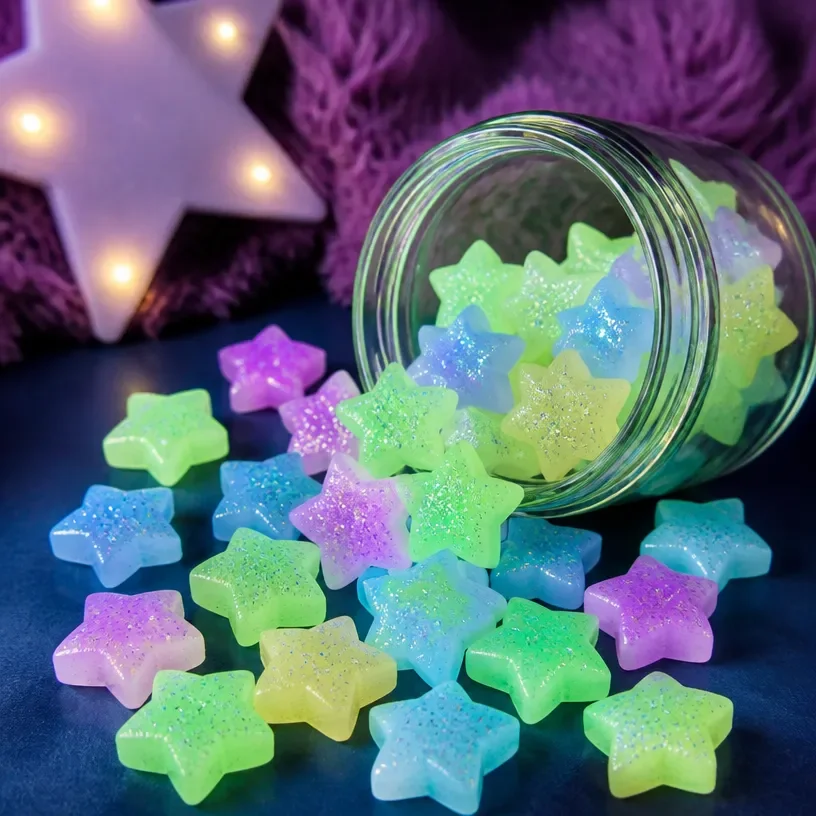
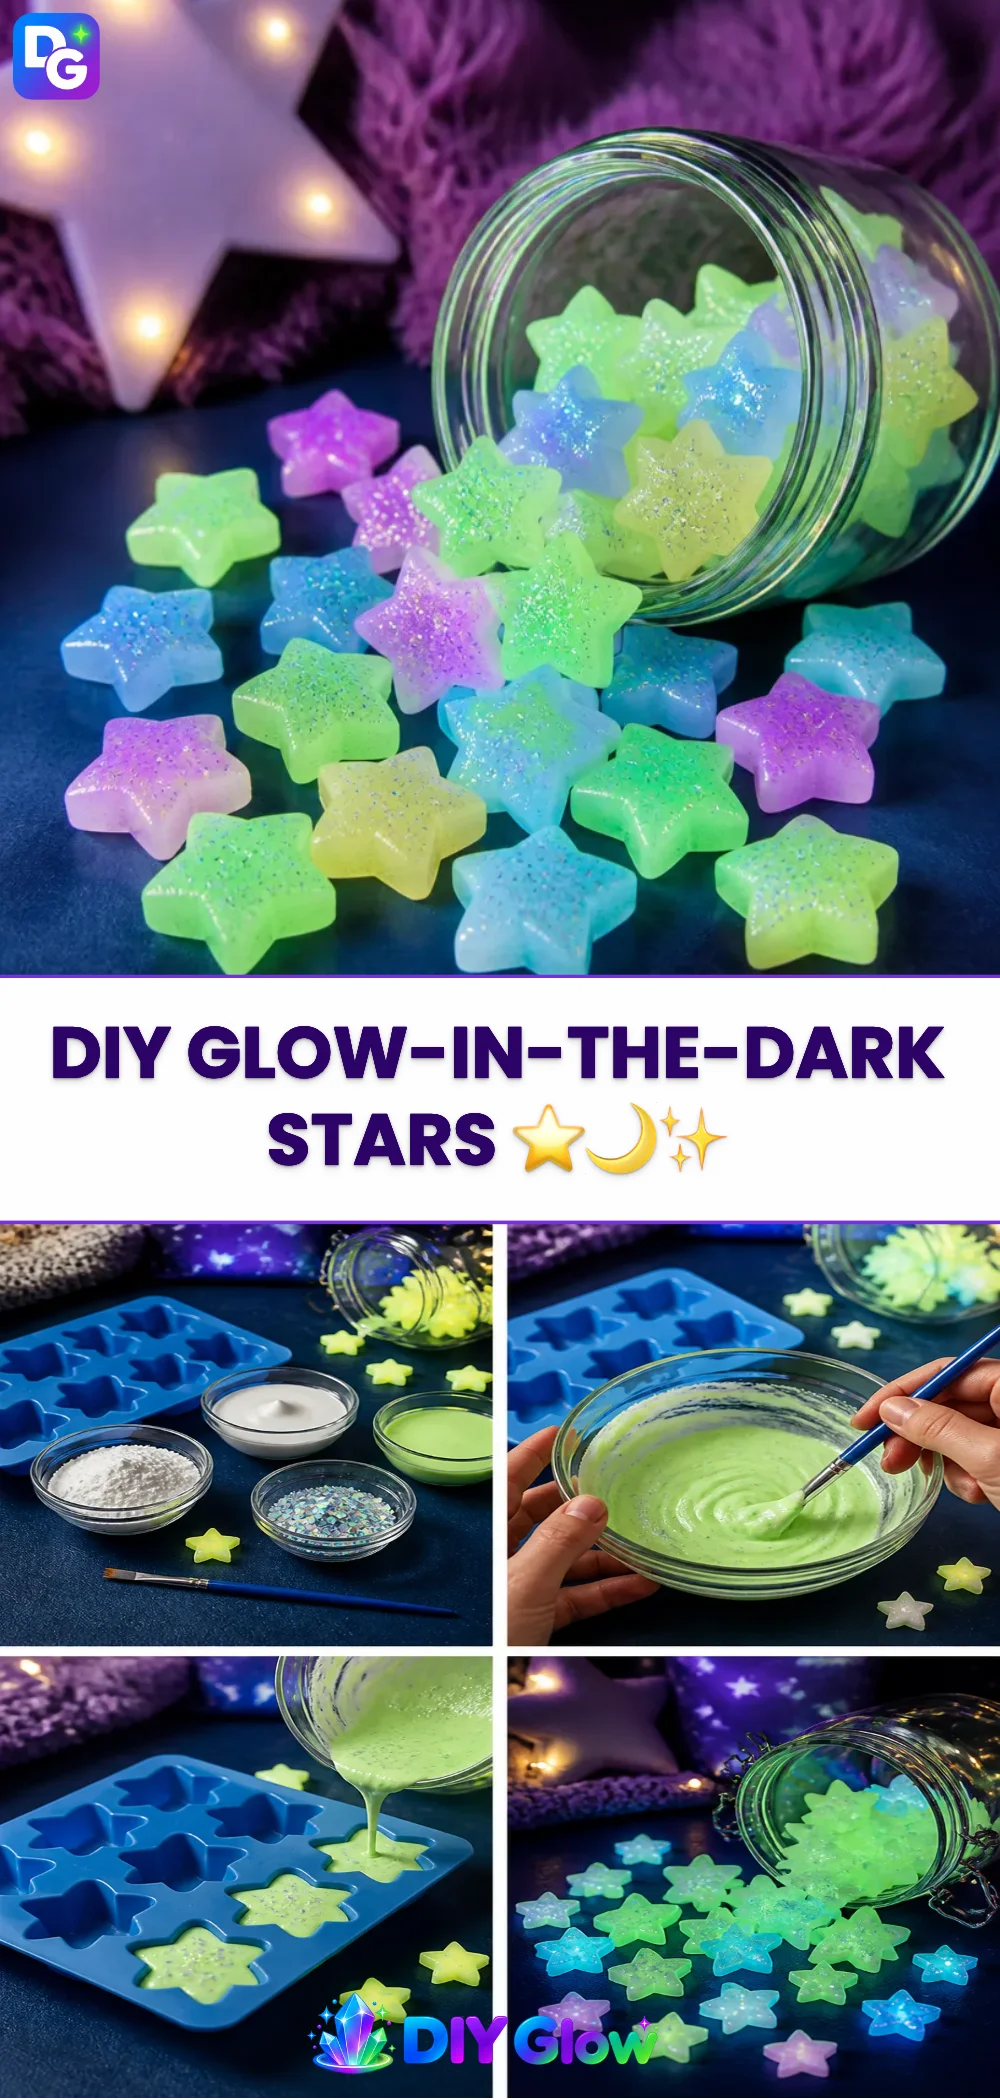
The moment the glow-in-the-dark stars shine bright in a child’s room is captivating. DIY Glow-in-the-Dark Stars ⭐🌙✨ transforms any space into a colorful, magical atmosphere. This craft project not only brings joy but also introduces a fascinating aspect of science: the play of light and colors. Let’s dive into how you can create your own stars, turning your space into a nighttime delight. You may also find How To Make A Glow In The Dark Ocean Discovery Bottle Diy useful.
What Makes This Work
Creating glow-in-the-dark stars works through a process called luminescence. When exposed to light, certain materials absorb energy and then release it as a visible glow in the dark. This means that the brighter and longer you charge your stars under light, the more intense their glow will be later on. The key is to use the right materials that can hold and release light effectively. You may also find Adorable Diy Easter Bunny Cups useful.
Materials
You will need the following materials to start your project:
- Glow-in-the-dark paint
- A star-shaped stencil
- A large piece of cardboard or a canvas
- A brush or sponge
- Tape
- Optional: glow-in-the-dark glitter for added sparkle
Make sure to gather everything before you begin to enhance your crafting experience. To find inspiration, check out these glow-in-the-dark ocean discovery bottles as they incorporate similar glowing techniques.
Steps
Preparation of Your Workspace: Cover your work surface with old newspapers or a plastic sheet to protect it from paint spills. When working with paint, ensure that the area is well-ventilated.
Create Your Stencil: Use the star-shaped stencil to outline stars on your cardboard or canvas. You can vary the sizes to create a dynamic look.
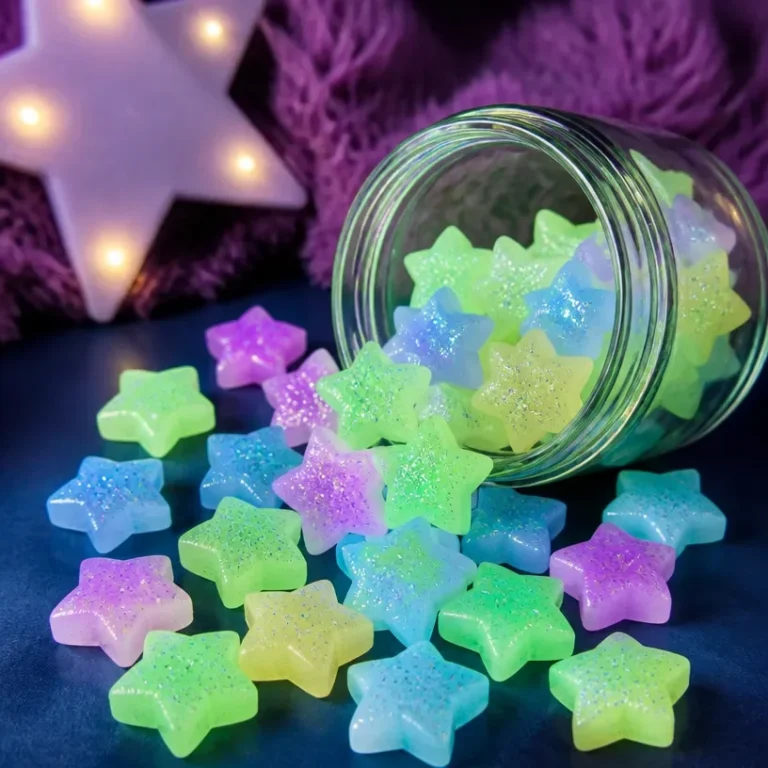
Applying Glow Paint: Dip your brush in the glow-in-the-dark paint and fill in the star outlines completely. Aim for an even coat. If you wish, sprinkle some glow-in-the-dark glitter on top while the paint is still wet for a magical touch.
Drying Process: Let the paint dry fully. Look for a matte finish, indicating that the paint is set. This usually takes about an hour, but it may vary based on your environment.
Displaying Your Stars: Peel the stars off carefully if you’ve placed them on a separate piece. Use tape to stick your stars on the walls or ceiling. Position them in clusters for a starry effect.
While applying the paint, it’s important to check for any drips or uneven surfaces. If they occur, smooth them out quickly before they dry.
What Goes Wrong and How to Fix It
One common issue is that the stars may not glow brightly enough. Ensure you charge them under light for a significant time. If the paint does not adhere well, it might be due to dust or grease on the surface. Wipe the area down before applying your stars.
Where to Display It
The charm of your glow-in-the-dark stars truly shines when displayed in dark areas. Ideal spots include:
- Bedroom ceilings
- Children’s playrooms
- Hallways
- Inside closets or on windowsills
For extra inspiration on similar glowing projects, explore these rainbow potion bottles that also use exciting color techniques.
Variations
You can customize your stars in several ways:
- Use different shapes, such as moons or planets.
- Mix colors to create a galaxy effect by using various glow-in-the-dark paints.
- Create a 3D effect by layering stars at different depths.
These variations can enhance your glow-in-the-dark stars and make them stand out even more.
FAQs
How long do the glow-in-the-dark stars last?
The glow from your stars will last several hours after being charged. However, over time, the glow may fade, and you may need to reapply the glow-in-the-dark paint.
Can I use any paint for this project?
No, it is essential to use specific glow-in-the-dark paint, as regular paint will not provide the luminescent properties needed to glow in the dark.
How do I store my leftover materials?
Store leftover glow paint in a cool, dry place. Ensure the lid is tightly sealed to prevent it from drying out.
Are there alternatives to glow-in-the-dark paint?
Yes, you may also use glow-in-the-dark stickers or glow-in-the-dark sequins to create similar effects, such as with the rainbow glow potions.
Can children assist with this project?
Absolutely! This project is great for kids, but ensure they have adult supervision when using paint or scissors.
What should I do if my stars don’t glow brightly?
If your stars lack brightness, it could be that they didn’t charge long enough under a bright light source. Ensure they are exposed to enough light for an optimal glow.
Conclusion
Crafting your own glow-in-the-dark stars is a fun and creative way to brighten up any space. By following the steps outlined and utilizing the right materials, you can create vibrant stars that sparkle in the dark. For additional materials, consider purchasing glow-in-the-dark star glitter sequins or decorate further with glow-in-the-dark stars wall stickers for an added touch of whimsy. Enjoy your glowing creations!
Follow me on social for more recipe ideas & inspiration!
DIY Glow-in-the-Dark Stars
Would you like to save this recipe?
By submitting you agree to receive this recipe and occasional emails. Unsubscribe anytime.
Materials
Materials
- 1 bottle Glow-in-the-dark paint Essential for the luminescent effect.
- 1 stencil Star-shaped stencil For outlining the stars.
- 1 piece Large piece of cardboard or canvas Base for applying the stars.
- 1 piece Brush or sponge For applying the paint.
- 1 roll Tape To stick the stars to walls or ceilings.
- optional bottle Glow-in-the-dark glitter For added sparkle.
Instructions
Preparation
- Cover your work surface with old newspapers or a plastic sheet to protect it from paint spills. Ensure the area is well-ventilated.
Stencils
- Use the star-shaped stencil to outline stars on your cardboard or canvas. Vary the sizes to create a dynamic look.
Painting
- Dip your brush in the glow-in-the-dark paint and fill in the star outlines completely, aiming for an even coat.
- If desired, sprinkle some glow-in-the-dark glitter on top while the paint is still wet for a magical touch.
Drying
- Let the paint dry fully until it achieves a matte finish. This usually takes about an hour but may vary with environment.
Display Stars
- Peel the stars off carefully if they were placed on a separate piece. Use tape to stick your stars on the walls or ceiling, positioning them in clusters for a starry effect.
Last Step: Don’t forget to leave a rating and comment below! It helps other readers find the best recipes — and it helps us too!
Tips & Notes:
Nutrition Information: Serving: 1 | Calories: | Carbohydrates: | Protein: | Fat: | Sodium: | Fiber: | Sugar:
Nutritional information is provided as a courtesy and calculated automatically. Values can vary depending on the brands and ingredients you use, so if you’re tracking closely, I recommend calculating with your own preferred tool.