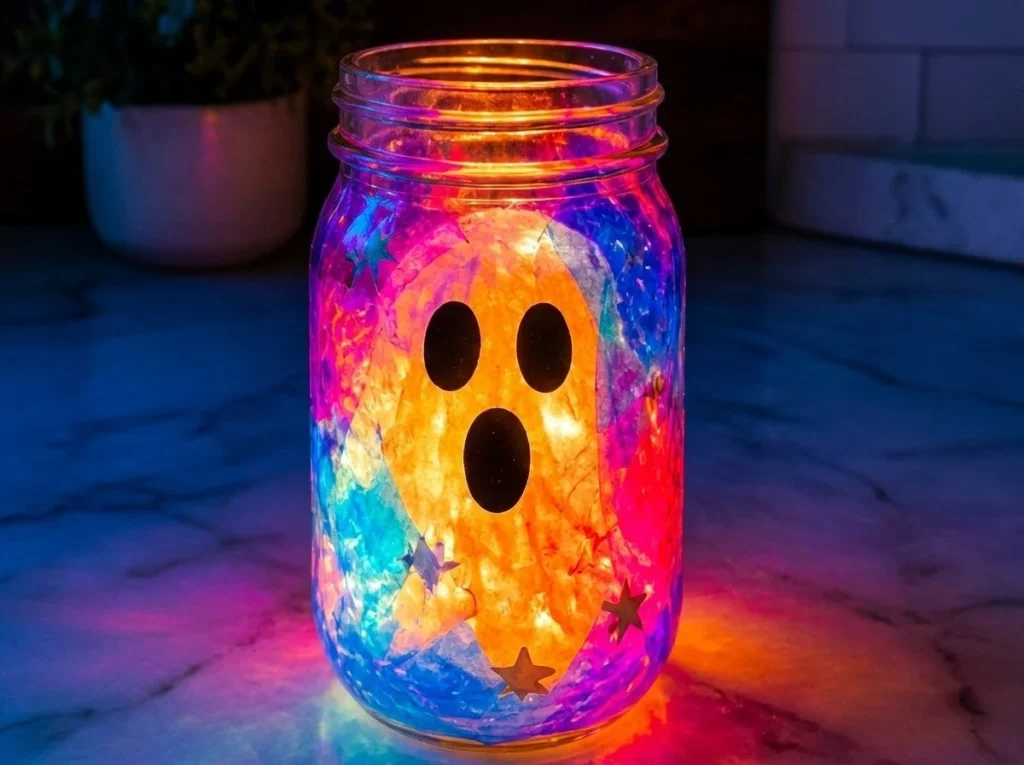
The Clear Rainbow Neon Ghost Light Jar is a delightful craft that brings a little spooky charm into your home. As you work on this project, you’ll notice how the translucent ghost takes shape, transforming from simple materials into a glowing piece of art perfect for any season. You may also find Diy Lightning Storm In A Jar useful.
Materials
To create your Clear Rainbow Neon Ghost Light Jar, you will need the following supplies: You may also find Glowing Rainbow Potion Crystal Jar Enchanted Elixir useful.
- Clear jar
- White tissue
- Pink cellophane
- Blue cellophane
- Iridescent film
- Black vinyl
- Stars
- LED lights
Once you gather your materials, you can get started on crafting this glowing piece.
Steps
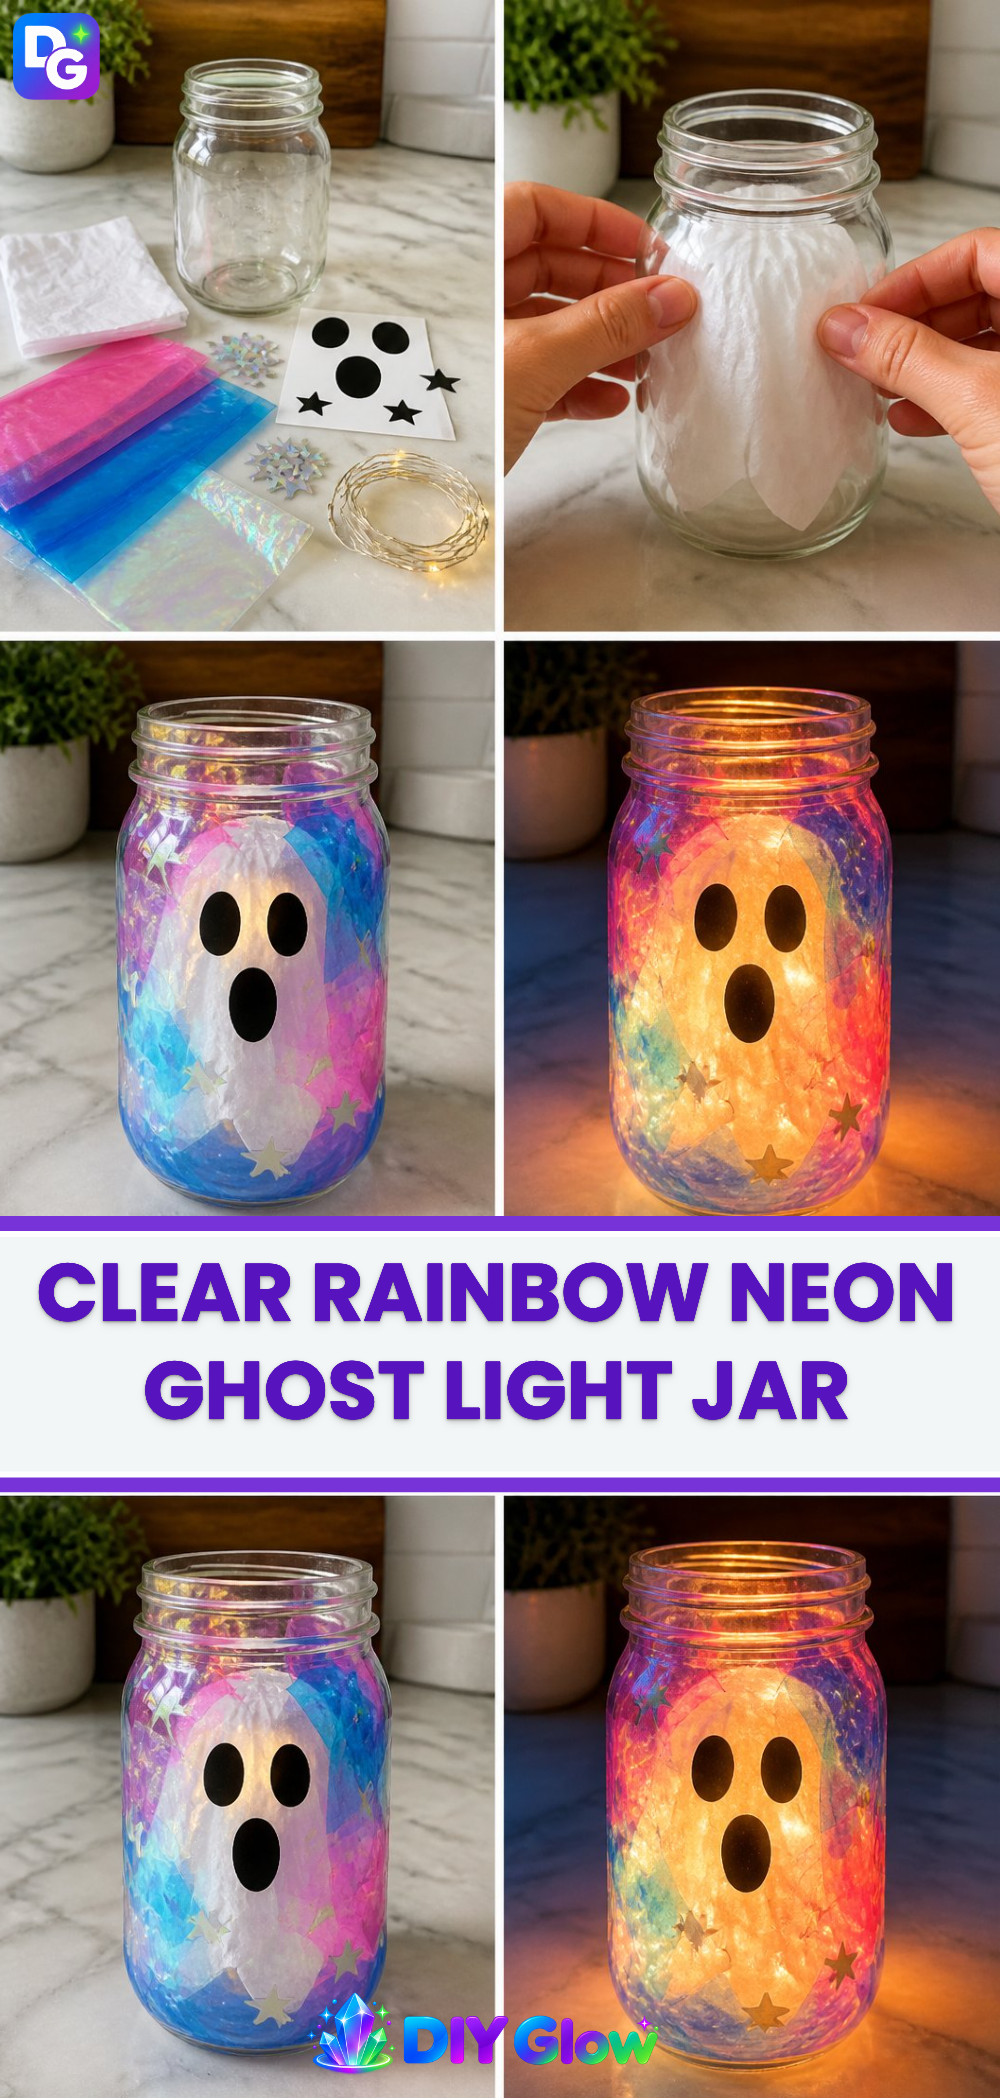
1. Create a translucent ghost design using white tissue.
Begin by cutting the white tissue into a shape that mimics a ghost. The tissue needs to be translucent so that light can shine through, giving it a spooky appearance. You should focus on achieving a smooth texture; any wrinkles can diminish the glowing effect later on.
2. Add a whimsical face and sprinkle on some stars using black vinyl.
Next, use black vinyl to cut out fun shapes for your ghost’s face. This can be simple eyes and a smile that add personality to your creation. Also, consider cutting out a few stars from the vinyl and applying them around the ghost for added flair. These stars will reflect the light in fun ways later.
3. Layer pink and blue cellophane for a splash of color.
To bring some vibrancy to your ghost jar, layer pieces of pink and blue cellophane on top of the tissue. Look for rich colors that truly pop and allow light to shine through. The combination of these colors not only enhances the visual appeal but also adds an air of enchantment to the craft.
4. Insert iridescent film for a shimmering finish.
The iridescent film should be added to the design next. This layer will transform your ghost into a shimmering masterpiece. The film gives it a dynamic look as it catches and reflects light. Ensure you press this layer flat to avoid any bubbles, which can be distracting to the overall look.
5. Light it up with LED lights for a glowing effect!
Finally, place LED lights inside the jar. They will illuminate the ghost and the layers of color, creating a beautiful glowing effect. Make sure to choose LED lights that are safe for crafts, as they won’t generate heat and will last a long time.
What Goes Wrong and How to Fix It
Sometimes, your ghost might not glow as brightly as expected. This could be due to too thick a layer of tissue or cellophane blocking the light. To fix it, simply remove any excess layers and ensure that the materials are applied evenly and not too densely.
Where to Display It
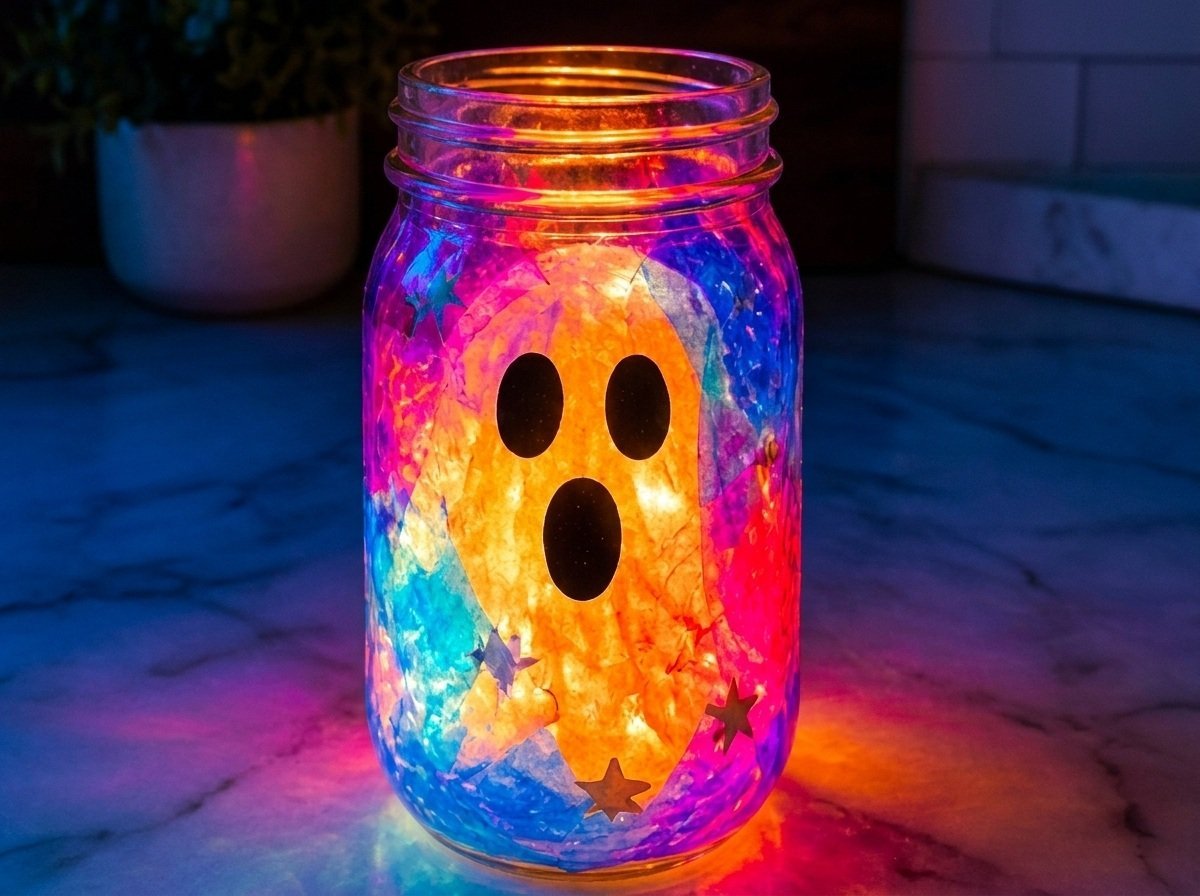
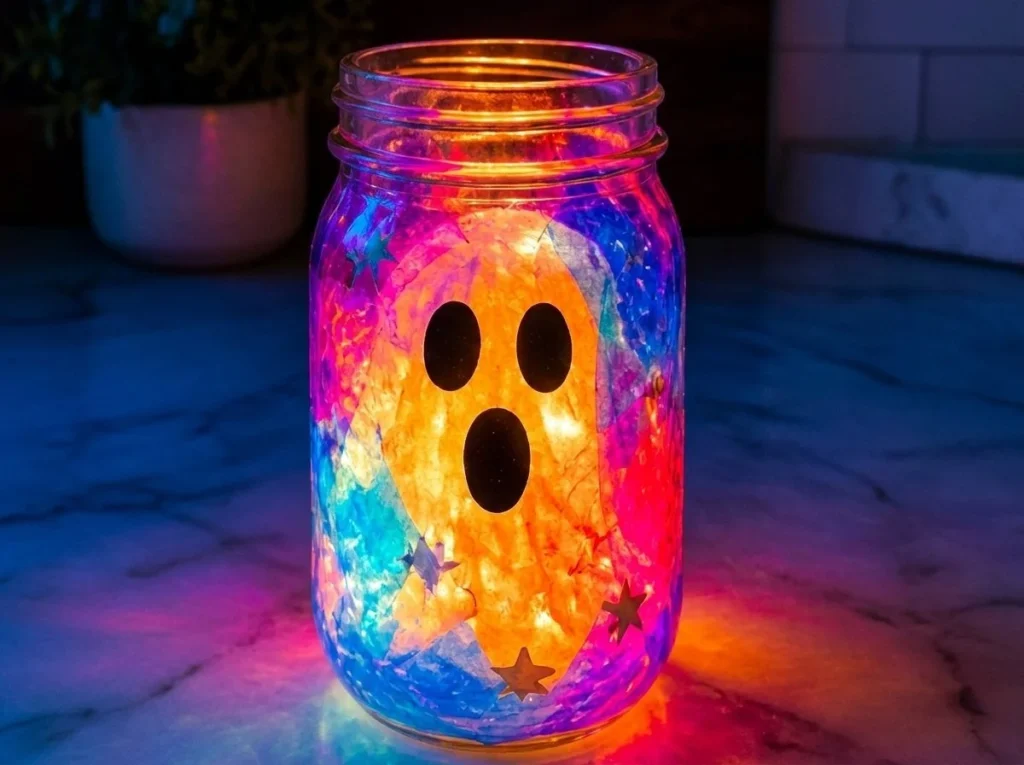
Your Clear Rainbow Neon Ghost Light Jar makes for a lovely decoration on shelves or windowsills. The glow will look enchanting at night, adding a perfect seasonal touch to your home decor. Consider grouping it with other crafts, such as a blue rainbow bat wreath or a ghost shaker suncatcher, to create a charming display that really catches the eye.
Variations
If you want to experiment with your Clear Rainbow Neon Ghost Light Jar, try different shapes or colors. You can even incorporate elements like glitter or other embellishments. Another idea is to make multiple jars with different designs, each creating its own unique glow.
FAQs
How can I substitute the materials if I don’t have them?
If you don’t have specific colors of cellophane, you can use any other kind of translucent material to achieve similar effects, such as thin plastic sheet or colored parchment paper.
Why didn’t my ghost turn out as bright as I hoped?
A common issue is using too thick a layer of materials, which can block light. Ensure you apply thin, even layers to maximize the glowing effect from your lights underneath.
How do I make this project with kids?
Supervise children during the cutting stages for safety. You can guide them in making smaller designs, ensuring that the process remains fun and engaging while being safe.
How long does it take to make this craft?
This craft can typically be completed in about an hour, depending on your experience level and how quickly you cut and assemble the materials.
Can this craft be used for other occasions besides Halloween?
Absolutely! The Clear Rainbow Neon Ghost Light Jar can be enjoyed year-round. With a bit of creativity, you can adapt the design for other themes, like a whimsical party decoration.
How do I care for my ghost jar to ensure it lasts?
To maintain its look, keep your ghost jar in a dry place and avoid direct sunlight to prevent any fading of colors. Regularly check the LED lights to ensure they’re functioning.
Conclusion
Crafting a Clear Rainbow Neon Ghost Light Jar is not only fun but also a great way to brighten up any space. To add to your crafting experience, you might consider browsing a beautiful bejeweled wine opener for your gatherings. Additionally, if you’re looking for stylish options for mixing drinks, take a look at the collection of GHOST® SHAKERS to complement your creations.
Follow us on social for more DIY ideas & inspiration!
Clear Rainbow Neon Ghost Light Jar
Would you like to save this project?
By submitting you agree to receive this project and occasional emails. Unsubscribe anytime.
Materials
Main Materials
- 1 clear jar Clear jar
- 1 sheet White tissue Translucent for the ghost effect.
- 1 sheet Pink cellophane For adding color.
- 1 sheet Blue cellophane For adding color.
- 1 sheet Iridescent film For a shimmering finish.
- 1 piece Black vinyl To create the ghost's face.
- as needed Stars For decoration.
- 1 string LED lights For illuminating the jar.
Directions
Crafting Steps
- Cut the white tissue into a shape that resembles a ghost, ensuring it is smooth and translucent.
- Use black vinyl to cut out fun shapes for the ghost's face and sprinkle stars around it.
- Layer pieces of pink and blue cellophane on top of the tissue for added vibrancy.
- Add iridescent film to create a shimmering effect, pressing it flat to avoid bubbles.
- Insert LED lights inside the jar to illuminate the ghost, ensuring they are safe for crafts.
Last Step: Don’t forget to leave a rating and comment below! It helps other readers find the best DIY projects — and it helps us too!