Would you like to save this recipe?
By submitting you agree to receive this recipe and occasional emails. Unsubscribe anytime.
Materials
- Clear school glue or clear craft glue, easy to find
- Heavyweight wax paper or a silicone mat, to prevent sticking
- Toothpicks or thin wooden skewers, for swirling
- Liquid watercolor or diluted acrylic ink, for small drops of color
- Fine-tip glue bottles or disposable piping bags, optional, for controlled lines
- Pencil and a simple cardboard template (circle, heart, or star), optional
- Small beads or glitter, optional for texture
- Thin fishing line or ribbon, for hanging
- A tray or shallow box to protect a drying surface
- A hair dryer on low heat, optional, to speed gentle drying
Instructions
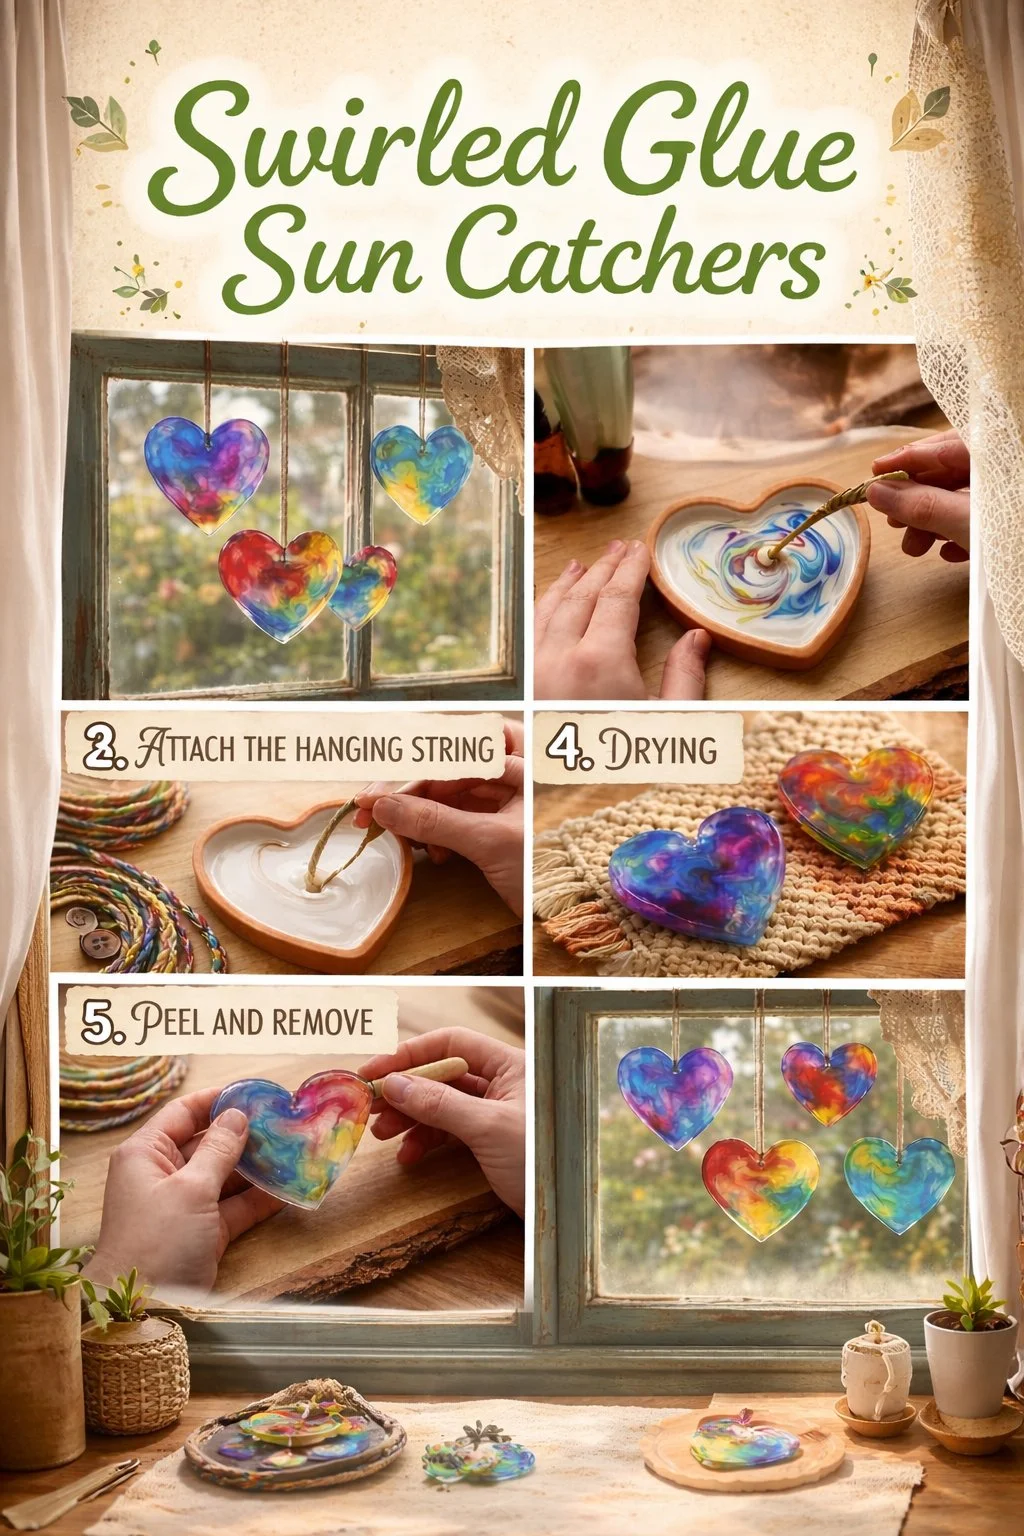
- Prepare your surface and template. Spread a sheet of wax paper on a flat table. Place a cardboard template under the wax paper if you want a neat shape. The waxy surface will release the dried glue gently.
- Load your glue bottle or piping bag. If you feel steady with a steady squeeze, use the glue bottle. For finer control, cut a small tip from a piping bag. The glue should flow slowly and smoothly, not gush.
- Draw the outline. Squeeze a continuous line of glue around your template to form a border. Feel the smooth, cool line build as you go. Keep your hand relaxed and steady.
- Fill with concentric lines or dots. Work inward with more glue lines, circles, or tiny spaced dots. Each pause lets you see how the glue settles. The glue will sit glossy and clear at first.
- Add color drops. Use a toothpick to dip into a tiny pool of liquid watercolor and touch it into the glue. Start with one or two colors. The pigment will bead and spread slowly.
- Swirl gently. With a clean toothpick, nudge the color in small circular motions. Watch the colors pull into soft marbled veins. Move slowly; the swirl becomes smoother the gentler you are.
- Add texture if you like. Place a bead, a speck of glitter, or a tiny pressed flower petal into the glue for a small accent. Tuck it lightly and avoid disturbing the surrounding color too much.
- Smooth thick areas. If a part looks too tall, press gently with the back of a spoon wrapped in cloth. This helps create even thinness, which dries clearer. Work with a calm, steady touch.
- Let it dry. Leave the piece in a warm, still spot. Drying takes time. You can use a hair dryer on low and at a distance to encourage even drying, but avoid hot, fast air that makes the glue bubble.
- Peel off carefully. Lift the edge of the wax paper after the glue feels firm. Pull slowly and evenly. If it resists, wait a little longer. The piece should feel smooth and slightly flexible.
- Trim and finish. If the edge looks uneven, use sharp scissors to tidy the shape. Punch a small hole for hanging and thread fishing line or ribbon through it.
- Hang and enjoy. Place your sun catcher where light can pass through. Tilt it to find small, cheerful patterns of color on nearby surfaces.
Last Step: Don’t forget to leave a rating and comment below! It helps other readers find the best recipes — and it helps us too!