Would you like to save this recipe?
By submitting you agree to receive this recipe and occasional emails. Unsubscribe anytime.
Materials
- Bioplastic ingredients: cornstarch, water, and a touch of glycerin (easy to find; optional if you prefer recycled plastic)
- Thin recycled clear plastic sheets or old transparent packaging (reusable and sustainable)
- Natural inclusions: dried flowers, pressed leaves, tiny seeds, small feathers (optional)
- Mica powder or biodegradable shimmer powder for a pearlescent glow (substitute-friendly)
- Small glass beads or recycled bead fragments for extra light play (optional)
- Heat-safe silicone mat or parchment paper (helps with removal)
- Small saucepan and heatproof bowl for double-boiler method (safety first)
- Cookie cutters or small silicone molds for shapes (easy to use)
- Fine sandpaper for smoothing edges (optional)
- Twine, thin cork, driftwood, or brass ring for hanging (sustainable choices)
- Scissors and small tweezers for arranging details (simple tools)
- A shallow tray or flat surface to cool finished pieces on (gently flat)
- Timer or watch to track setting time (helps with patience)
Instructions
- Prepare your workspace so it feels calm and clear. Keep a towel and water nearby. Lay the silicone mat or parchment on the table.
- Choose your inclusions and arrange them on the mat. Feel their textures as you sort them. Pick a few simple elements to avoid clutter.
- Mix the bioplastic base if you use it. Combine cornstarch, water, and a little glycerin. Stir gently until the mixture becomes translucent.
- Warm the mixture slowly in a double boiler. Keep the heat low and steady. Stir with a silicone spatula until glossy and thick.
- Pour or spread the warm mixture onto the mat. Work with slow, even motions. Smooth it into a thin, even layer with the spatula.
- Arrange dried flowers, mica, and beads on the warm surface. Press them lightly into the film with a fingertip or tweezers. Notice the soft give as the elements sink in.
- For defined shapes, press a cookie cutter into the warm sheet. Hold steady until the plastic cools a bit. Lift out the cutter and check the edge.
- If you use recycled plastic sheets, cut your shapes first. Warm them gently under low heat to make them flexible. Press inclusions between two thin layers to trap them.
- Allow each piece to cool in a quiet spot. Watch the surface change from glossy to matte as it sets. This pause gives you time to breathe and notice the light.
- Trim rough edges with scissors or fine sandpaper. Work with small, careful snips. Sand softly until the edge feels smooth in your palm.
- Add a small hole for hanging with a heated skewer or punch. Keep the hole near the top and centered. Smooth the hole edge with sandpaper if needed.
- Thread twine or a brass ring through the hole. Adjust the length for where you plan to hang it. If you use driftwood, tie several pieces along the same line.
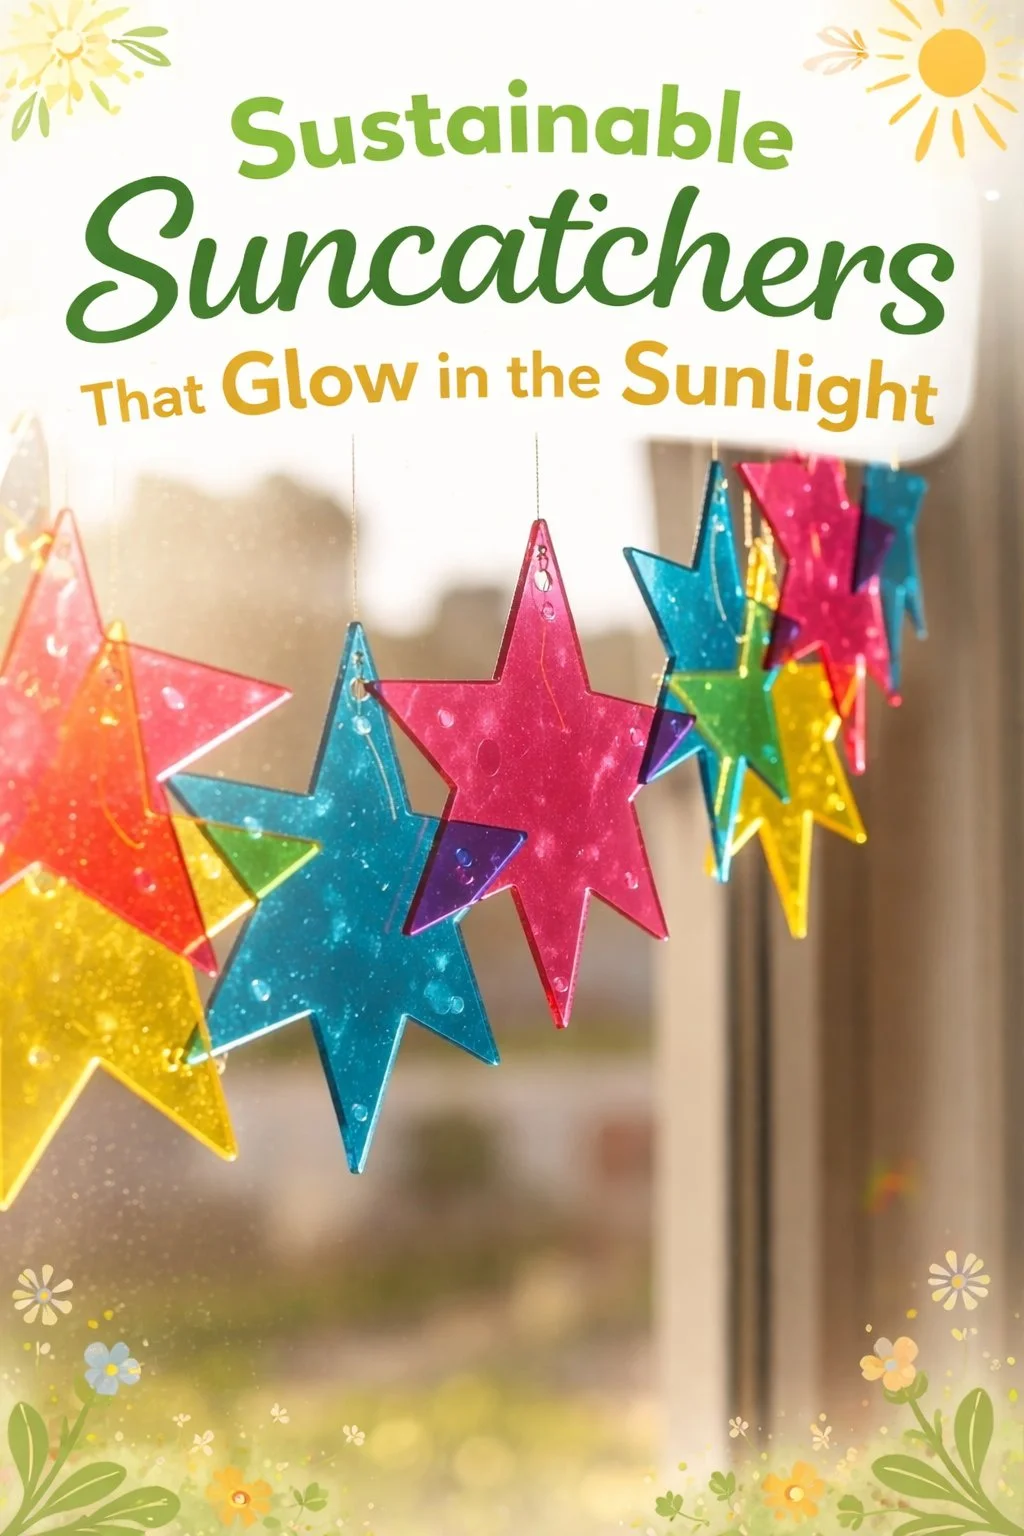
- Test how the piece catches light by moving it toward the sun. Rotate slowly and notice little rainbows or a pearly sheen. Make small adjustments to the arrangement if desired.
- If you want more glow, dust a tiny bit of mica or shimmer powder on top. Brush gently with a soft brush. A little goes a long way.
- Clean your workspace and store spare materials in labeled jars. Wipe the mat and put tools away. This final act keeps the calm going.
Last Step: Don’t forget to leave a rating and comment below! It helps other readers find the best recipes — and it helps us too!