Would you like to save this recipe?
By submitting you agree to receive this recipe and occasional emails. Unsubscribe anytime.
Materials
- 1 cup of baking soda (easy to find in grocery stores)
- 1/2 cup of water
- Mixing bowl (a calm space to blend)
- Measuring cups (to ensure balance)
- Silicone molds or cookie cutters (create shapes that inspire you)
- Baking sheet (to support your drying shapes)
- Spoon or spatula (to mix and stir gently)
Instructions
- Start by measuring 1 cup of baking soda. Pour it into your mixing bowl, enjoying the light, powdery feel as you work.
- Slowly add 1/2 cup of water to the bowl. Pay attention to how the liquid interacts with the baking soda. The sound of water blending into the powder is calming.
- Stir the mixture gently with your spoon until it forms a thick paste, reminiscent of homemade frosting. Notice the transformation as you mix; it becomes smoother and more cohesive.
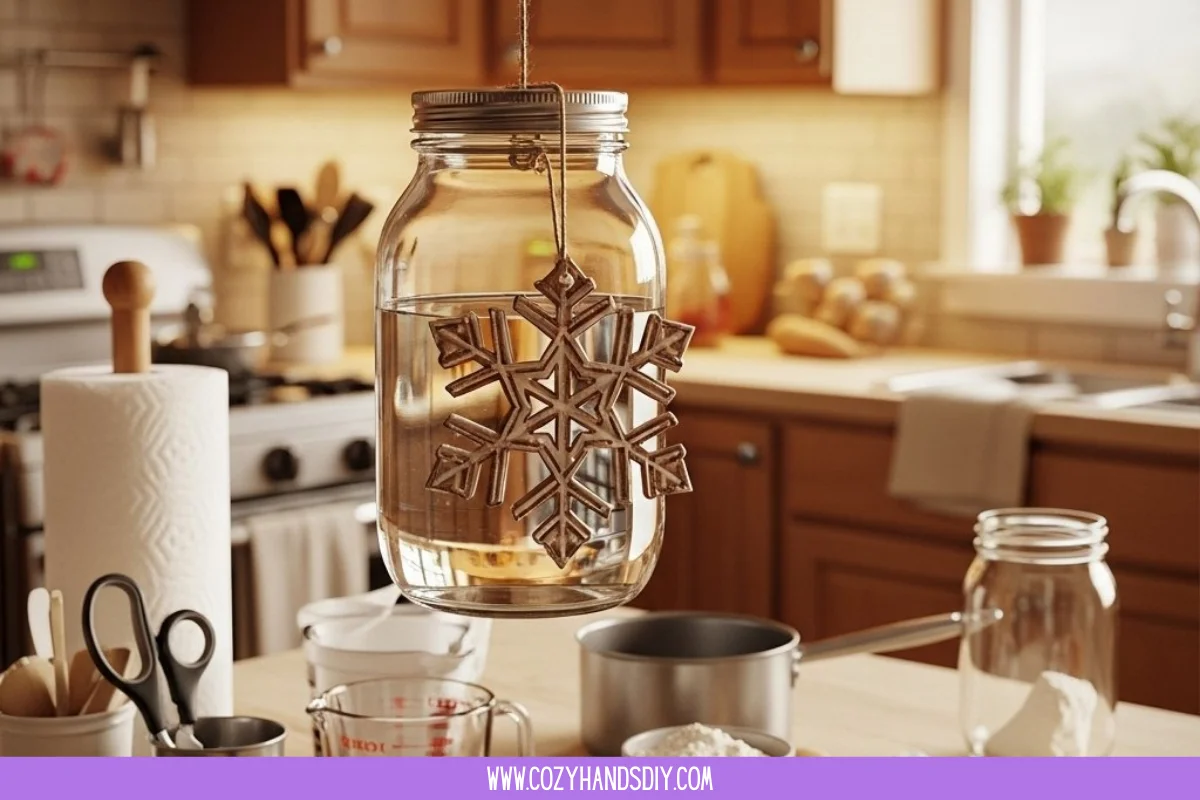
- Take your silicone molds or cookie cutters and place them on the baking sheet. Choose shapes that resonate with you; stars, snowflakes, or hearts all work beautifully.
- Carefully spoon the baking soda mixture into each mold, pressing gently to ensure it holds its shape. Feel the cool texture between your fingers.
- Once filled, set the baking sheet aside in a warm, dry space. Let your shapes dry for at least 24 hours. During this time, you may appreciate the anticipation of seeing each shape emerge.
- After they dry, gently pop the shapes out of the molds. Enjoy the satisfying moment as they break free, displaying their new snowy forms.
- Finally, take a moment to admire your creations. Each shape holds memories of your crafting journey. Celebrate the cozy beauty you have created.
Last Step: Don’t forget to leave a rating and comment below! It helps other readers find the best recipes — and it helps us too!