Would you like to save this recipe?
By submitting you agree to receive this recipe and occasional emails. Unsubscribe anytime.
Materials
- Cornstarch, plain and easy to find.
- Water, room temperature and measured.
- Glycerin, small bottle, acts as a plasticizer (optional but helpful).
- White vinegar or lemon juice, a splash to help set the mix.
- Small pot or saucepan, heat-safe and shallow.
- Wooden spoon or silicone spatula, gentle on surfaces.
- Silicone mat or parchment paper, for pressing and cooling.
- Rolling pin or smooth bottle, for thin sheets.
- Soft cloth or small weights, for gentle flattening (optional).
- Food coloring or natural pigments, if you like a tint (optional).
Instructions
- Measure cornstarch and water into a small bowl. Use about one part cornstarch to two parts water for a thin sheet. Stir slowly until the mixture looks like thin milk and no lumps remain.
- Add a teaspoon of glycerin and a teaspoon of vinegar. These help the bioplastic stay pliable and set smoothly. Mix again with soft, circular motions so the additives distribute evenly.
- Pour the mixture into a shallow saucepan and set the heat low to medium. Stir continuously with a wooden spoon. Listen to the slight hiss of warming and feel the handle’s gentle heat.
- Watch as the liquid turns cloudy and thickens into a glossy paste. When the mixture starts to pull away from the pan and a soft mass forms, remove it from heat.
- Transfer the warm paste to a silicone mat or onto parchment paper. Sprinkle a little cornstarch on your hands and on the surface to prevent sticking as you work.
- Press the warm paste gently with your fingers to flatten it into a rough disk. If it feels too hot, pause and let it cool a little. The surface should feel warm and slightly tacky, not burning.
- Use a rolling pin or a smooth bottle to gently roll the piece into an even sheet. Work slowly and turn the sheet often so it thins uniformly. The motion should feel meditative, like rubbing a soft stone.
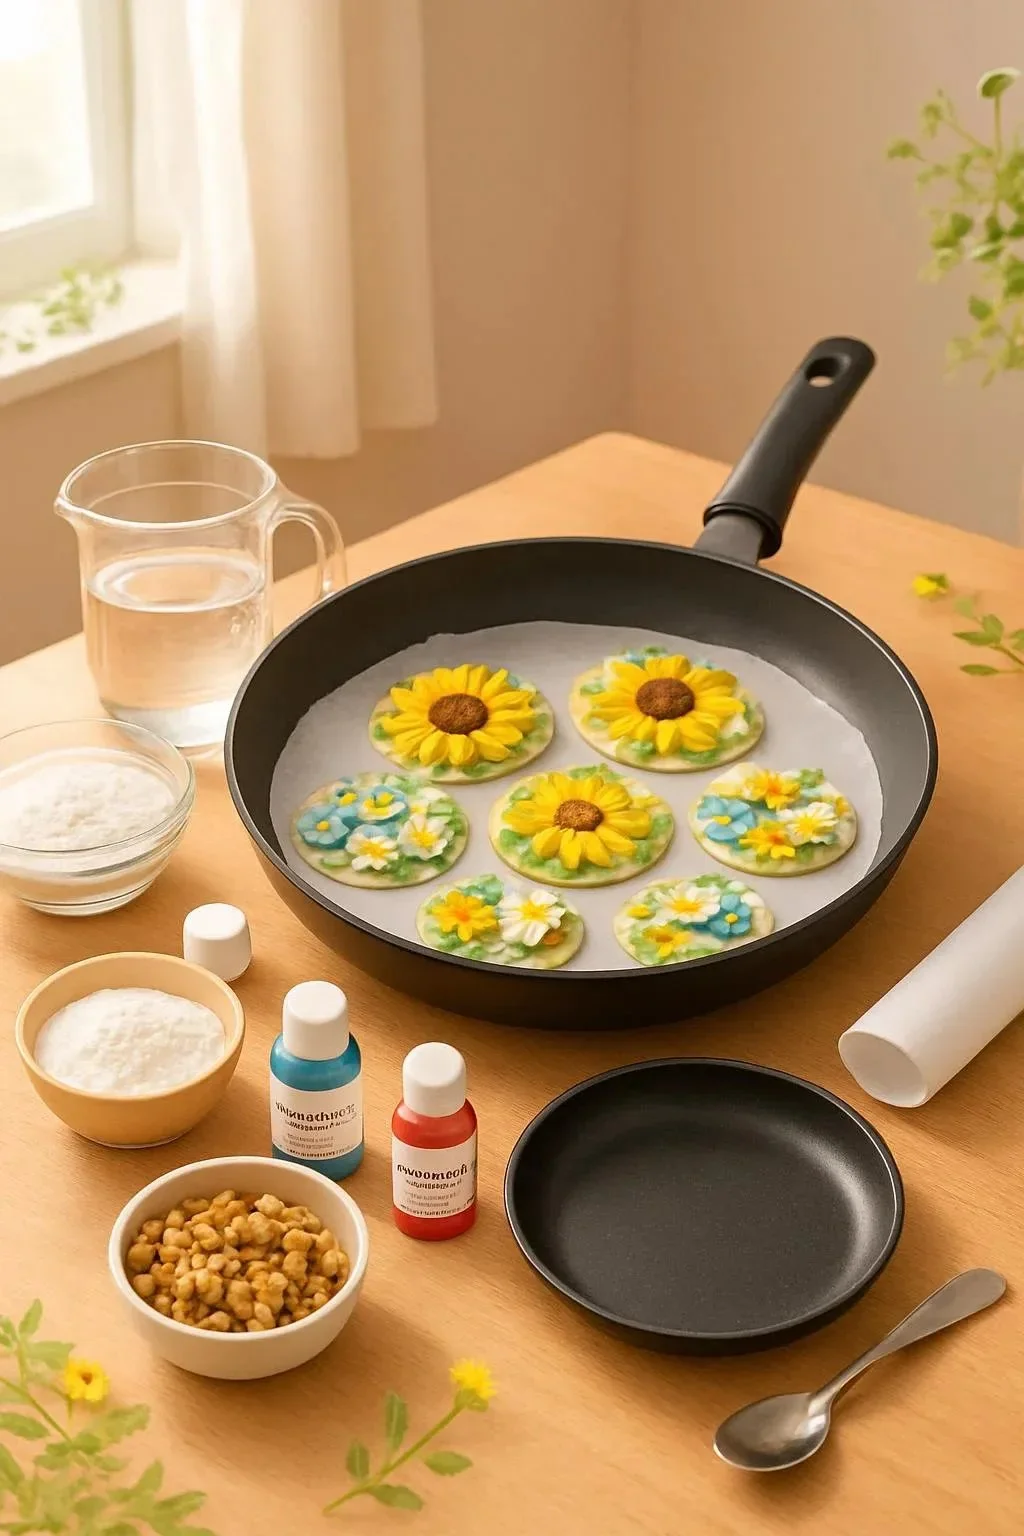
- If you want to embed flowers or textures, place them now on the slightly tacky surface. Press them lightly with your palm or a soft weight so they adhere without tearing. Keep movements soft to preserve detail.
- Let the sheet cool to room temperature, then leave it to dry for several hours or overnight. A thin piece dries faster. Flip it once if you want even drying. The finished texture should feel supple, not wet.
- When fully dry, gently peel the piece from the mat. Trim edges with small scissors if you like. Handle with care for a day or two until it reaches the degree of firmness you prefer.
Last Step: Don’t forget to leave a rating and comment below! It helps other readers find the best recipes — and it helps us too!