Would you like to save this recipe?
By submitting you agree to receive this recipe and occasional emails. Unsubscribe anytime.
Materials
- Colorful scrap yarn (various textures)
- A sturdy wooden frame or canvas
- Scissors (for easy cuts)
- Hot glue gun (for securing the yarn)
- Optional embellishments (like beads or feathers) for added charm
Instructions
- Prepare Your Workspace: Clear a space where you can feel comfortable and free from distractions. Lay out your materials and take a moment to breathe deeply.
- Cut the Yarn: Use scissors to cut lengths of yarn. Aim for various lengths to add dimension to your wall art. The sound of scissors snipping through yarn can be wonderfully satisfying.
- Choose Your Base: Decide whether you’ll be using a wooden frame or canvas. If using a frame, remove any backing to make it easier to arrange the yarn.
- Start Gluing: Begin attaching the yarn to your base by applying a small amount of glue at one end. Hold it in place for a few seconds as it sets. Feel the warmth of the glue as it bonds the yarn to your canvas.
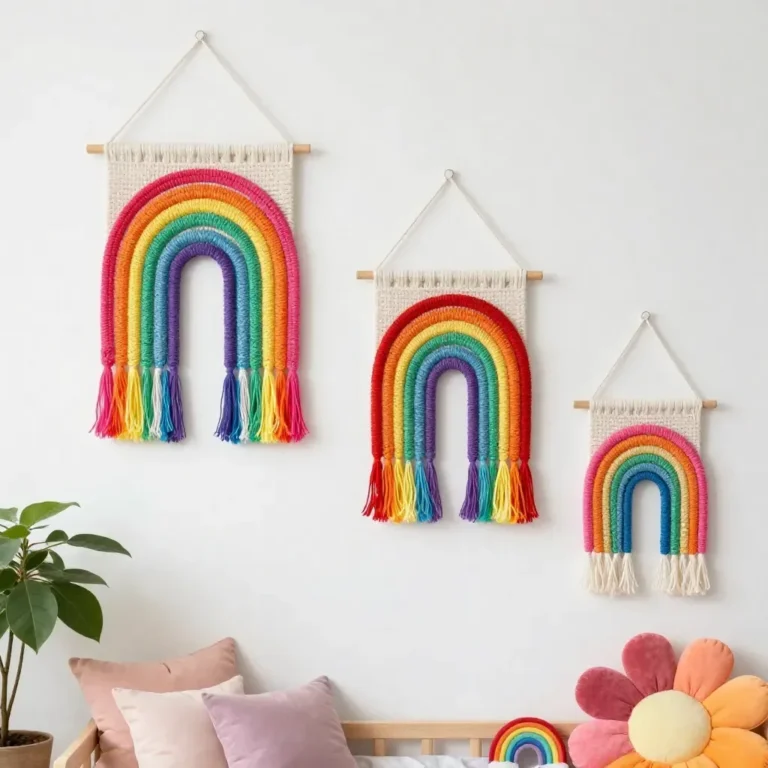
- Layering: Continue to layer your yarn, working in a rhythmic movement. Allow the yarn to overlap, creating a visually interesting pattern. This part can feel playful, as you decide which colors and styles work best together.
- Add Embellishments: If you choose to personalize your piece further, incorporate beads or feathers into the yarn. Secure them with hot glue where desired.
- Let It Dry: Once you’re happy with your design, set your artwork aside to let the glue dry completely. Use this time to reflect on the process and enjoy how each piece of yarn has come together into something unique.
Last Step: Don’t forget to leave a rating and comment below! It helps other readers find the best recipes — and it helps us too!