Would you like to save this recipe?
By submitting you agree to receive this recipe and occasional emails. Unsubscribe anytime.
Materials
- Lightweight fabric (preferably in rainbow colors)
- A sewing machine or needle and thread
- Scissors
- Wooden dowels or sticks
- String or cord (for hanging)
- Fabric glue (optional)
- Decorative items (like glitter or fabric paint for embellishments)
Instructions
- Begin by cutting your lightweight fabric into long strips, about 4 inches wide and 2 feet long. Feel the texture of the fabric as you cut, allowing it to inspire the colors you will bring to life.
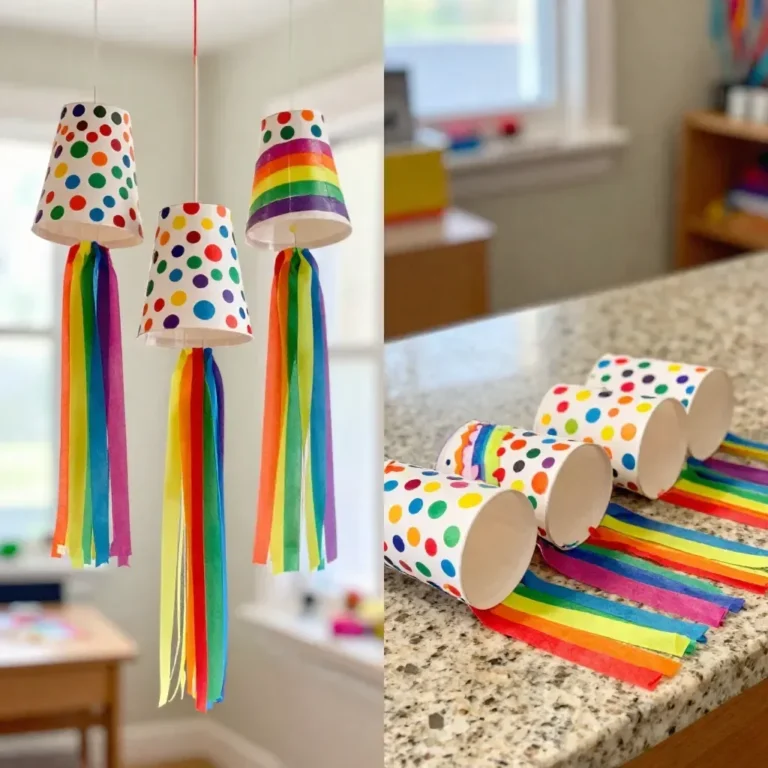
- Next, line up your fabric strips in a rainbow pattern. This vibrant color arrangement is crucial, as it will visually engage the eye when the wind sock sways.
- Once you have chosen the colors, fold each strip in half lengthwise, ensuring you create a smooth edge. Pin them together if necessary.
- Sew the length of the fold, keeping the edge neat and consistent. The sound of the machine (or needle) stitching is a calming rhythm that complements your focused work.
- Carefully turn the fabric right side out, so the sewn seam is hidden inside. You might notice how soft and inviting the fabric feels as it transitions through your hands.
- Attach the long strips to one end of your wooden dowel using either sewing, tying, or fabric glue, securing them firmly in place.
- Make a small loop with your cord, attach it to the other end of the dowel as a hanger, and secure it.
- Add embellishments if desired, like glitter or painted designs to enhance your sock’s personality. These small additions will make your wind sock unique.
- Finally, display your completed Rainbow Wind Sock outside, in a garden, or on a porch where the wind can impart its joyful dance.
Last Step: Don’t forget to leave a rating and comment below! It helps other readers find the best recipes — and it helps us too!