Would you like to save this recipe?
By submitting you agree to receive this recipe and occasional emails. Unsubscribe anytime.
Materials
- Paper or lightweight watercolor paper, 1 sheet (easy to find)
- A collection of pressed flowers and leaves, assorted sizes (homegrown or collected)
- Tweezers with a fine tip (helps place tiny petals)
- Clear craft glue or archival adhesive, small bottle (substitute: glue pen for more control)
- Pencil for light sketching of the owl shape (optional)
- Scissors for trimming petals or leaves (sharp and small)
- Wax paper or baking paper to protect your surface (simple and cheap)
- Picture frame or card backing for display, size of your choice
- Small weights or books to flatten the finished piece while dry (gentle pressure works best)
- Cotton gloves (optional; helps prevent oils from skin transferring to petals)
Instructions
- Prepare a clean, quiet surface and lay wax paper beneath your working paper. Take a deep breath and sort your pressed flowers by size and color.
- Lightly sketch an owl outline with a soft pencil. Keep the lines faint; they are a gentle guide, not a rule.
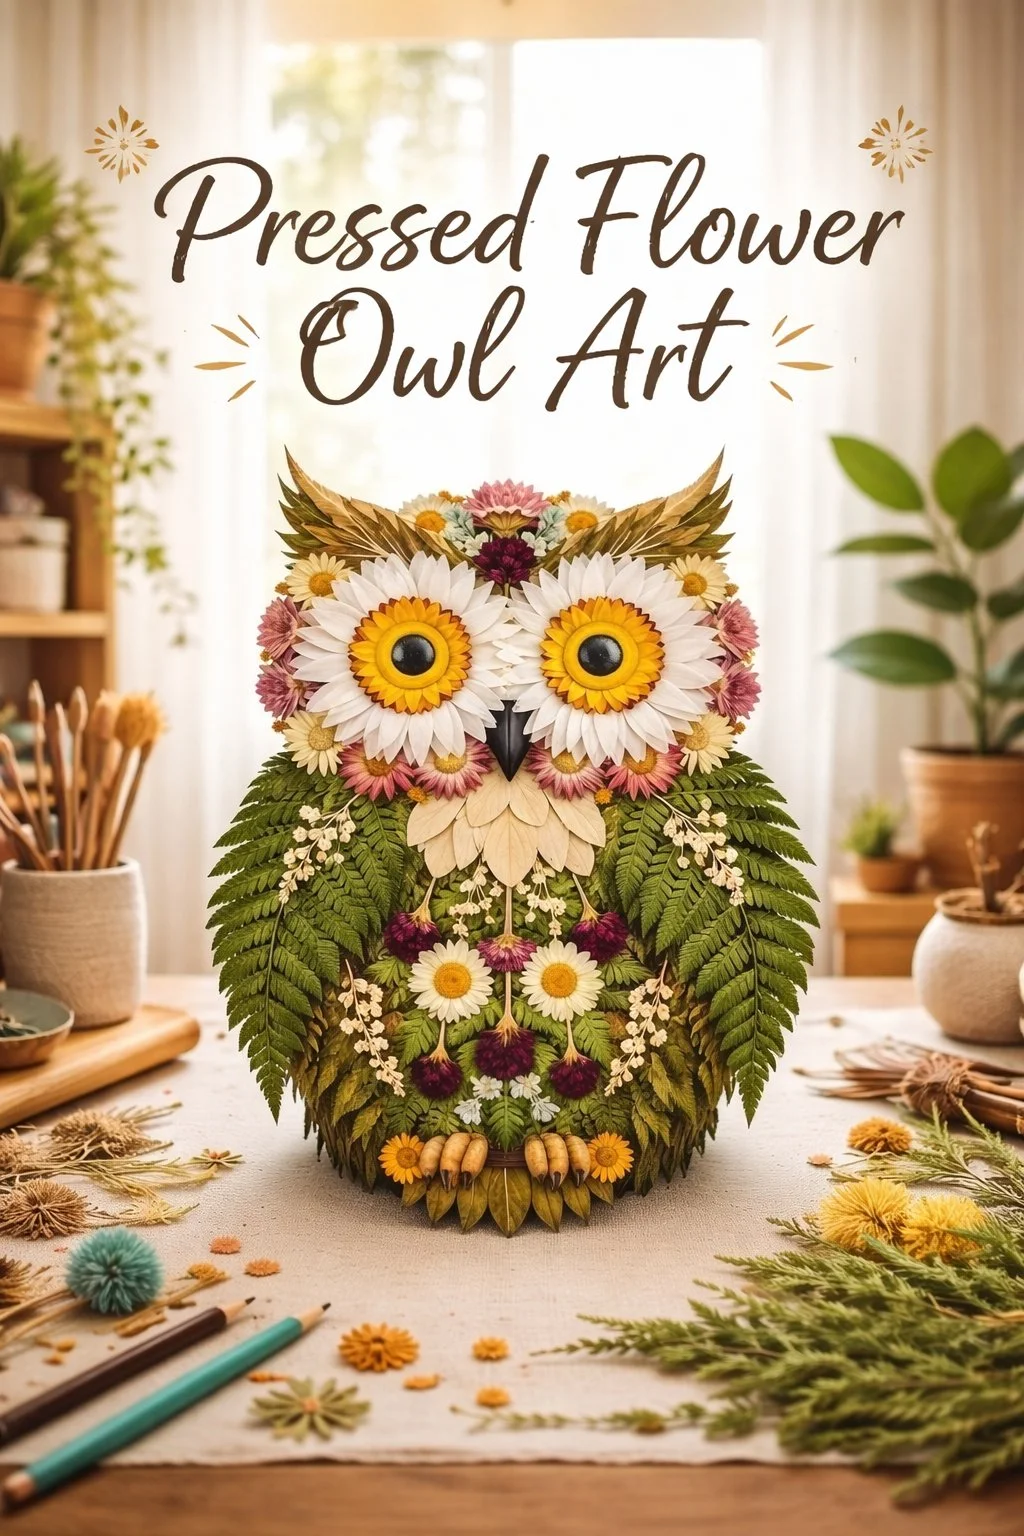
- Start with the owl body: place larger petals or leaf shapes for the torso. Use tweezers to lower each piece slowly and adjust until it feels balanced.
- Build the wings by layering thin petals outward from the body. Notice how the edges overlap and let small gaps add texture.
- Form the face with small round petals or seedpods for eyes and a tiny triangle for a beak. Work calmly; the face often gives the piece its personality.
- Add small accent petals around the head for a feathery effect. Step back every few pieces to see the whole shape and take a breath.
- Once you like the arrangement, lift each piece carefully, add a small dot of adhesive, and press the petal back down. Press gently with a fingertip or the back of tweezers for a few seconds.
- Let the glued piece dry under a flat weight for 12 to 24 hours. This keeps petals flat and prevents lifting; check it after a gentle touch.
- Trim any stray edges and mount the finished art into a frame or onto a card backing. Seal the frame gently to reduce light and dust exposure.
- Place the finished owl in a calm spot where you can enjoy it regularly. Avoid direct sun to keep colors from fading quickly.
Last Step: Don’t forget to leave a rating and comment below! It helps other readers find the best recipes — and it helps us too!