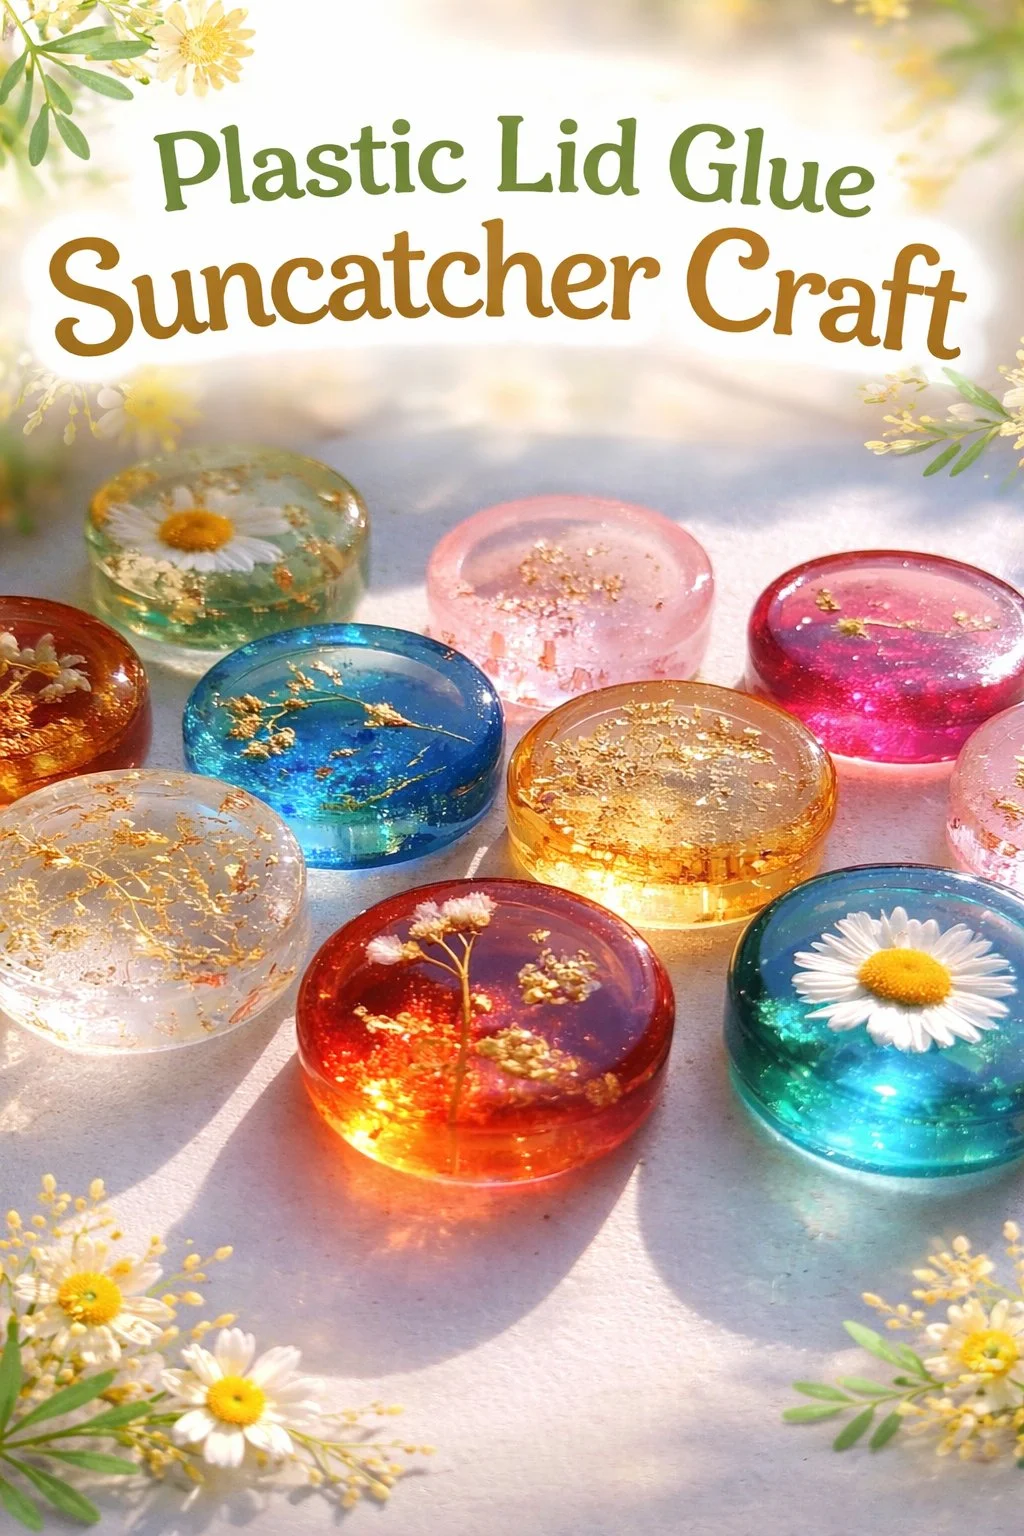
Would you like to save this recipe?
By submitting you agree to receive this recipe and occasional emails. Unsubscribe anytime.
Materials
- Clear plastic lids in various sizes - easy to find from jars or containers
- Clear school glue or craft glue (non-toxic) - works well and dries clear
- Food coloring, liquid watercolor, or craft dyes - small amounts add gentle color
- Fine glitter or mica powder - optional, adds soft shimmer
- A toothpick, skewer, or thin wooden stick - for stirring and making loops
- Wax paper or silicone mat - for a non-stick working surface
- Small funnel or plastic squeeze bottle - optional, for neater pouring
- Thin string, embroidery floss, or fishing line - for hanging
- Scissors and a needle (if you want to thread hanging material)
- A heat source like a hair dryer on low - optional, speeds drying slightly
- A small cup of water for cleaning tools - easy to keep close by
Instructions
- Prepare your surface and lids. Set a sheet of wax paper or a silicone mat on a flat table. Place the plastic lids with their open side up so they sit steady. Feel the cool smoothness of the lid as you arrange them like tiny ponds.
- Pour glue into each lid. Gently squeeze a bead of clear glue into a lid, aiming for a thin even layer. Leave some space at the edge so the glue does not overflow when it spreads. Work slowly and watch the glue slowly settle and flatten.
- Add color in small droplets. Place one or two tiny drops of food coloring or liquid watercolor into the glue. Use a toothpick to nudge color into soft swirls. Notice how the color diffuses, sometimes making soft feathered lines that feel like watercolor.
- Sprinkle shimmer or mica if desired. Lightly dust a pinch of fine glitter or mica powder over the glue for a whispered shine. Less is more for a gentle look. The shimmer will catch the light without overpowering the translucence.
- Create texture and details with a toothpick. Drag a toothpick through the glue to make patterns, or poke a small hole for hanging if you plan ahead. You can also press in tiny leaves or pressed flower bits. Every small touch changes the way light moves through the piece.
- Let the pieces dry slowly and undisturbed. Place the lids somewhere flat and still, away from pets or drafts. Drying takes several hours or overnight depending on glue thickness. If you feel impatient, you may nudge drying with a hair dryer on low at a safe distance, but air drying gives the softest finish.
- Remove the suncatcher from the lid. Once fully dry to the touch and no longer tacky, gently flex the plastic lid to release the suncatcher. Work slowly so it does not bend too sharply. If it needs help, slide a thin card under the edge to lift it free.
- Make a small hanging hole or attach a hanger. If you did not make a hole earlier, use a needle heated slightly (handled with care) or a punch to make a tiny hole near the edge. Thread string or fishing line and tie a small loop. Secure the knot and trim excess string. The finished shape should hang level and gentle.
- Place near light and pause to enjoy. Hang your suncatcher in a window or on a sun-facing wall. Sit nearby and watch how the sun pours color across your hands and the room. Take a few slow breaths and notice the comfort of owning something made quietly.
- Clean up slowly and store spare materials. Wipe the lids and tools with warm soapy water, letting the small motions of cleaning finish the ritual. Save leftover glue in a dry place. Keep a few lids and small amounts of color to start again when you want another calm making session.
Last Step: Don’t forget to leave a rating and comment below! It helps other readers find the best recipes — and it helps us too!