Would you like to save this recipe?
By submitting you agree to receive this recipe and occasional emails. Unsubscribe anytime.
Materials
- Liquid school glue
- Baking soda
- Contact lens solution (with boric acid)
- Food coloring (multiple colors for marbling)
- Small mixing bowl
- Spoon for stirring
- Measuring cups
- A surface protector (like wax paper or parchment)
Instructions
- Start by measuring out 1/2 cup of liquid school glue into your mixing bowl. The smoothness is inviting, and the smell may remind you of childhood craft days.
- Next, add 1 tablespoon of baking soda to the glue. Stir gently until the mixture is well combined. The texture will become slightly thicker but still smooth.
- Now, it’s time to incorporate color. Add a few drops of your chosen food coloring to the mixture. You can experiment with different combinations to see how they blend. Stir slowly to create a marbled effect without fully mixing the colors.
- To activate your mixture, add 1 to 2 tablespoons of contact lens solution. You’ll notice the ingredients begin to react and form a gel-like consistency. Continue stirring until it thickens and becomes less sticky.
- Once your mixture has reached the right consistency, knead it gently with your hands for a minute. This part is delightful as you feel the transformation from a gooey mixture to a smooth, pliable ball.
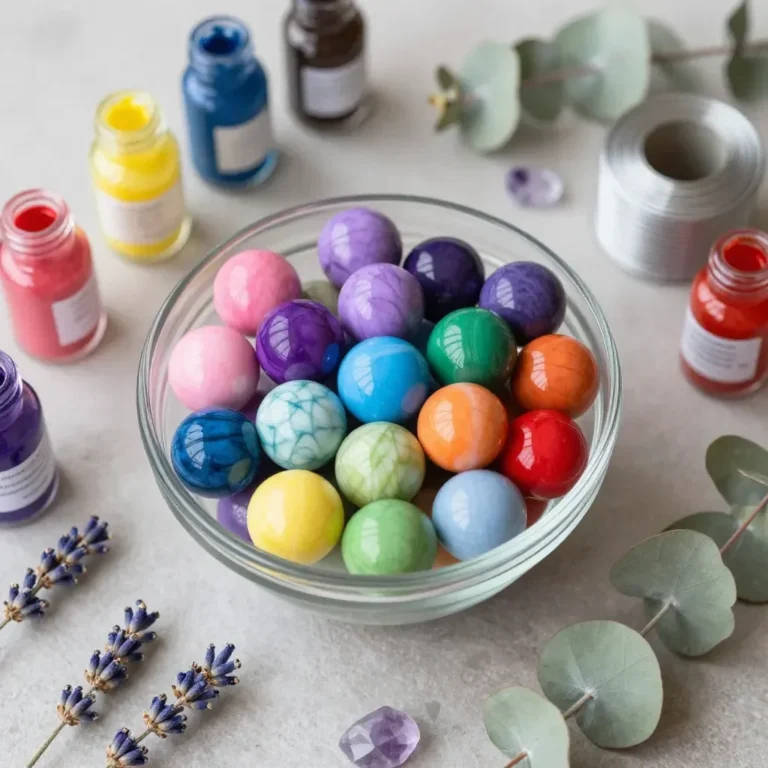
- Roll the mixture into balls of your desired size. Each ball should feel soft and slightly bouncy, perfect for playing or simply enjoying in your hands.
- Allow your marbled bouncy balls to sit for at least 30 minutes to firm up. During this time, notice how the colors develop and change as they dry.
Last Step: Don’t forget to leave a rating and comment below! It helps other readers find the best recipes — and it helps us too!