Would you like to save this recipe?
By submitting you agree to receive this recipe and occasional emails. Unsubscribe anytime.
Materials
- Clear glue (easy to find and versatile)
- Food coloring (for a splash of color; optional)
- Wax paper or a silicone mat (for easy release)
- Scissors (to cut shapes, optional)
- Heart-shaped templates (optional for those who prefer guided shapes)
- Small bowl or container (to mix colors, if desired)
Instructions
- Prepare your workspace with wax paper or a silicone mat. Notice the cool, smooth texture beneath your fingers.
- In a small bowl, pour a generous amount of clear glue. Observe its clarity and how it glistens under the light.
- If using, add drops of food coloring, swirling gently with a stick. Notice the way the colors dance and mix in the glue.
- Outline heart shapes on the wax paper using the glue. Let your hand flow freely, enjoying the fluid motion.
- Once you have your hearts, add additional glue layers if desired for a more dimensional look. Feel the smoothness beneath your fingertips.
- Allow the hearts to dry in a warm space, letting the colors deepen and the glue take on a new texture. Listen and enjoy the quiet while you wait.
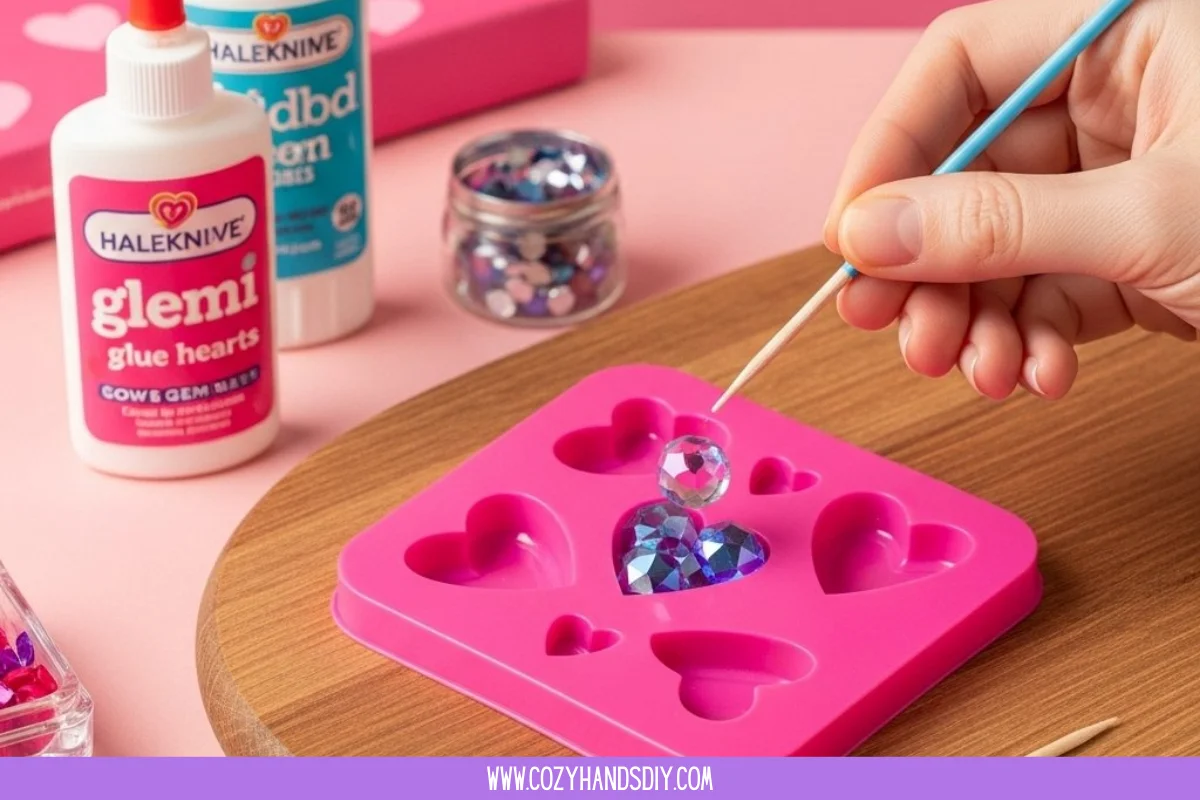
- Carefully peel the dried glue gems off the wax paper. As you lift them, notice how light catches on each surface.
Last Step: Don’t forget to leave a rating and comment below! It helps other readers find the best recipes — and it helps us too!