Would you like to save this recipe?
By submitting you agree to receive this recipe and occasional emails. Unsubscribe anytime.
Materials
Materials
- 1 sheet Transparent plastic sheet Cut to size
- 1 sheet Black cardstock For designing cutouts
- 1 piece LED tealight candle Use for illumination
- Various Acrylic paints Use various colors for effect
- 1 tube Glue Hot glue works best
- 1 piece X-Acto knife For cutting designs
- 1 pair Scissors
- 1 set Paintbrushes For painting designs
- 1 roll Masking tape To secure cutouts
- 1 Ruler For measuring
Instructions
Creating the Lantern
- Cut the plastic sheet into the desired size for the lantern, approximately 12 inches by 12 inches.
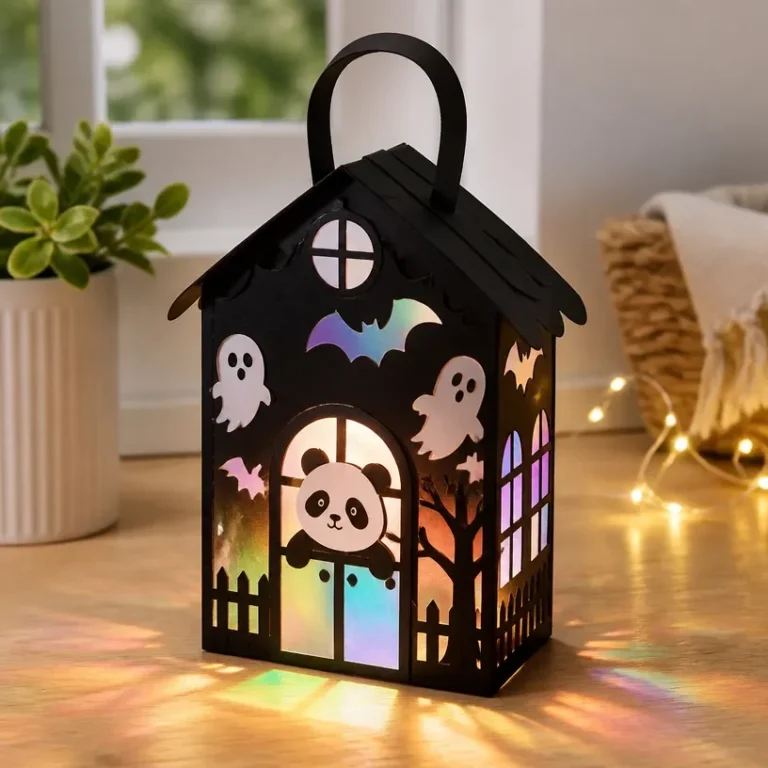
- Sketch your design on the black cardstock to create spooky silhouettes or playful panda shapes.
- Use the X-Acto knife to carefully cut out your design, ensuring precision.
- Secure your cutout to the plastic sheet using masking tape.
- Start painting your design with bright colors to create a stunning holographic effect.
- Once the paint dries, bend the plastic sheet into a cylinder shape and use hot glue to secure the edges together.
- Place the LED tealight inside the lantern structure and turn it on to see your artwork shine.
- Display your lantern in a dark area to see its colors pop beautifully.
Last Step: Don’t forget to leave a rating and comment below! It helps other readers find the best recipes — and it helps us too!
Tips & Notes:
Ensure adults supervise when using sharp instruments or hot glue. Modify designs for different themes and involve kids for a personal touch.