Would you like to save this recipe?
By submitting you agree to receive this recipe and occasional emails. Unsubscribe anytime.
Materials
- Clear plastic bottle or glass jar with a tight lid (easy to find; plastic is safer around children)
- Clear school glue or clear craft glue (thickens liquid; slows glitter)
- Water (room temperature works well)
- Baby oil or mineral oil (optional; creates separation and smoother motion)
- Liquid glycerin (optional; increases thickness and slows movement)
- Fine and chunky glitter in galaxy colors (blue, purple, silver, holographic)
- Food coloring or liquid watercolor (a little goes a long way)
- Small funnel or paper folded into a funnel (optional, helps avoid spills)
- Stirring stick or disposable spoon (simple and tidy)
- Hot glue gun or silicone adhesive (for sealing lid; optional but recommended for safety)
- Small toys, sequins, or star confetti (optional, for visual interest)
- A towel or tray to catch drips (keeps the space calm)
Instructions
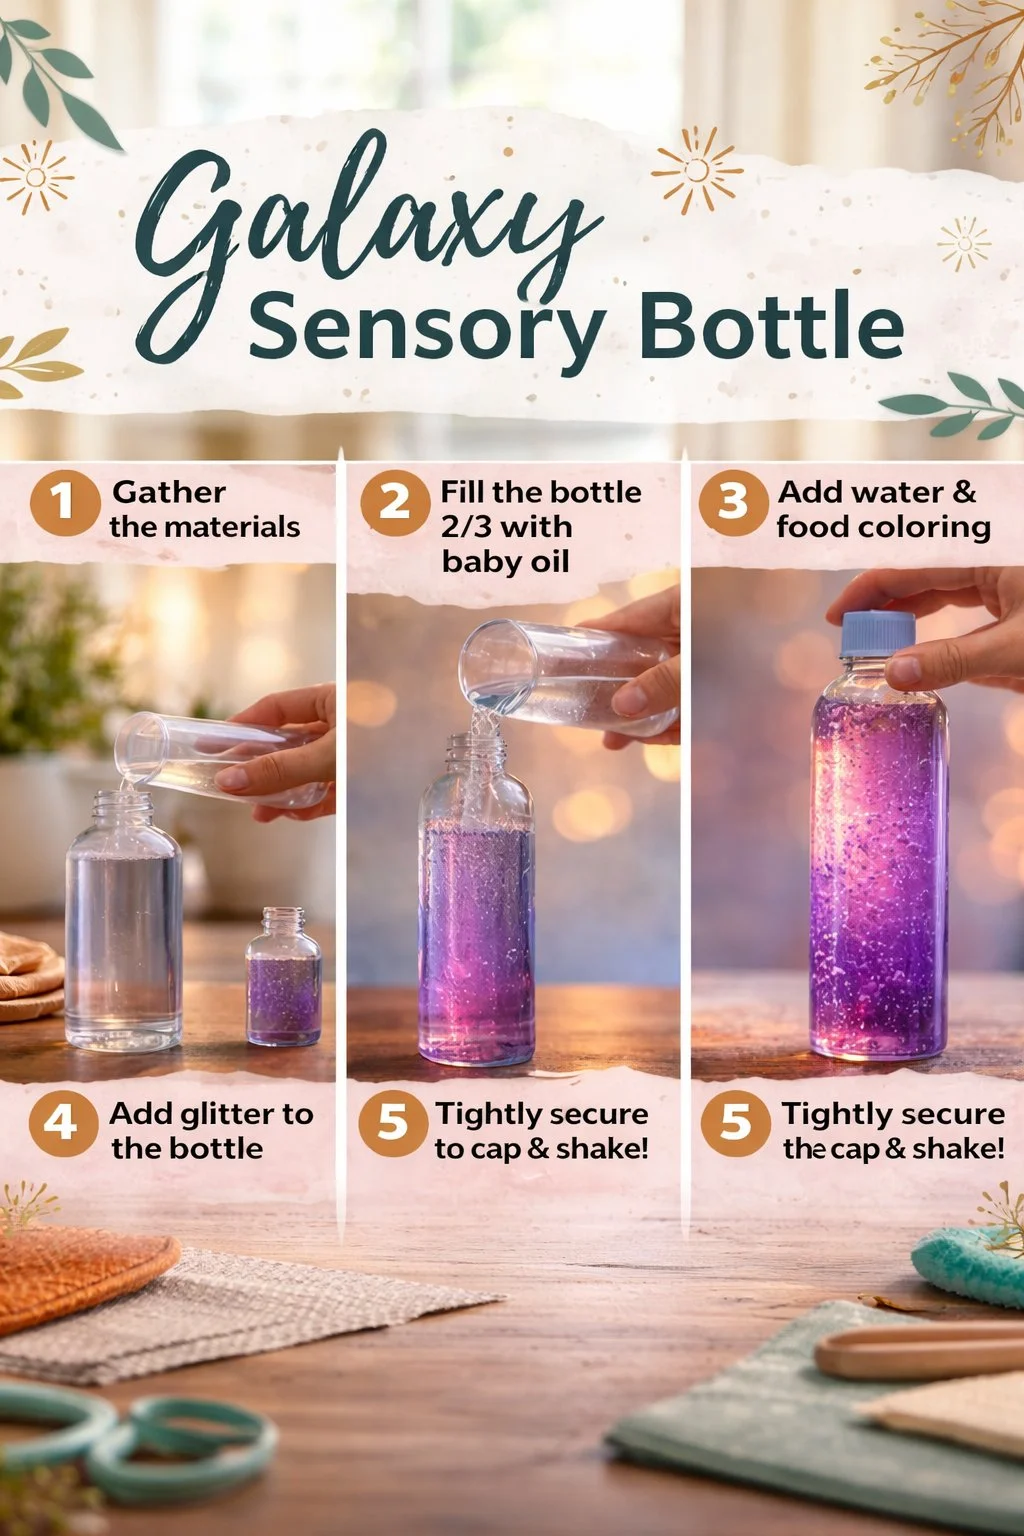
- Clean and dry your bottle or jar thoroughly. Pour a little water and swirl it out to make sure the inside feels fresh and cool. Dry the exterior so labels do not slip while you work.
- Add clear glue to the bottle. Squeeze in about one third of the bottle capacity. The glue will thicken the mixture and slow the glitter like syrupy space dust.
- Mix water with color and glycerin in a separate cup. Stir gently until the color feels soft and even. Add a small splash of glycerin if you want the glitter to drift slower.
- Pour the colored water into the bottle slowly. Use a funnel to keep edges clean. You will see the glue and water settle together; give them a quiet minute.
- Add glitter and small sequins. Drop in a mix of fine and chunky glitter for varied motion. Larger pieces fall in graceful arcs while fine glitter floats like mist.
- If using oil, pour it gently on top of the water. The oil will form a clear layer because it does not mix with water. This contrast gives the bottle a floating, celestial feel.
- Test the motion and add adjustments. Tilt the bottle slowly and watch how the glitter moves. If things settle too fast, a touch more glue or glycerin will slow everything down.
- Seal the lid with hot glue or silicone. Run a bead of glue around the inside of the lid and press it snugly. Let the glue cool fully before handling to ensure a leak-proof finish.
- Clean the outside and label if you like. Wipe the bottle with a damp cloth to remove stray glitter. Add a small handwritten tag if you want to gift it or mark intentions.
- Sit with the bottle for a few minutes. Hold it up to the light or set it by a lamp and watch the glitter fall. Notice any changes in your breathing or attention as you observe.
Last Step: Don’t forget to leave a rating and comment below! It helps other readers find the best recipes — and it helps us too!