Would you like to save this recipe?
By submitting you agree to receive this recipe and occasional emails. Unsubscribe anytime.
Materials
- Balloons, small or water-balloon size (easy to find, choose thin skin for the softest feel)
- Fine flour, cornstarch, or soft sand (choose cornstarch for a silky interior; substitute-friendly)
- A small funnel or a homemade paper funnel (optional; helps fill neatly)
- A spoon or wooden skewer for packing the filling
- Scissors to trim balloon ends
- Acrylic paint or permanent markers for decorating (optional, low-odor is best)
- Masking tape or a small clip to hold the balloon while filling (optional)
- A bowl and measuring cup for mixing
- Wet wipes or a damp cloth for gentle cleanup
Instructions
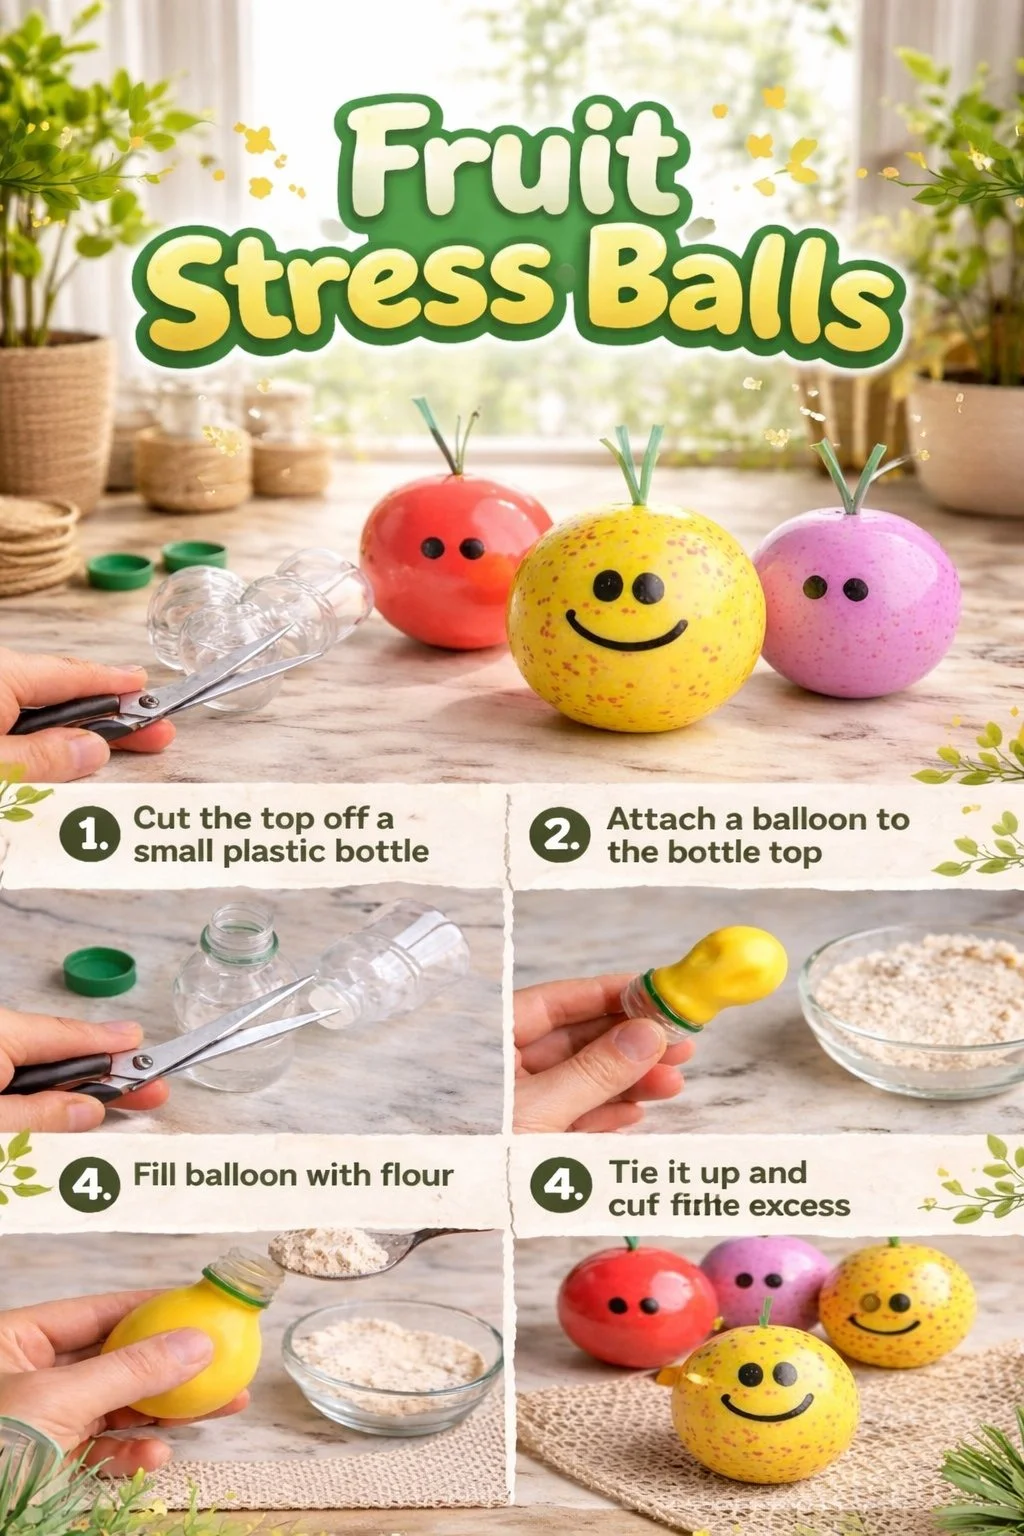
- Gather your supplies and make a small bowl of the filling. Take a calm breath. Measure about one to one and a half cups of cornstarch or fine flour. Let the powder sit loose and soft in the bowl.
- Stretch the balloon gently to warm it. Hold it in both hands and roll it between your palms to make the rubber more pliable. This step helps the balloon slip smoothly over the funnel.
- Attach the funnel to the balloon opening. If you do not have a funnel, fold a small piece of paper into a cone. Slide the balloon over the funnel neck until it sits snug and secure.
- Spoon or pour the filling into the funnel slowly. Work in short, steady motions. Tap the funnel gently to let the powder settle. Stop occasionally to press the filling down with a skewer so you avoid air pockets.
- Check firmness as you go. Every now and then, pinch the balloon and feel the filling. Aim for a squishy but resilient center. Add more filling a little at a time until you reach the feel you like.
- Smooth the surface and tie the balloon. Twist the neck gently to seal the filling. Tie a neat knot, keeping the knot small so the ball stays round. Trim any excess rubber with scissors.
- Add a second balloon layer for durability. Cut the end off a second balloon and slip it over the first, stretching gently to cover the knot. This step strengthens the ball and keeps small leaks at bay.
- Decorate with paint or markers. Use small, light strokes. Let each layer dry between details. If you use paint, choose a low-odor option and work in a ventilated, calm space.
- Let the balls rest before gentle use. Place them on a soft cloth to settle for a day. This helps the filling settle and the rubber relax into its final shape.
- Try a mindful squeeze. Hold the finished ball in both hands. Squeeze slowly in and out three times, noticing how your shoulders soften and your breath adjusts.
Last Step: Don’t forget to leave a rating and comment below! It helps other readers find the best recipes — and it helps us too!