Would you like to save this recipe?
By submitting you agree to receive this recipe and occasional emails. Unsubscribe anytime.
Materials
- A piece of cotton or linen fabric (easy to find; natural fibers take dye and paint nicely)
- An embroidery hoop (keeps fabric steady; 4 to 6 inch works well)
- Fabric-safe ink pad or non-toxic fabric paint (washable and child-friendly)
- Embroidery floss in 1 to 3 colors (soft cotton gives a cozy look)
- Embroidery needle with a blunt eye comfortable for floss
- Water-soluble fabric marker or pencil (for light guidelines)
- Small scissors with a sharp point (for neat thread ends)
- A scrap piece of cardboard or a plastic tray for pressing the hand
- Optional: small frame or wooden hoop for display
Instructions
- Prepare your space and materials. Take a slow breath and set a small bowl of water and a cloth nearby. Lay the fabric flat on a clean surface and place the hoop ready to use.
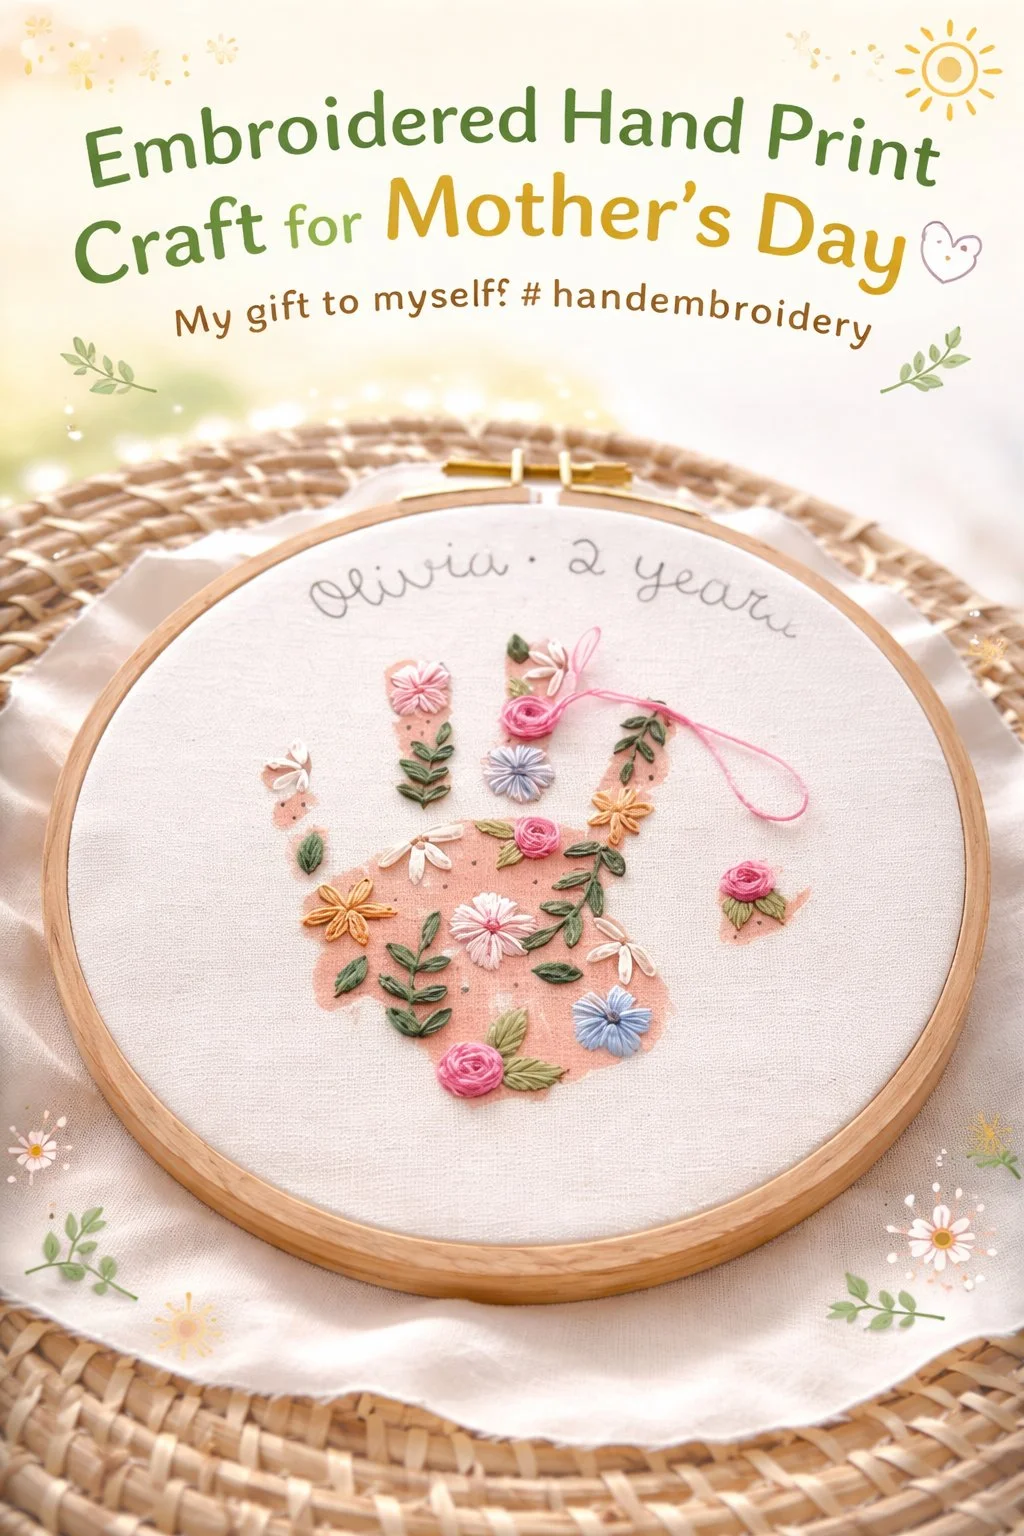
- Make the handprint. Help the child press their hand gently into the fabric ink or paint. Press evenly, then lift straight up to keep a clear outline of fingers.
- Let the print dry. Place the print in a warm spot away from drafts so the ink sets slowly. Avoid touching the damp print to keep edges soft and clear.
- Center and hoop the fabric. Place the fabric over the inner hoop and pull it taut with gentle hands. Set the outer hoop on top and tighten so the surface feels smooth like a drum.
- Mark a light guideline around the print. Use a water-soluble marker to trace a slim border a few millimeters from the print. This gives a gentle path for your stitches without being visible later.
- Thread the needle. Choose one or two strands of embroidery floss and knot the end with a small, tidy knot. Feed the needle and let the thread settle; hold the hoop so the fabric faces you.
- Start stitching the outline. Use a simple backstitch or stem stitch to follow the guideline slowly. Aim for small, even stitches; feel the thread slide through the cloth as you move.
- Fill or embellish as you wish. Add small satin stitches for the palm or tiny French knots at the fingertip for texture. Work patiently and stop when the piece feels complete rather than perfect.
- Finish the back and press. Tie off threads with a neat knot and trim any long ends close to the knot. Press lightly with a warm iron under a cloth to set the stitches and flatten the fabric.
- Frame or finish the hoop. Place the fabric in a frame or leave it as-is in the hoop for a cozy, finished look. Add a soft ribbon if you plan to hang it somewhere your eyes rest often.
Last Step: Don’t forget to leave a rating and comment below! It helps other readers find the best recipes — and it helps us too!